Team T-Shirts from My Book: Adobe Express Design, Printful and WooCommerce
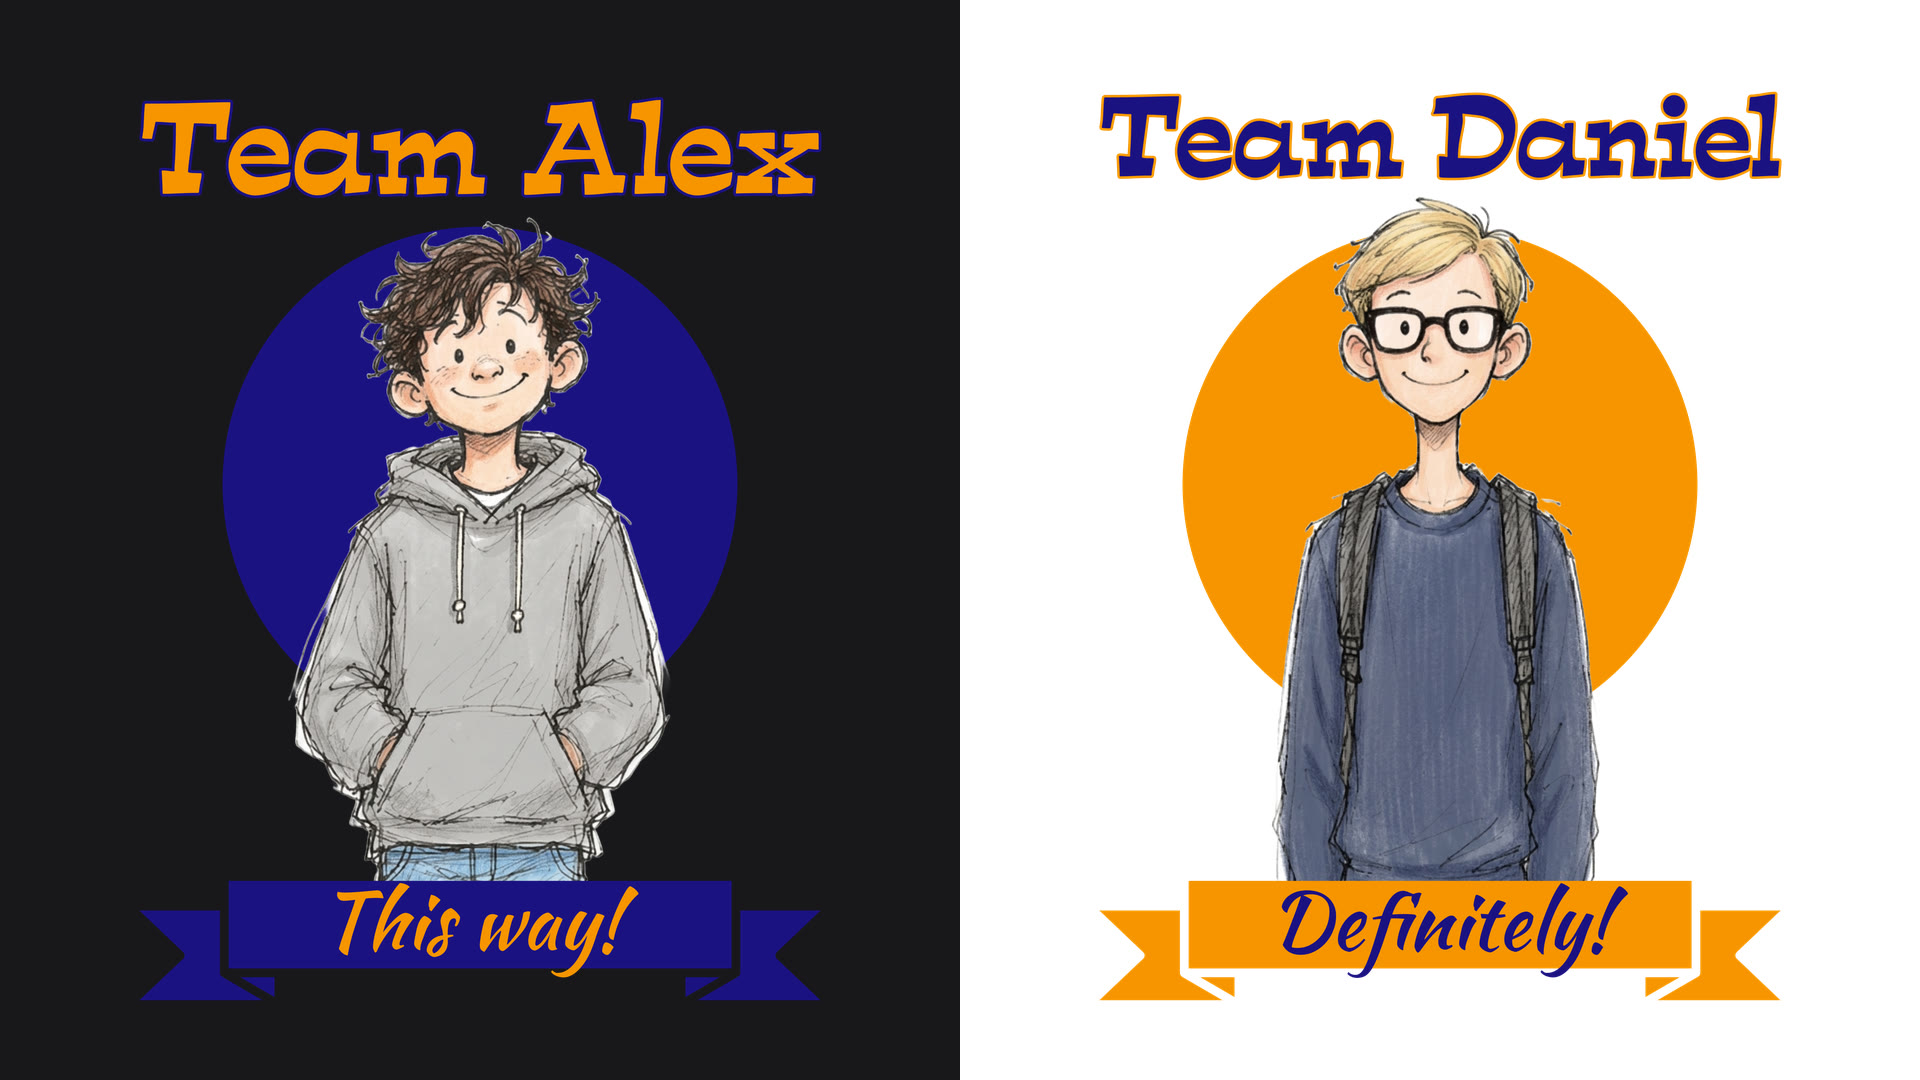
In this video I make two T-shirt designs in Adobe Express, “Team Alex” and “Team Daniel”, and add them to my WooCommerce store with Printful. The characters are from my book, The Wrong Choice, so kids can choose the character they feel most connected to and wear his team’s shirt. And each design works on light shirts and on dark shirts, so I didn’t need to make two versions.
Prefer shorter videos? I also split this tutorial into separate videos:
- Coloring a pencil drawing with AI (Gemini)
- The full T-shirt design in Adobe Express, step by step
- Printful Custom Mockup Maker (and why my other colors were empty)
- Adding the T-shirt from Printful to WooCommerce
- The book merch idea: let kids choose a team
Coloring the characters with AI in Gemini
The characters are pencil drawings. For the shirts I wanted them in color, so I used Gemini:
- Click the + in the message box, then Upload files, and choose your drawing.
- Paste your prompt. Describe exactly how the character looks and tell Gemini not to change any line. Then write the colors you want, the style, and a plain white background.
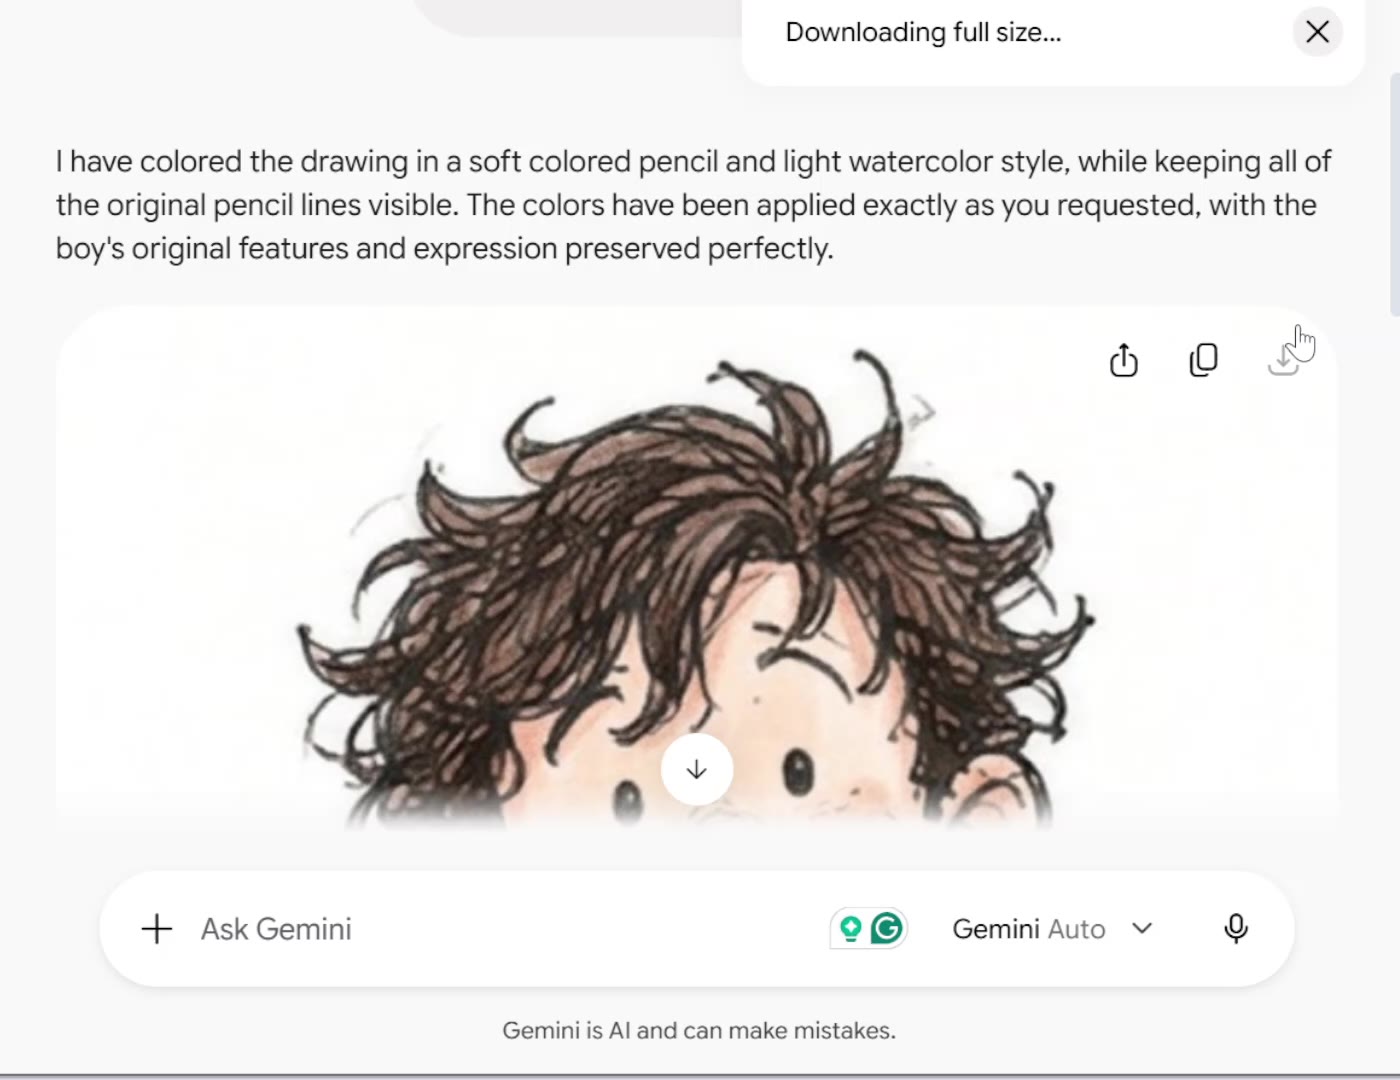
- To save the result, open the image and click Download full size.
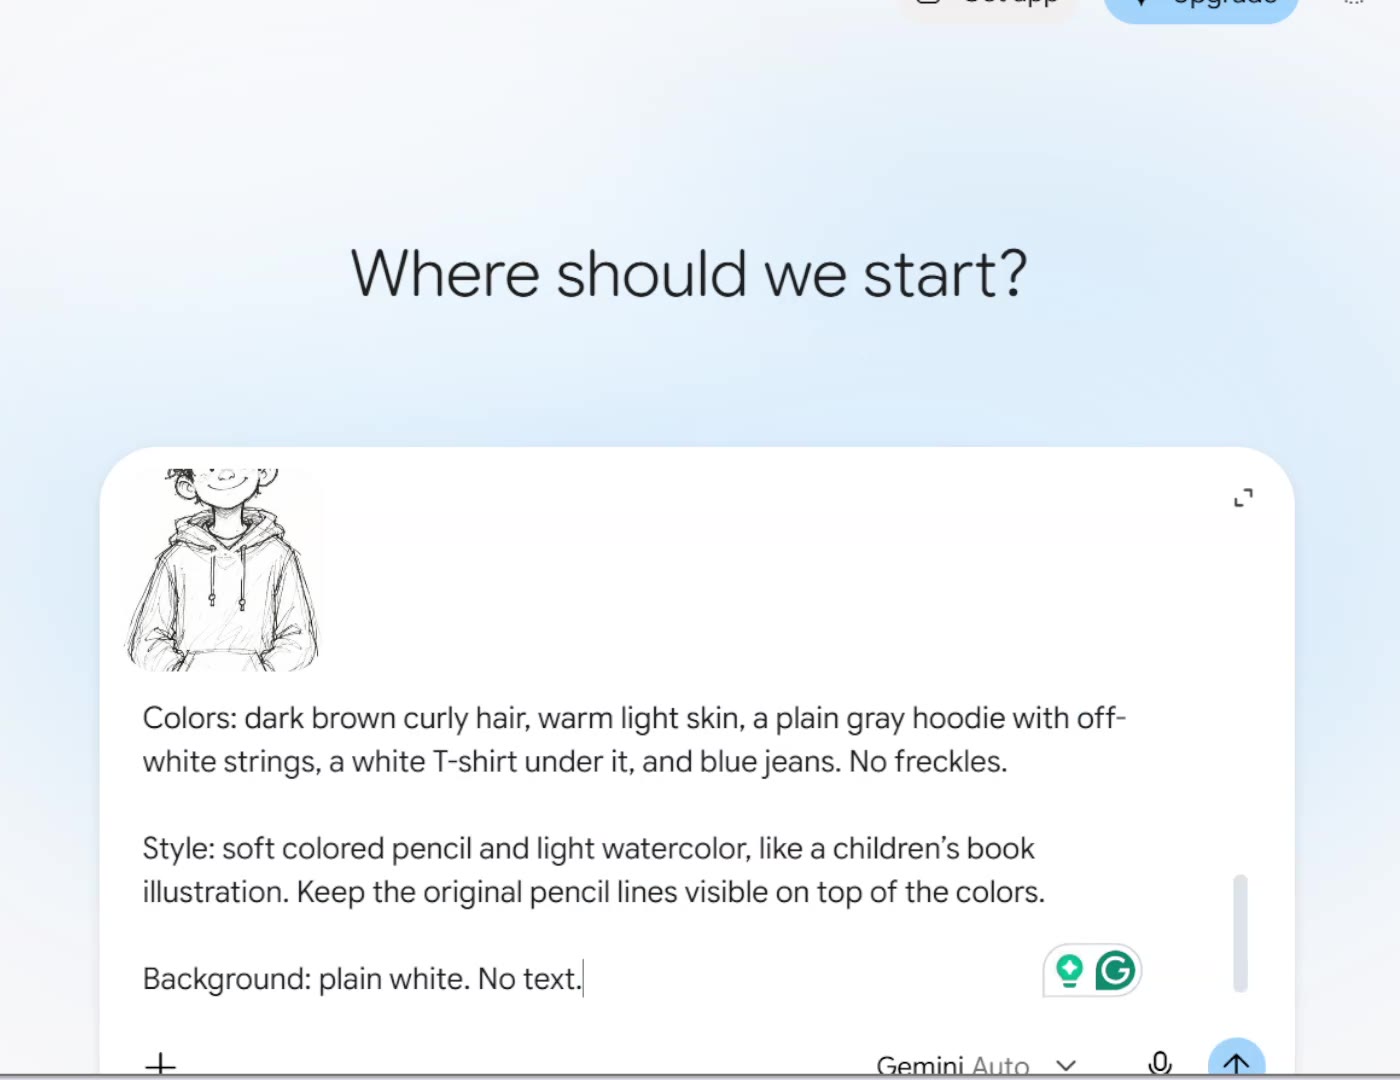
A tip: color each character in a new chat. If both drawings are in the same chat, Gemini tends to compare them and mix things from one into the other.
Removing the background in Adobe Express
On the Adobe Express home page, click Create in the left bar, then Quick actions, and scroll down to Remove background. Click Browse Files, choose your image, and the background is removed automatically. Then click Download. A bit of white stayed at the bottom of my drawings, but it fits the pencil style, so I left it. (I’m on a paid plan, so some of the things here may not be in the free plan.)
A custom size print file
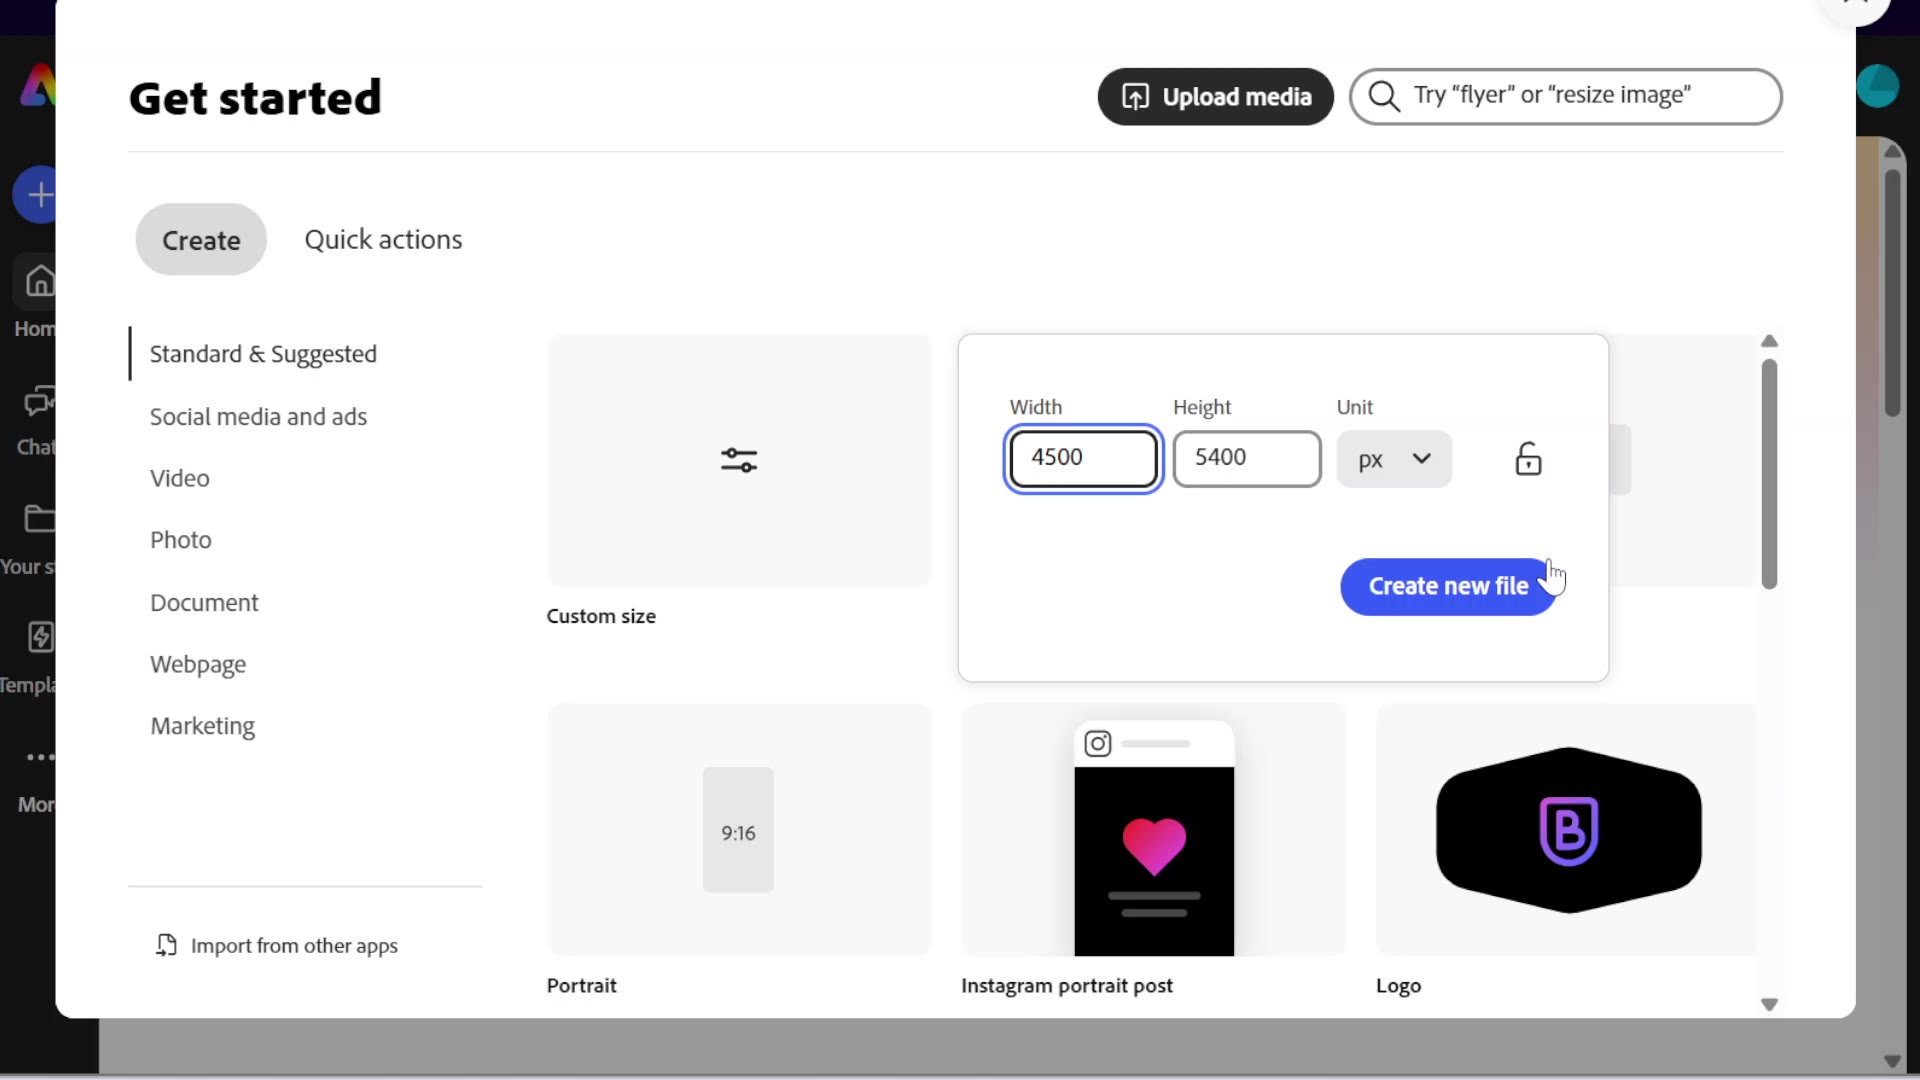
Click Start new design → Custom size and type 4500 for the width and 5400 for the height. That’s a good size for a T-shirt print file. Then click Create new file.
The character and the circle behind him
- To add the image, click Upload in the left bar and choose your file.
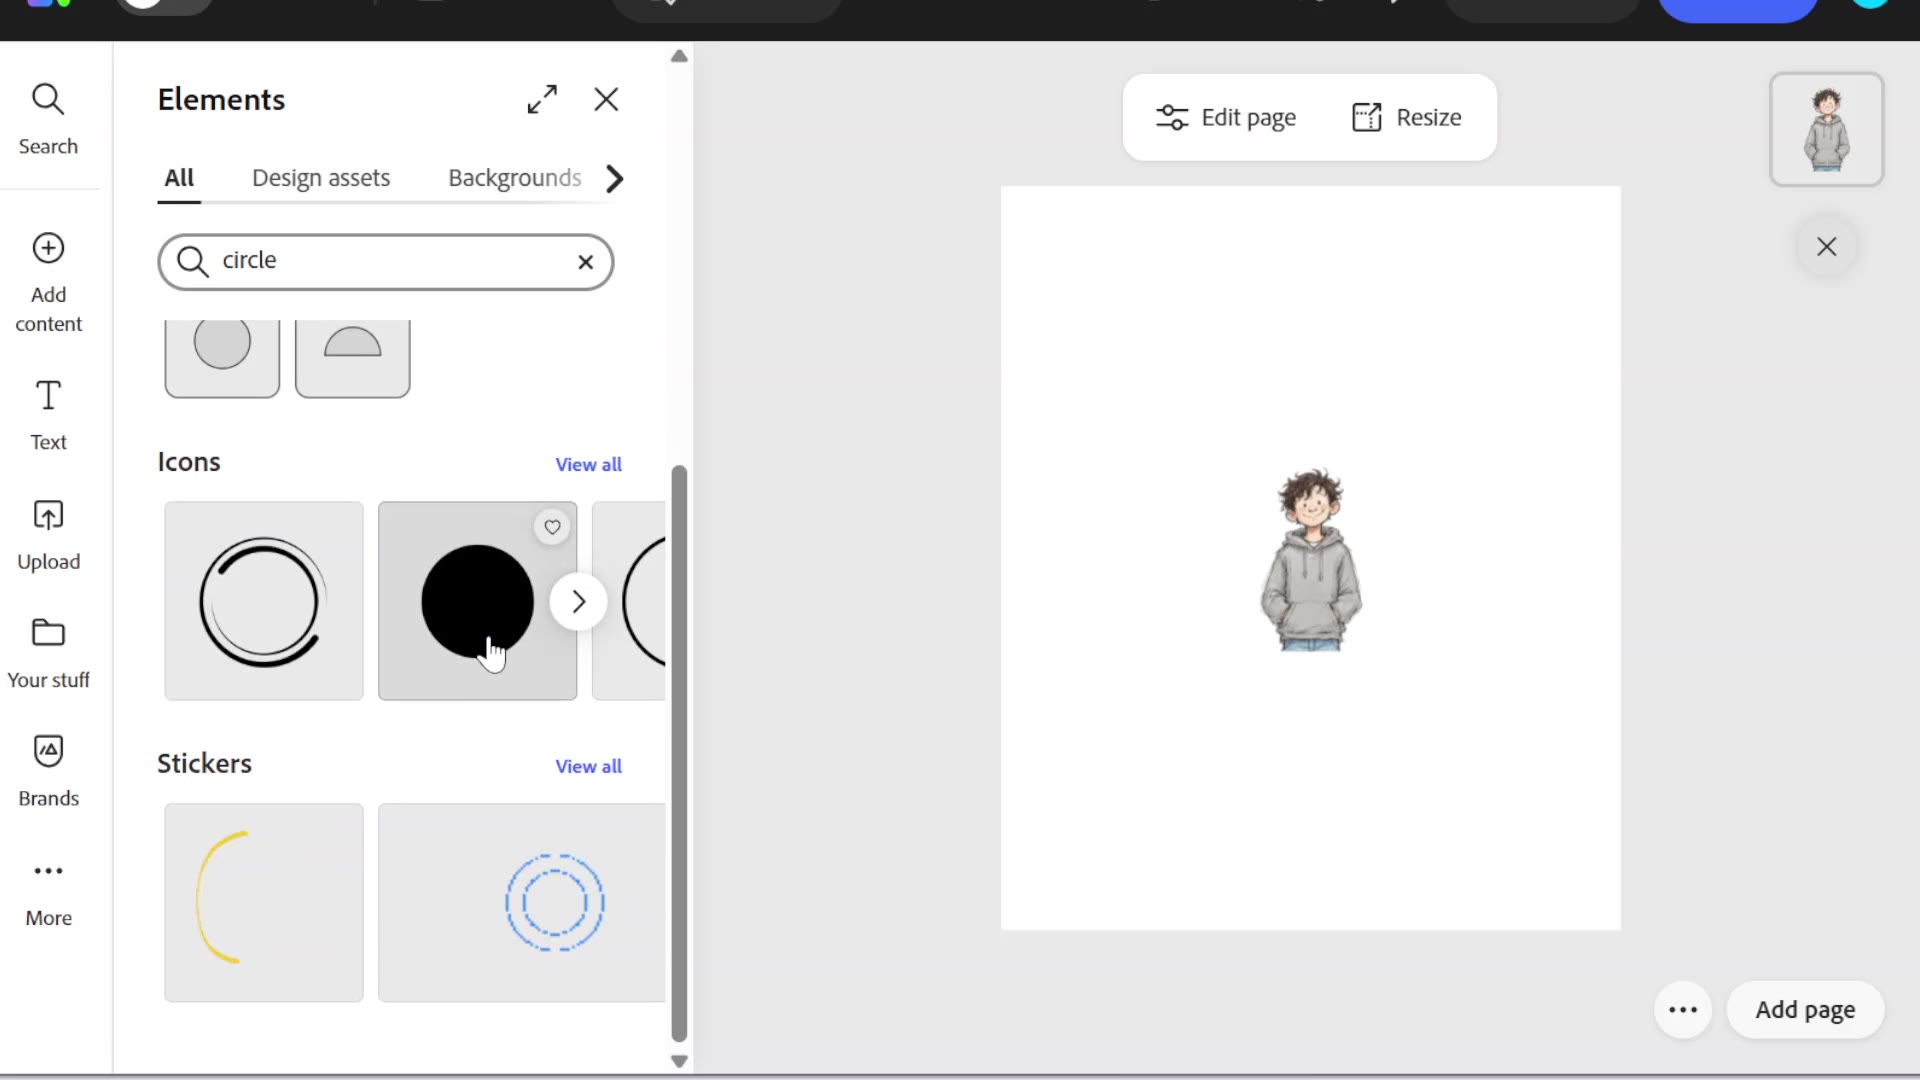
- For the circle, click Add content → Elements and search for “circle”. Scroll down to Icons and click the full circle. I chose an icon because you can change its color.
- To change the color, click the color square in the panel and choose a color.
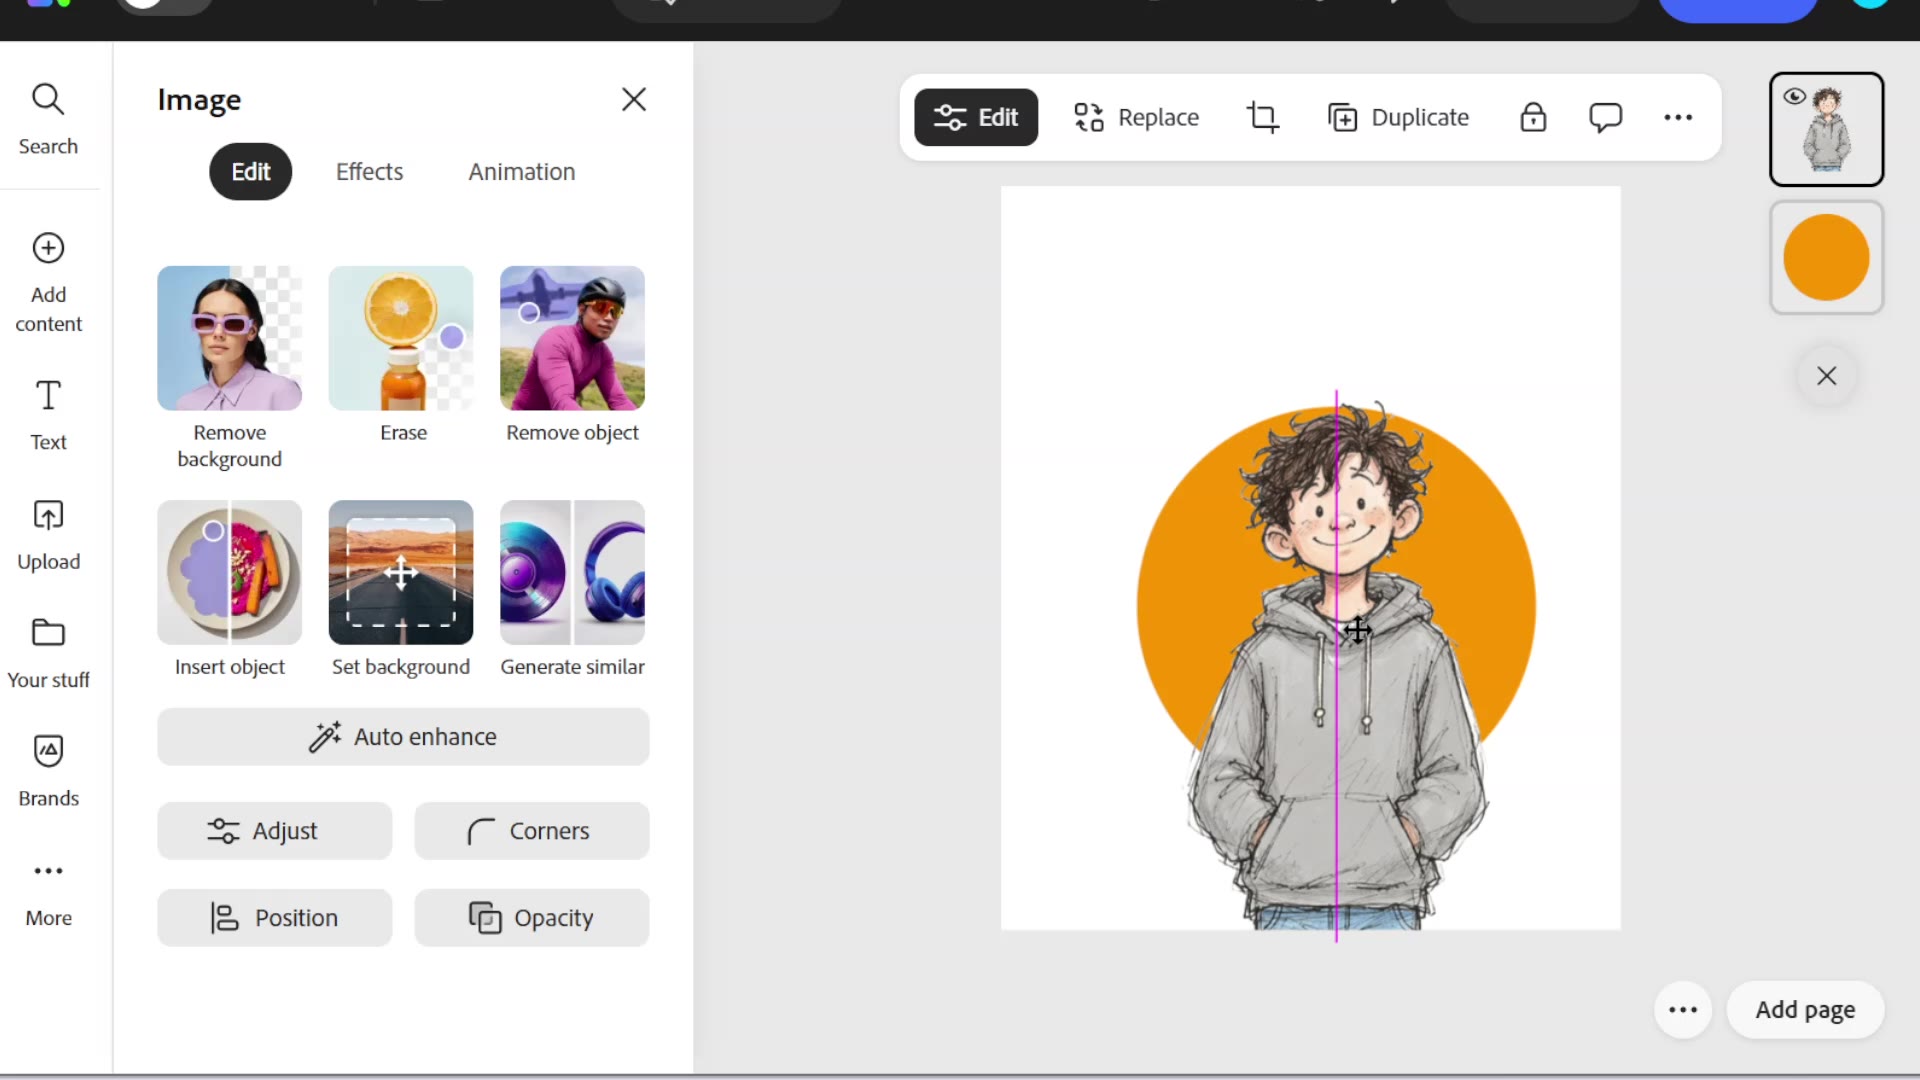
- The circle now covers the character. In the layers on the right side, drag the character above the circle and he comes to the front.
When you move the character, pink lines show you when he’s exactly in the center. Then make him bigger with the corners. I didn’t put him fully inside the circle: he comes out of it at the top and the bottom, so he stands out and doesn’t look flat.
Adding text: font, color and outline
- Click Text in the left bar, then Add your text. I chose Title and typed “Team Alex”.
- To change the font, click the font box in the panel and search, or scroll through the fonts.
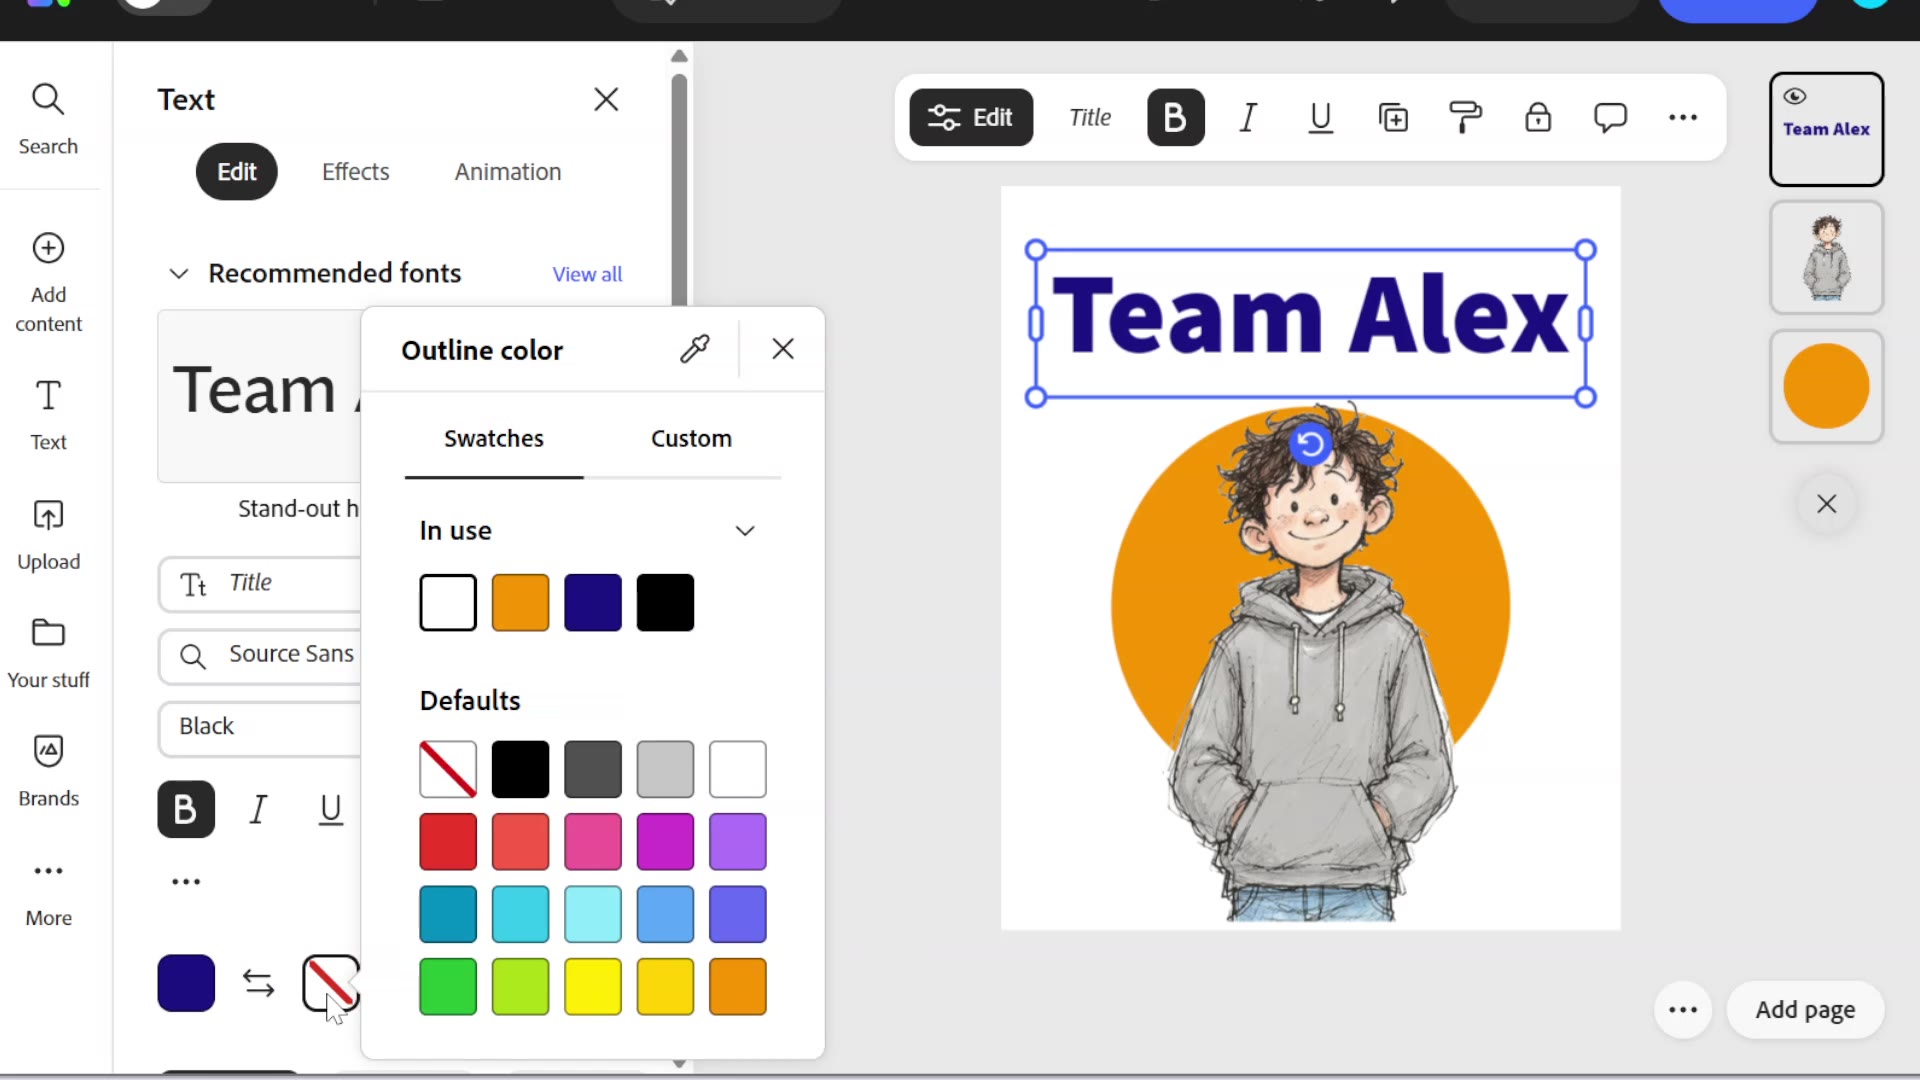
- To change the color, click the color square at the bottom of the panel. Under Custom you can choose any color.
- Next to it is the outline color, and next to that the outline thickness.
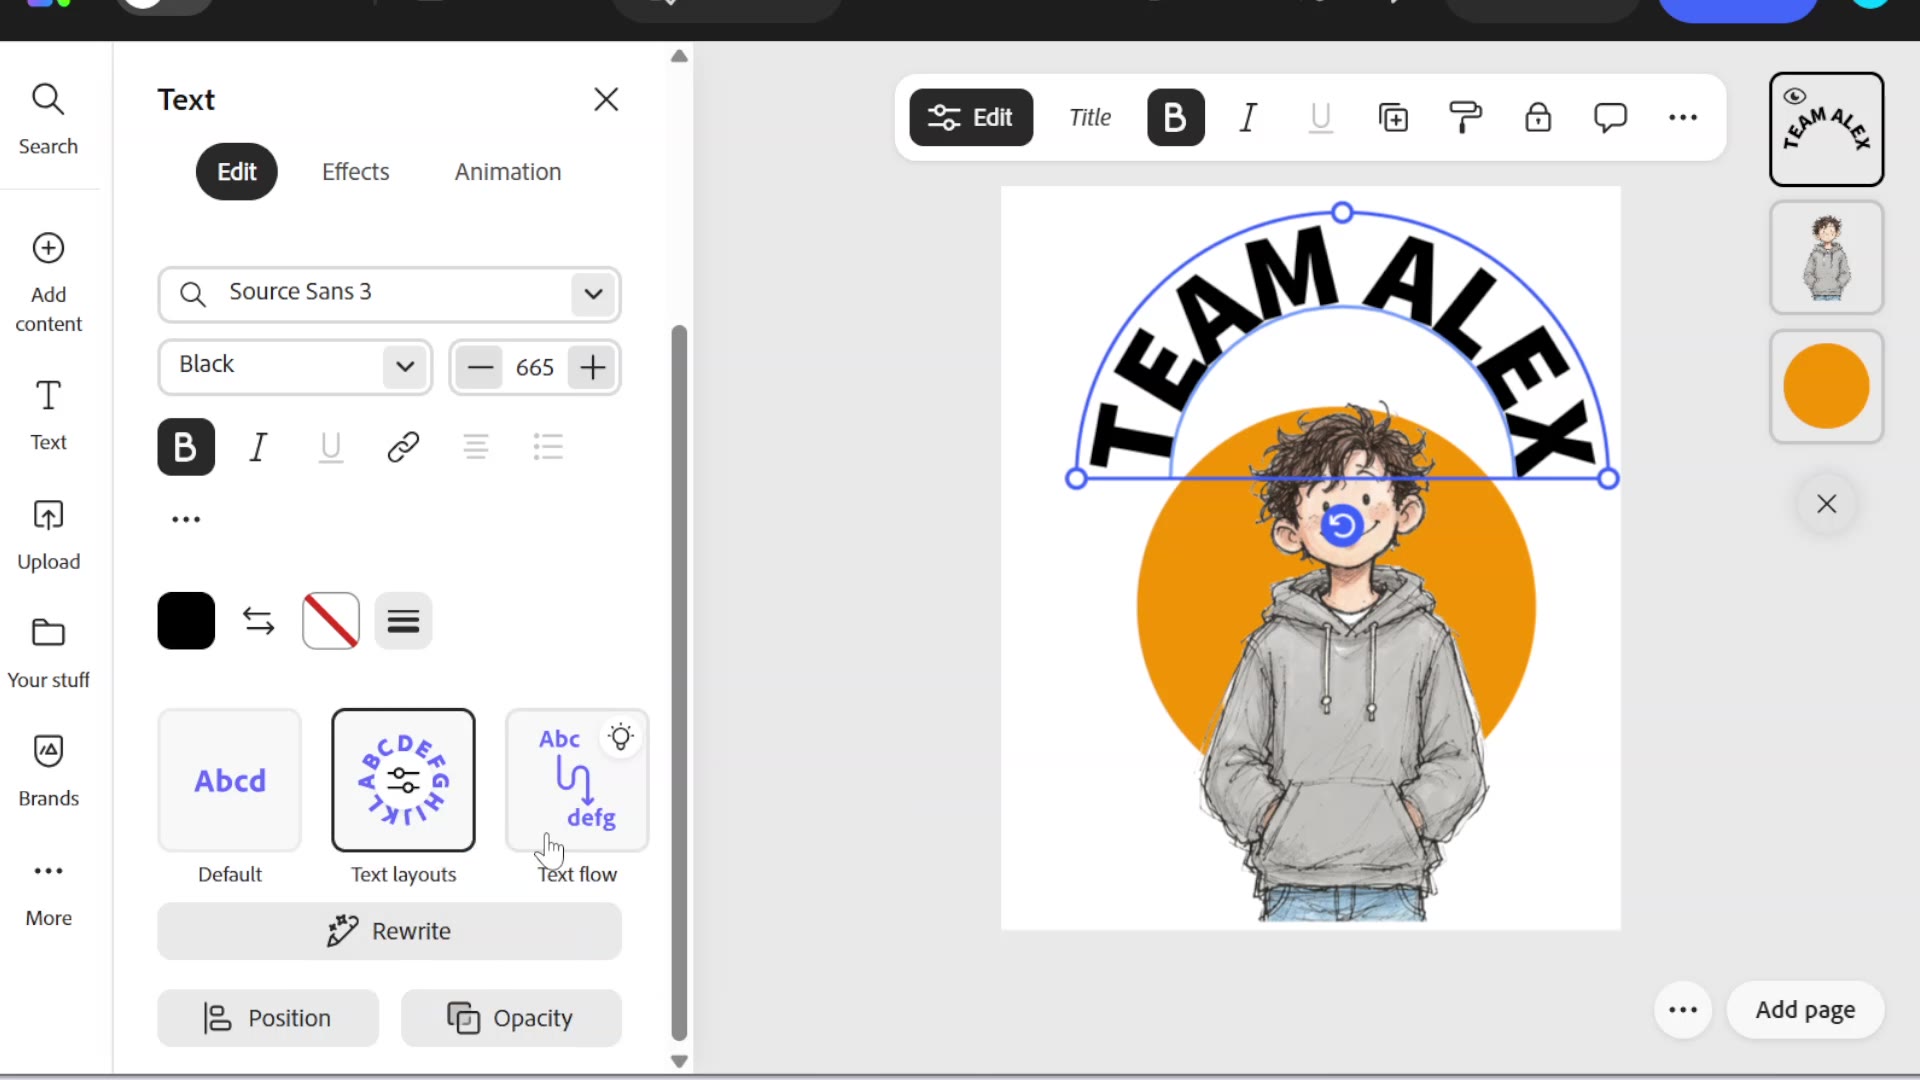
I also tried curved text over the circle: Text layouts → Arch. But in Adobe Express you can’t shape the curve to match your own circle, so it didn’t look right and I gave up. I tried the text effects too, and they didn’t fit this design, so I kept the text plain.
A ribbon you can recolor
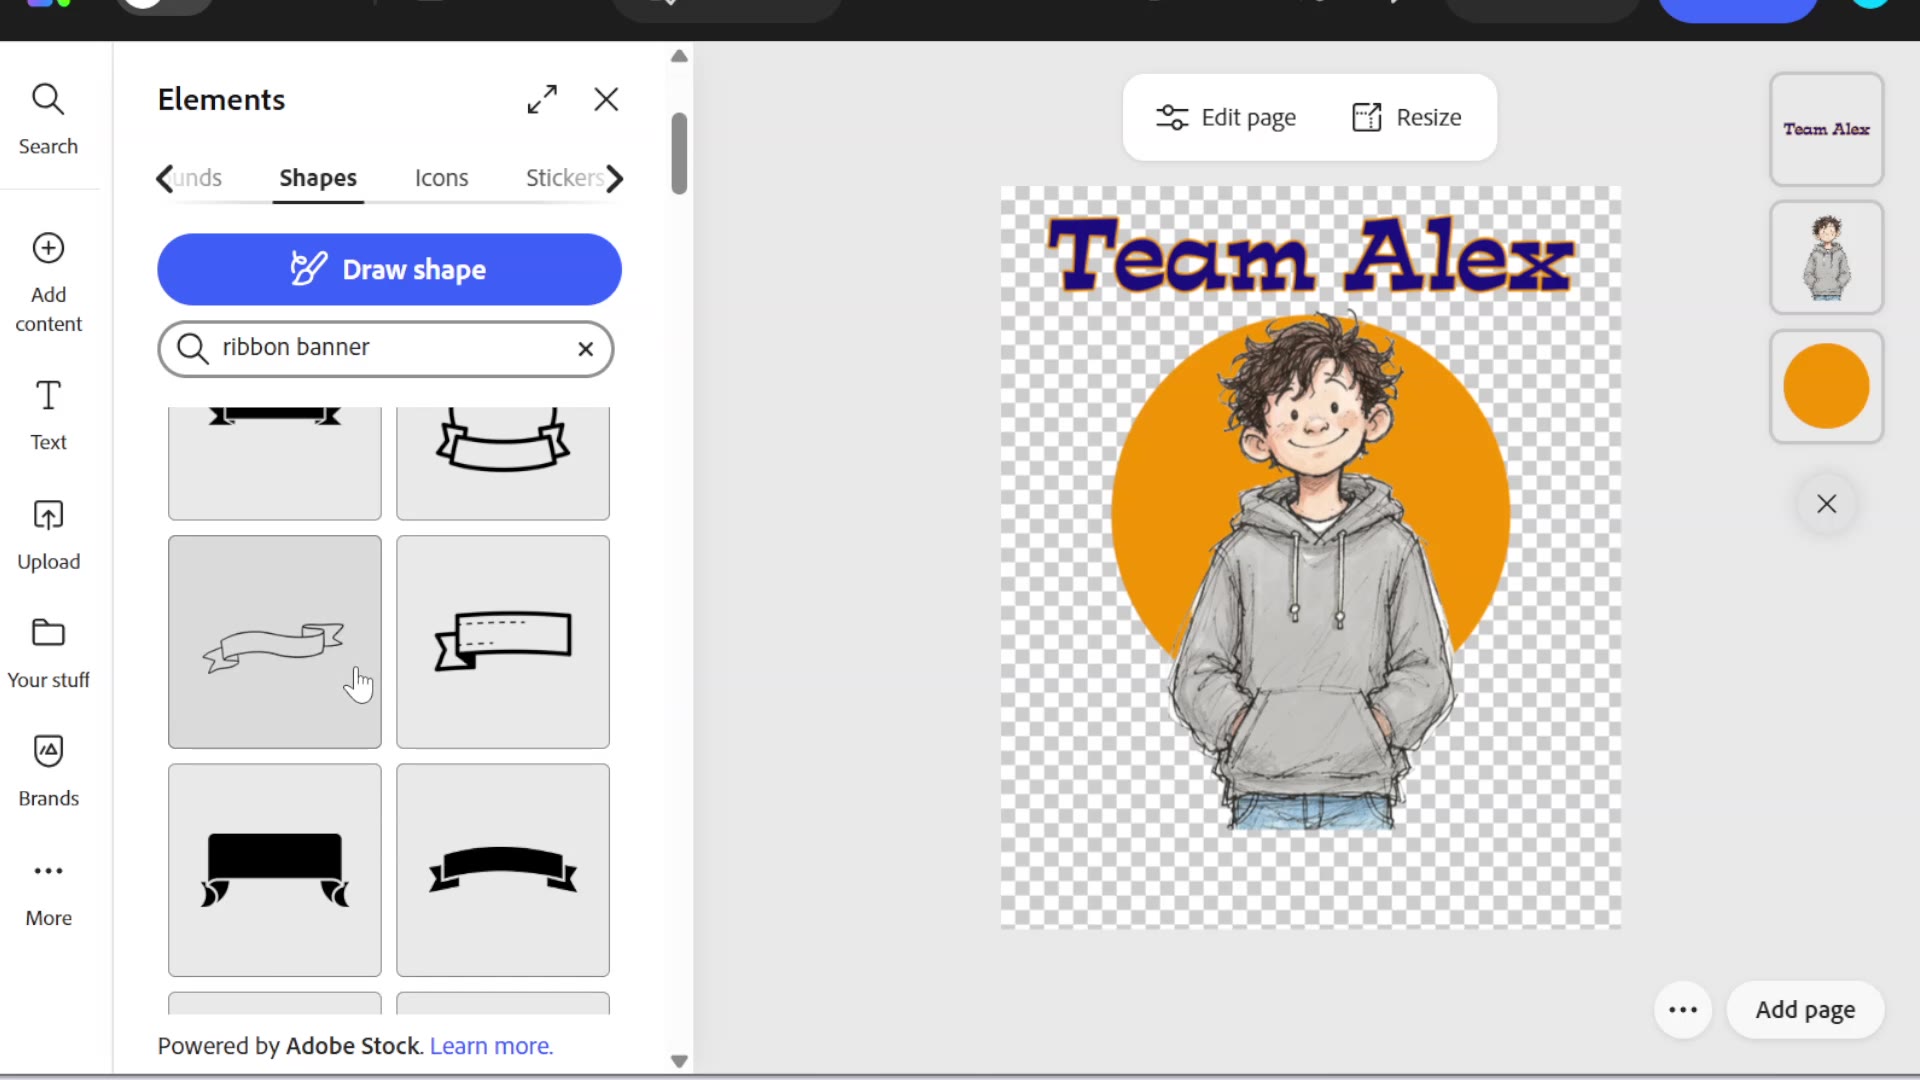
I wanted a ribbon at the bottom with a word from the book. It also covers the place where the character is cut at the waist. Go to Add content → Elements and search for “ribbon banner”. Most of the ribbons under Design assets are pictures, and you can’t change their color. So go to the Shapes tab: shapes have a color you can change, so you can match the ribbon to your design. Then add another text box on the ribbon. On Alex’s ribbon I wrote “This way!”
The second design and swapping colors
For Daniel I didn’t start from zero. Click the three dots on the page at the bottom and choose Duplicate. Then I changed the texts to “Team Daniel” and “Definitely!”, uploaded Daniel and deleted Alex.
Then I switched the colors, so each design has the same two colors in opposite places:
- When the text has two colors (the text color and the outline), click the arrow between them and they swap.
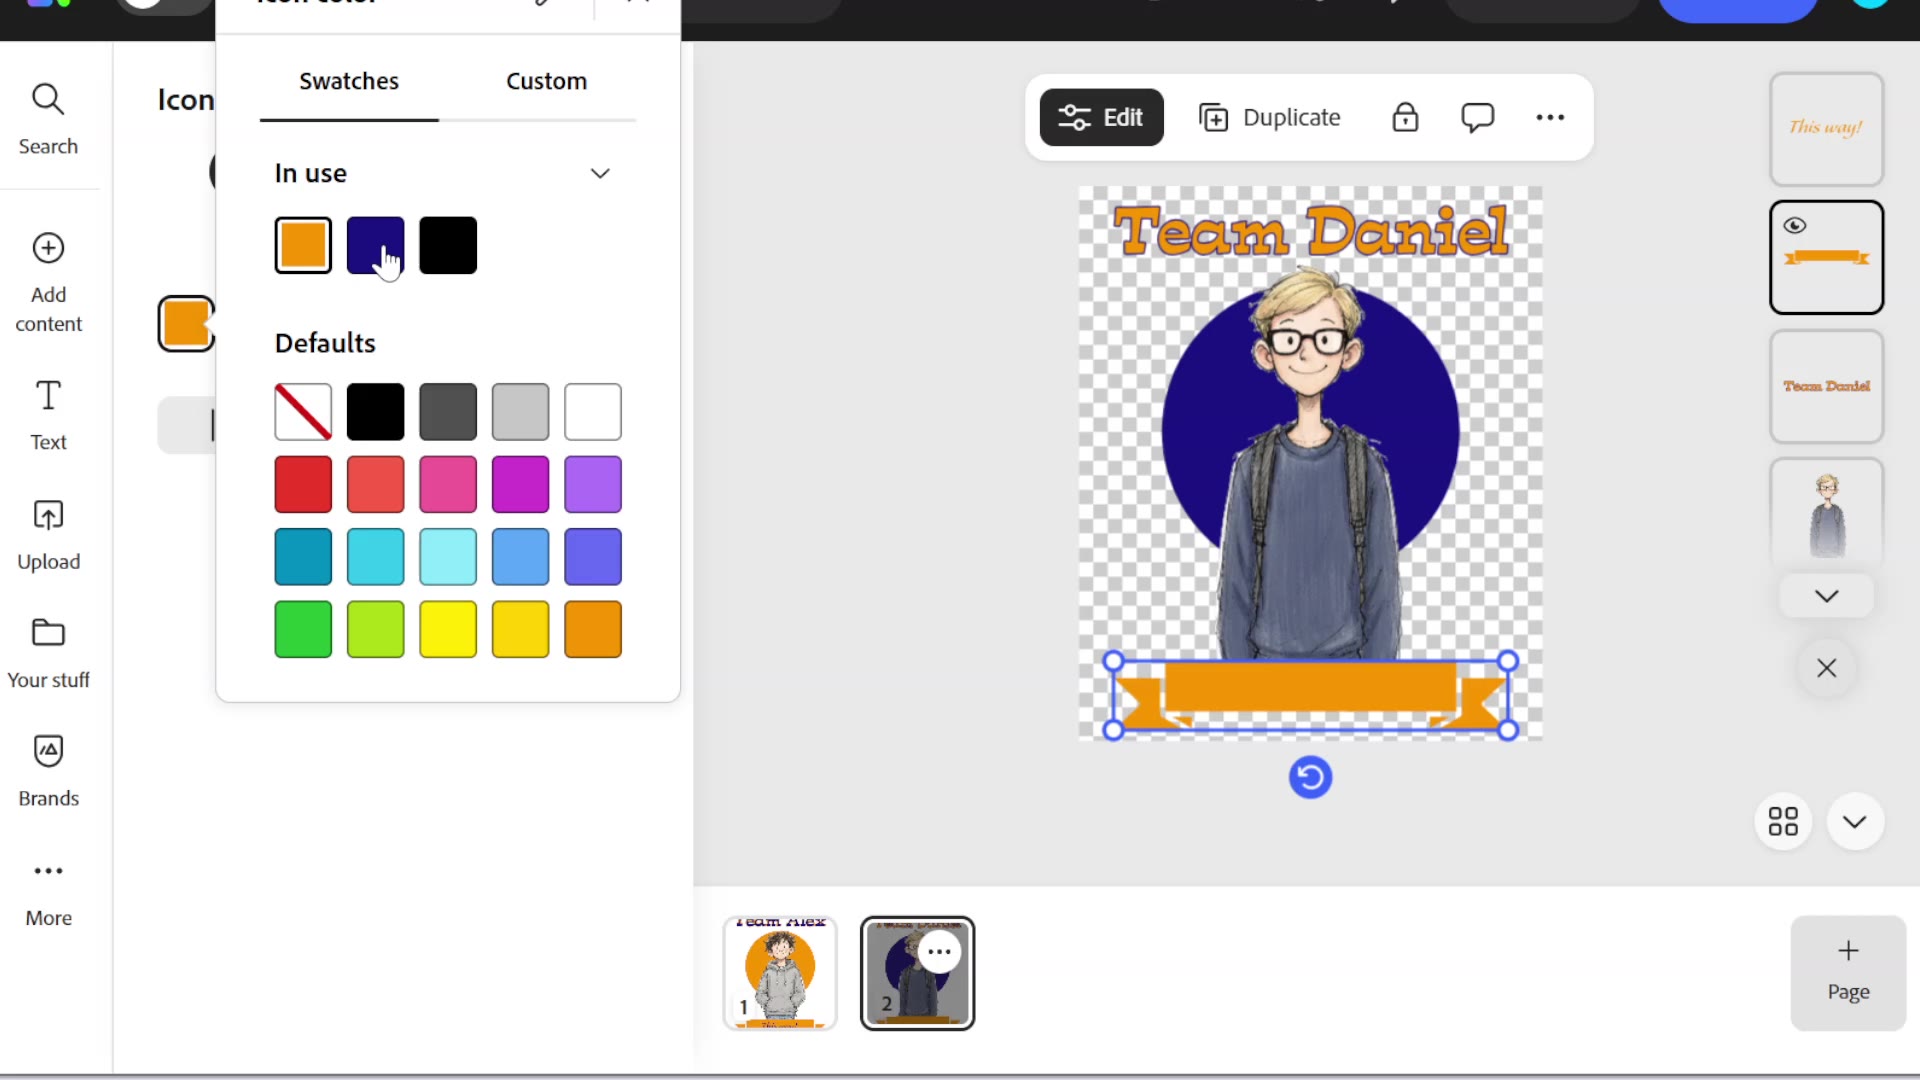
- When an element has one color, like the circle or the ribbon, click its color square. Under In use you see the colors that are already in your design. Click the other one, and that’s it.
Downloading a transparent PNG
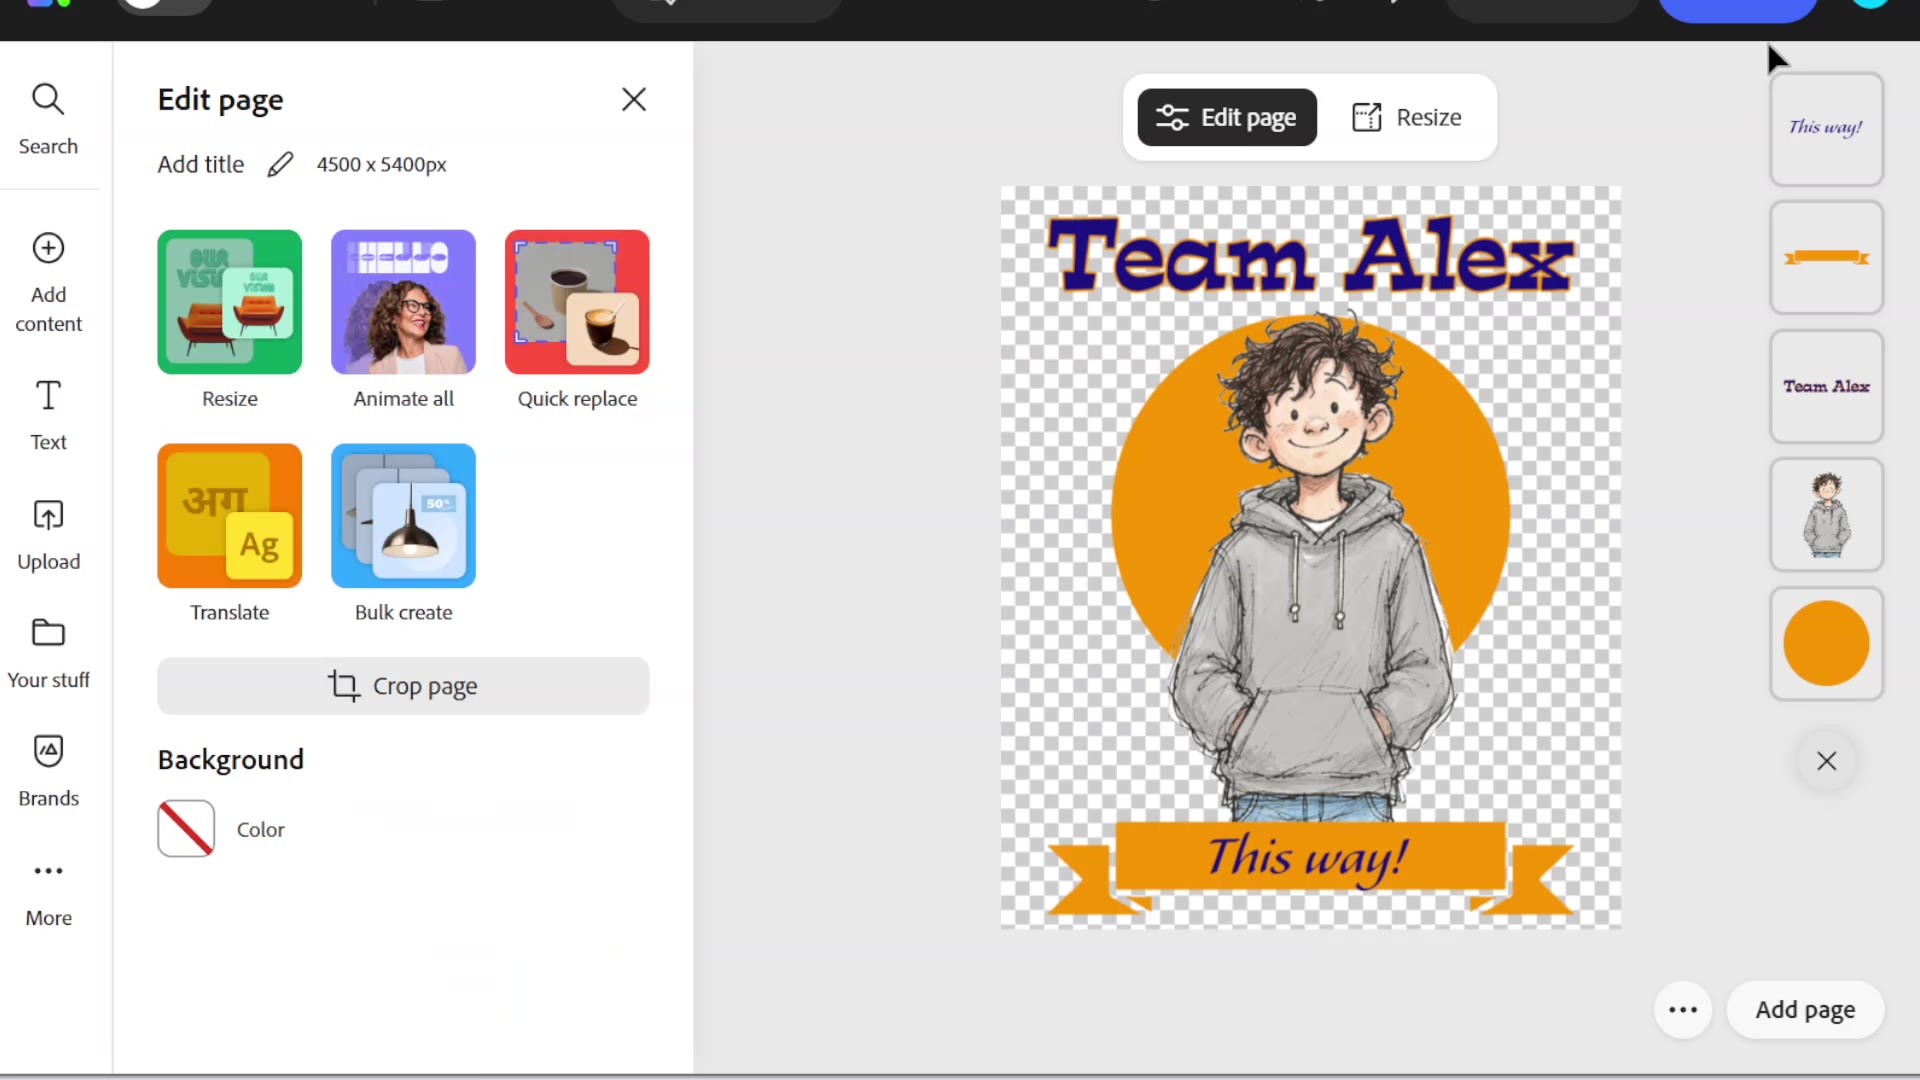
Click on an empty spot on the page. In the Edit page panel, click Background → Color and choose the first swatch, the one with the red line. That means no background. Then click Download, choose Transparent PNG, keep the full size, and download.
One design for light and dark shirts
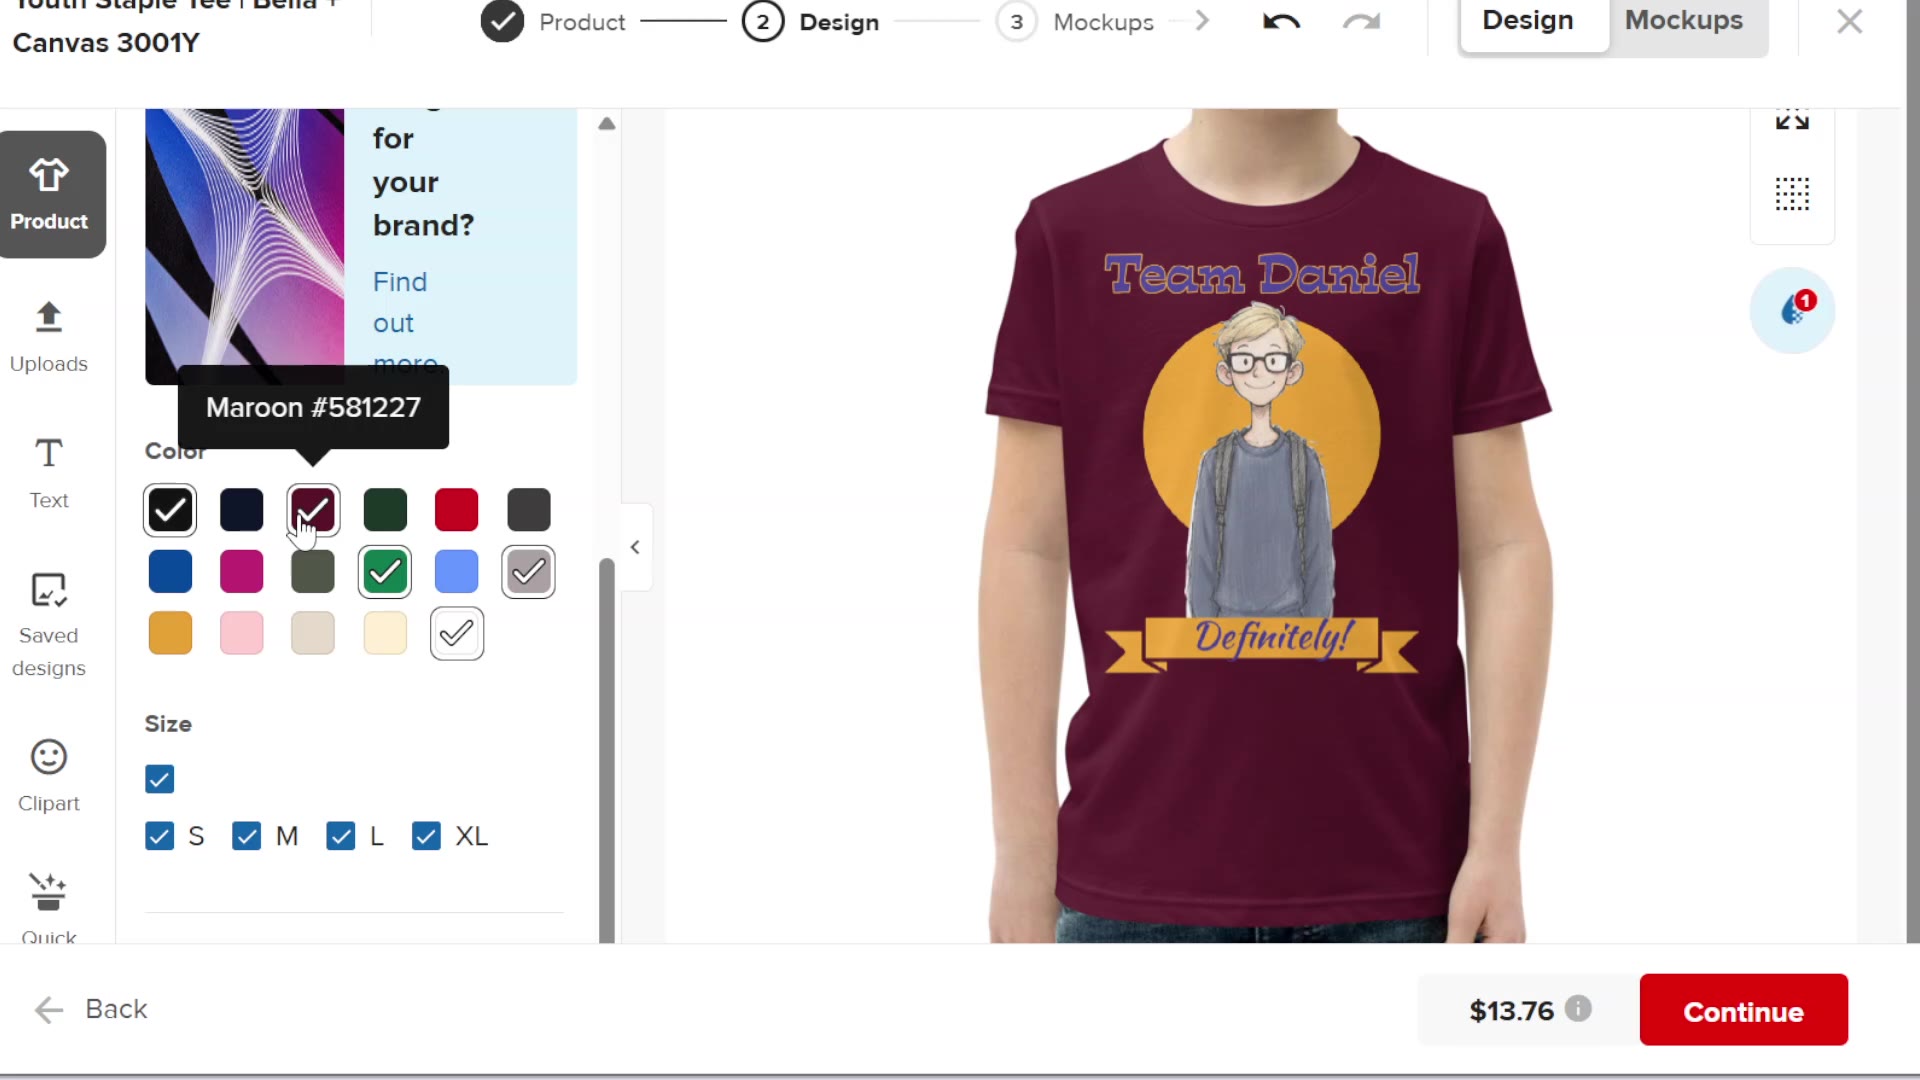
To make one design work on every shirt color, choose colors that are not too light and not too dark. The character and the ribbon text sit on the circle and on the ribbon, so they look the same on every shirt. Daniel’s dark blue text was hard to see on a black shirt, so I added a thin orange outline. Compare this with my Canva T-shirt for light shirts only.
Creating the product in Printful
- In Printful, click Stores in the left menu, find your store and click Add product there. This is the safest way to make sure the product goes to the right store.
- This shirt is for young readers, so I chose Kids’ & youth clothing → T-shirts → Youth Staple Tee by Bella + Canvas.
- Click Uploads, upload your PNG and click Apply. The print quality here was Good, 450 DPI.
- Usually I prefer four colors, all light or all dark. But this design works on both, so I took the basics, white, black and gray, plus green and burgundy (maroon). And four sizes, S to XL.
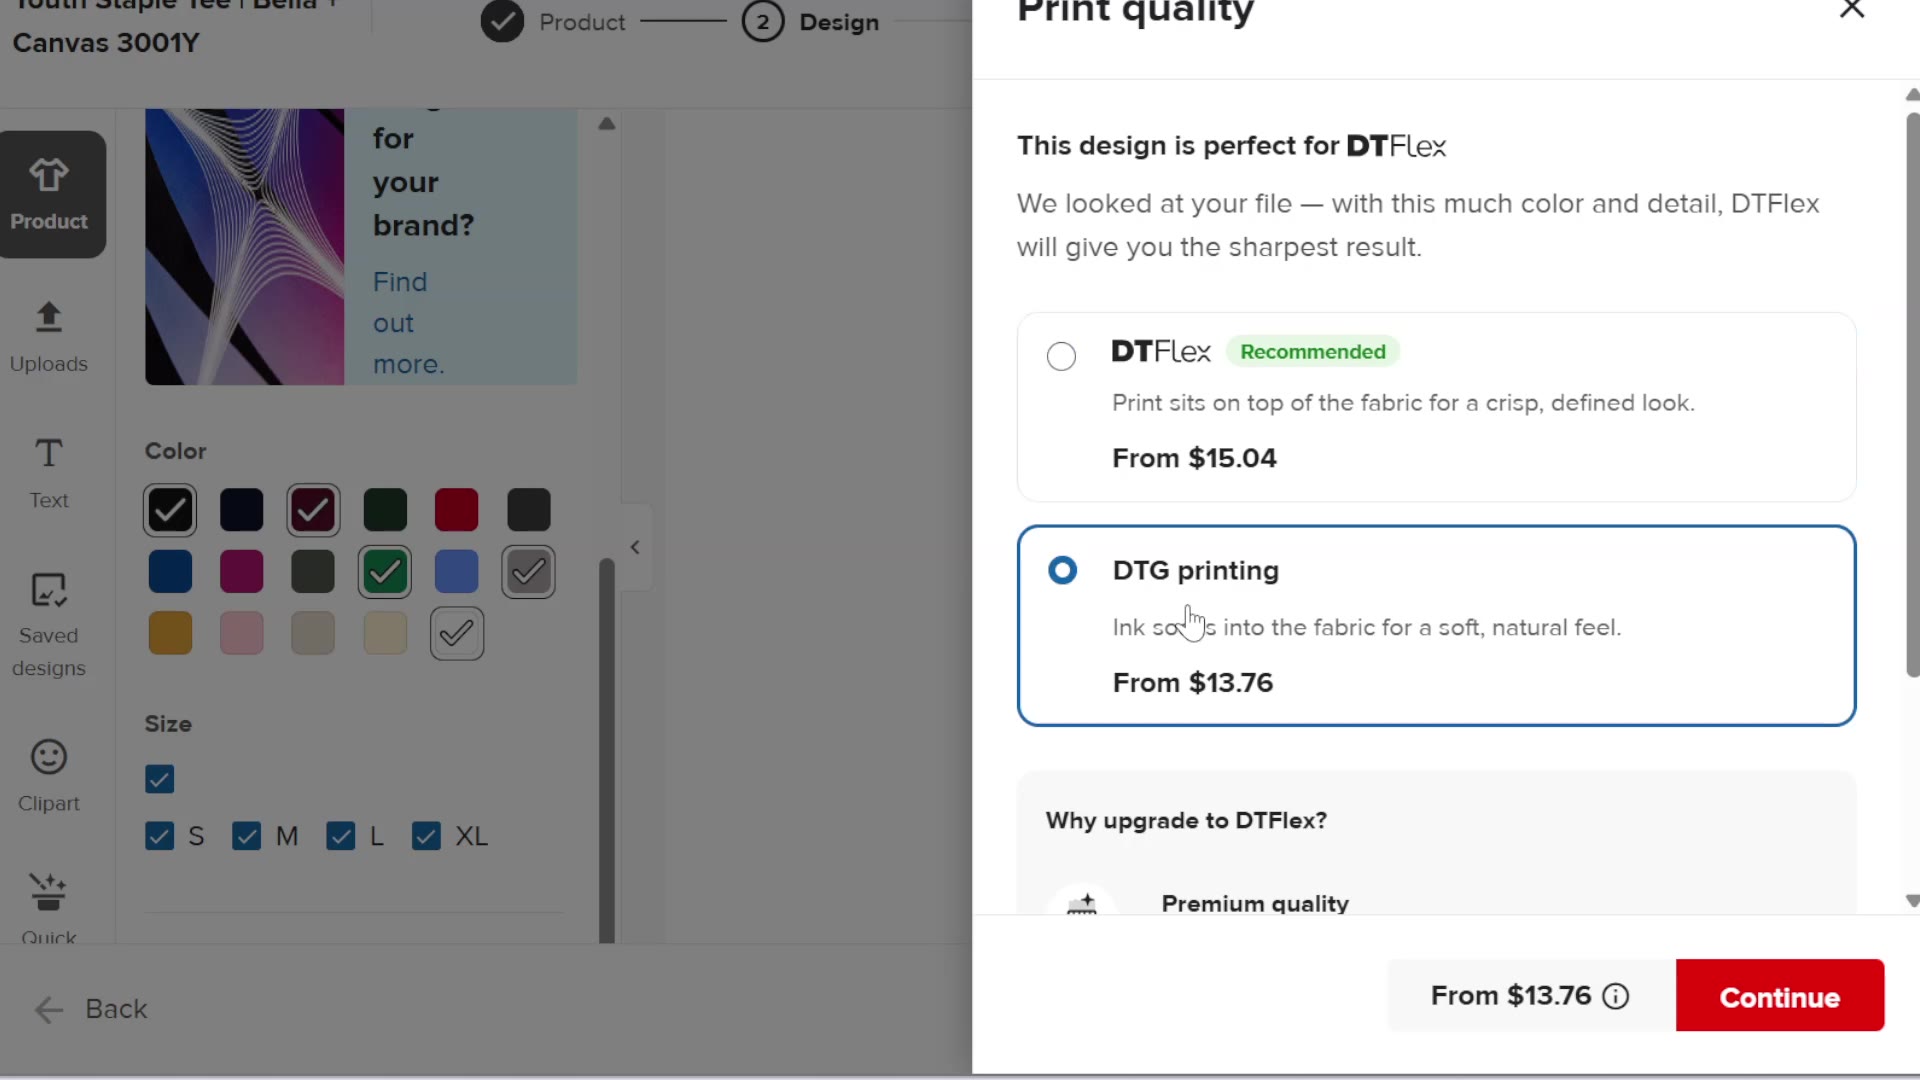
DTFlex or DTG?
Printful told me my design is perfect for DTFlex. DTG soaks the ink into the fabric, so it feels soft. DTFlex prints on top of the fabric, so a design with a lot of color and detail looks sharper. It costs a bit more: from $15.04 instead of $13.76. I chose DTFlex anyway, because my colors are soft, like colored pencil, and I wanted the print as close to the drawing as possible.
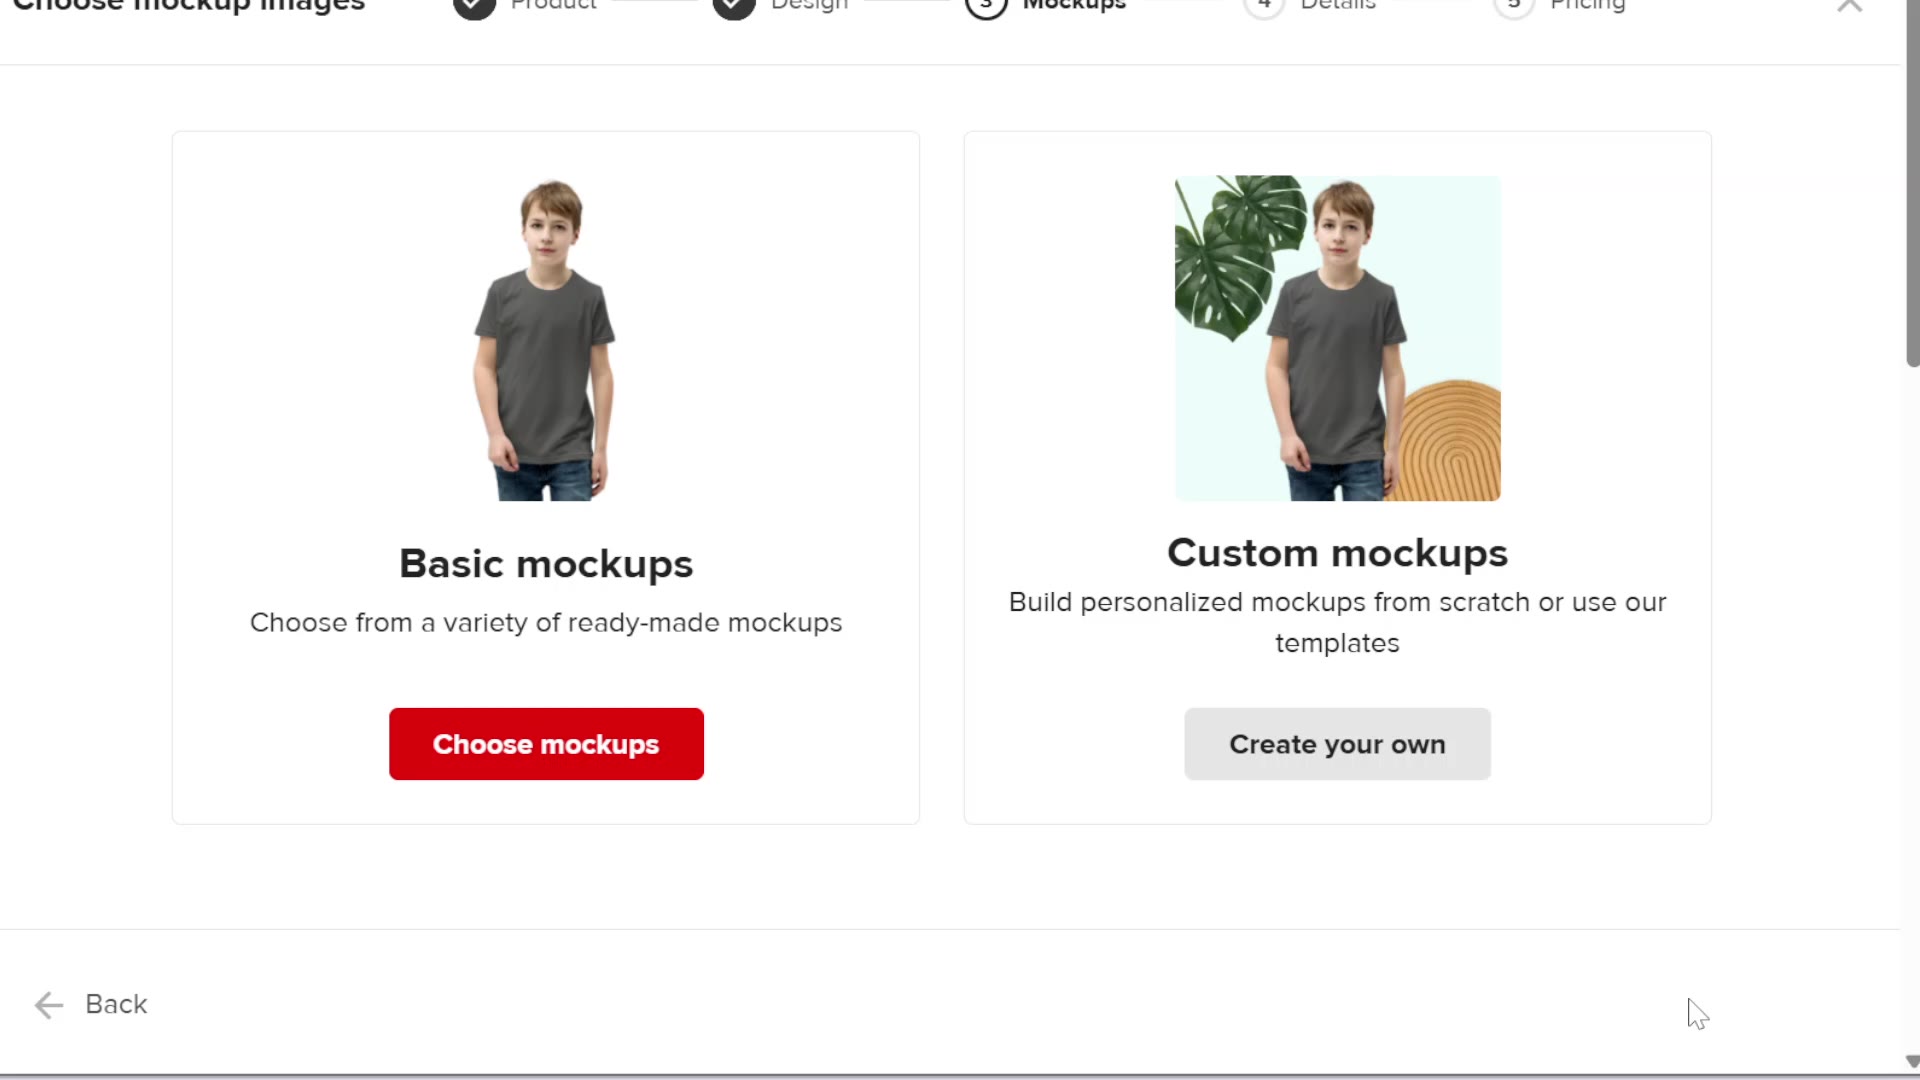
Custom mockups
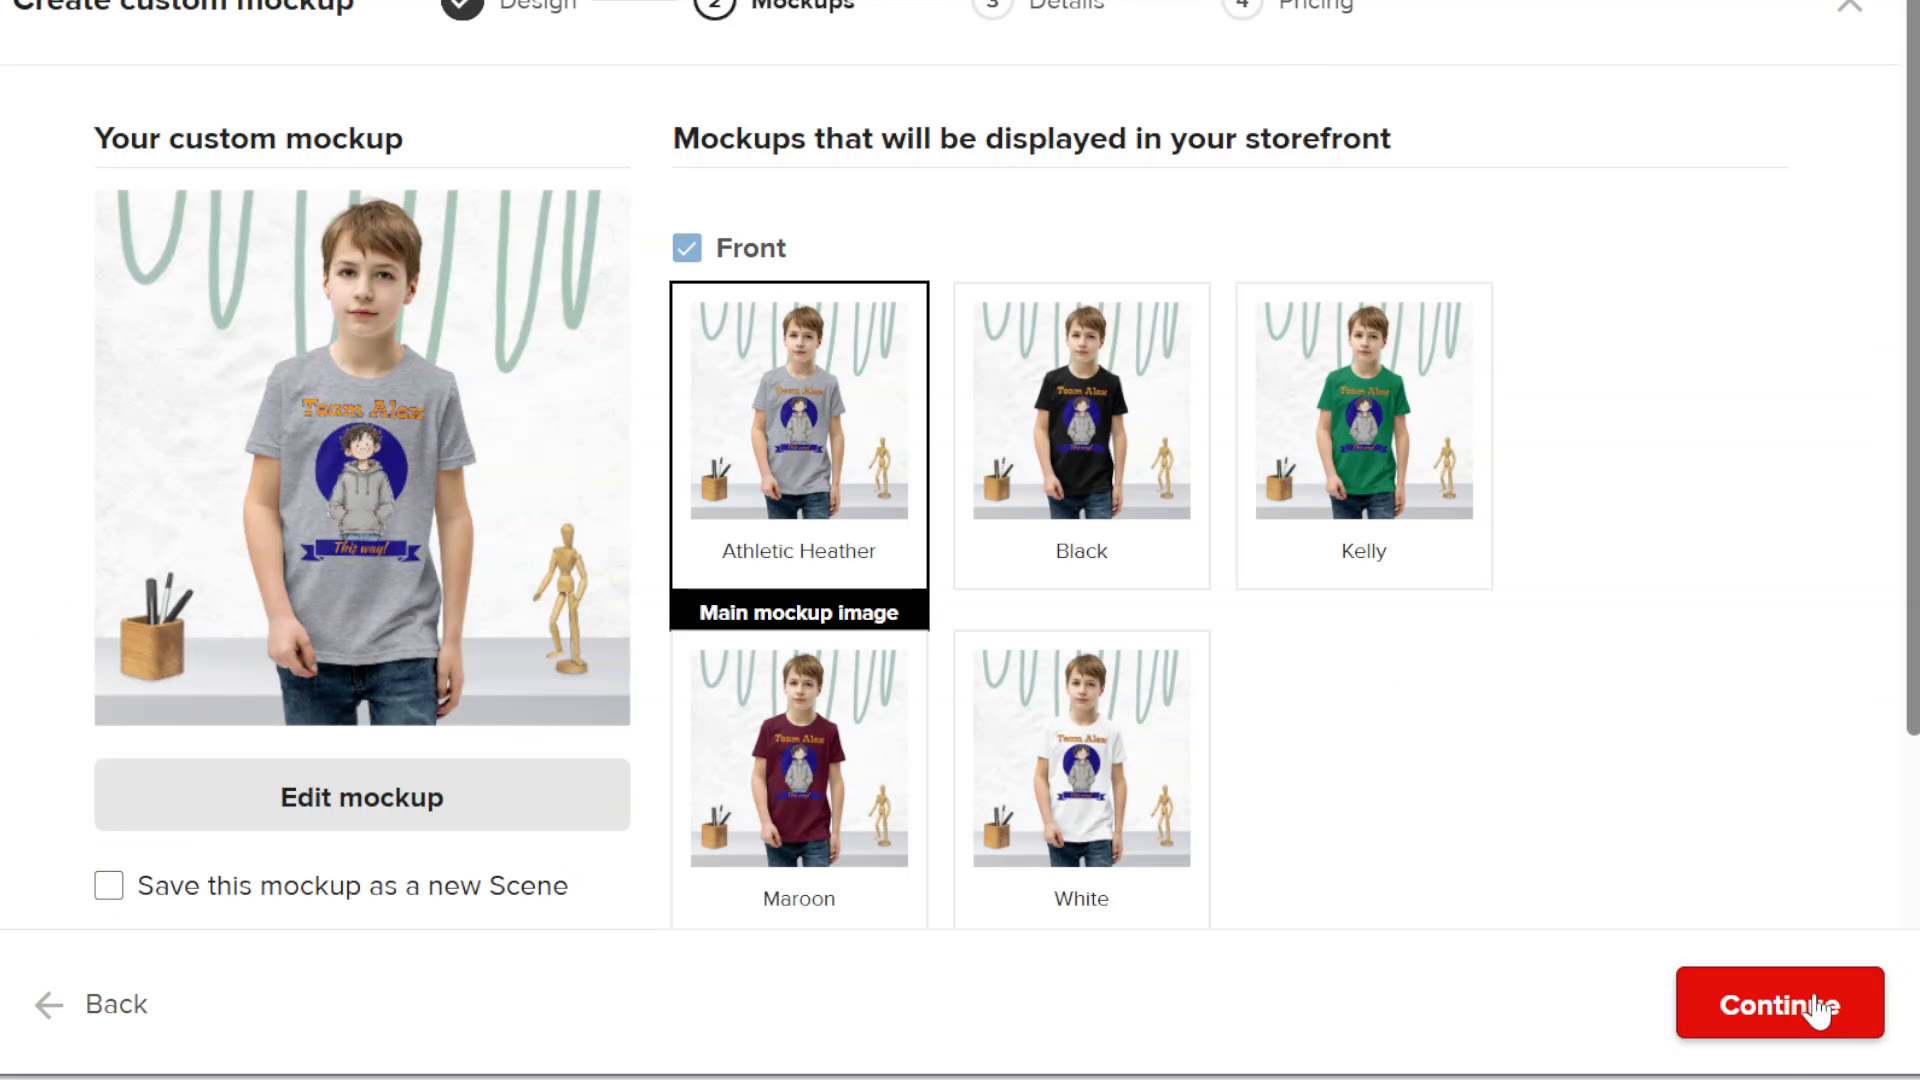
In my last T-shirt I used Basic mockups, the ready-made ones. This time I clicked Custom mockups → Create your own.
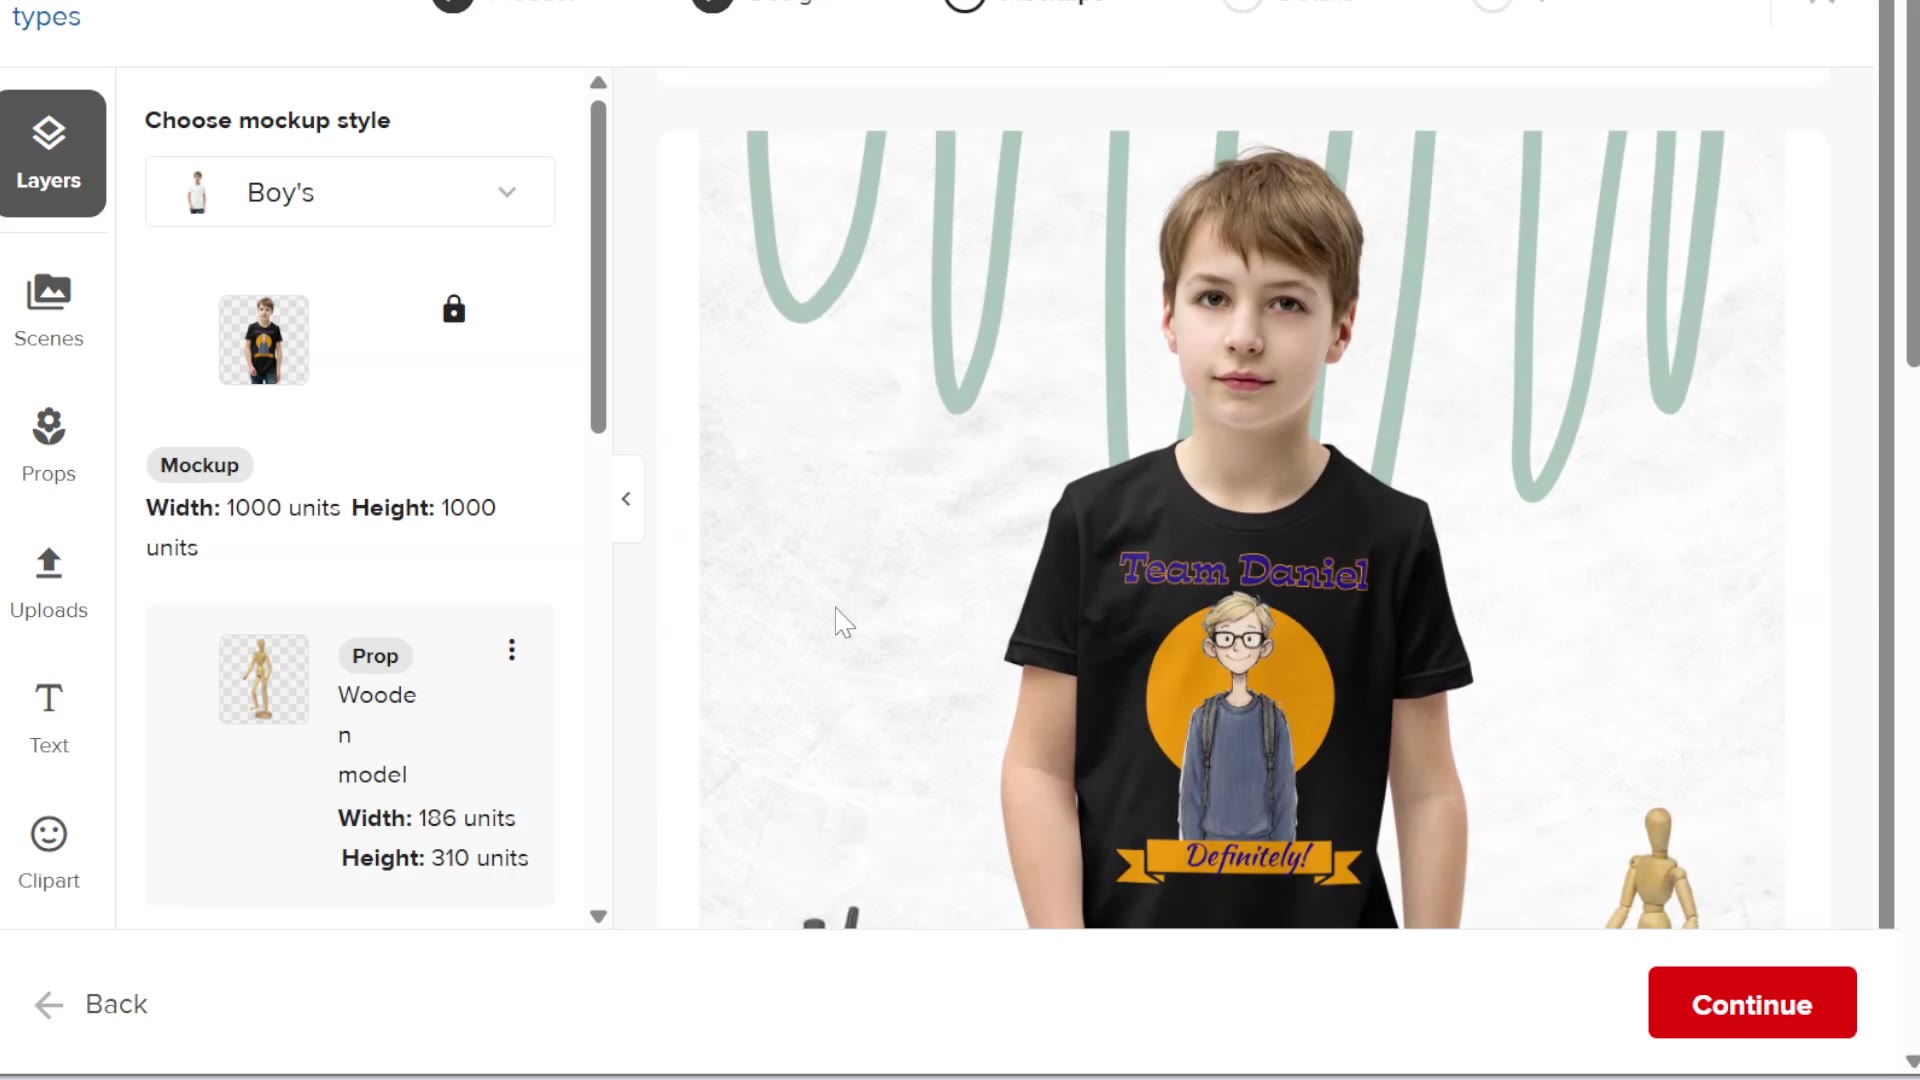
- In Scenes you choose a background. In Props you can add things, like the pencils and the wooden model.
- In Choose mockup style you choose the model. I chose Boy’s, so a boy is wearing the shirt.
- You can also upload your own photos under Uploads and use them in the mockup.
- For the format I chose JPG, so the store loads faster.
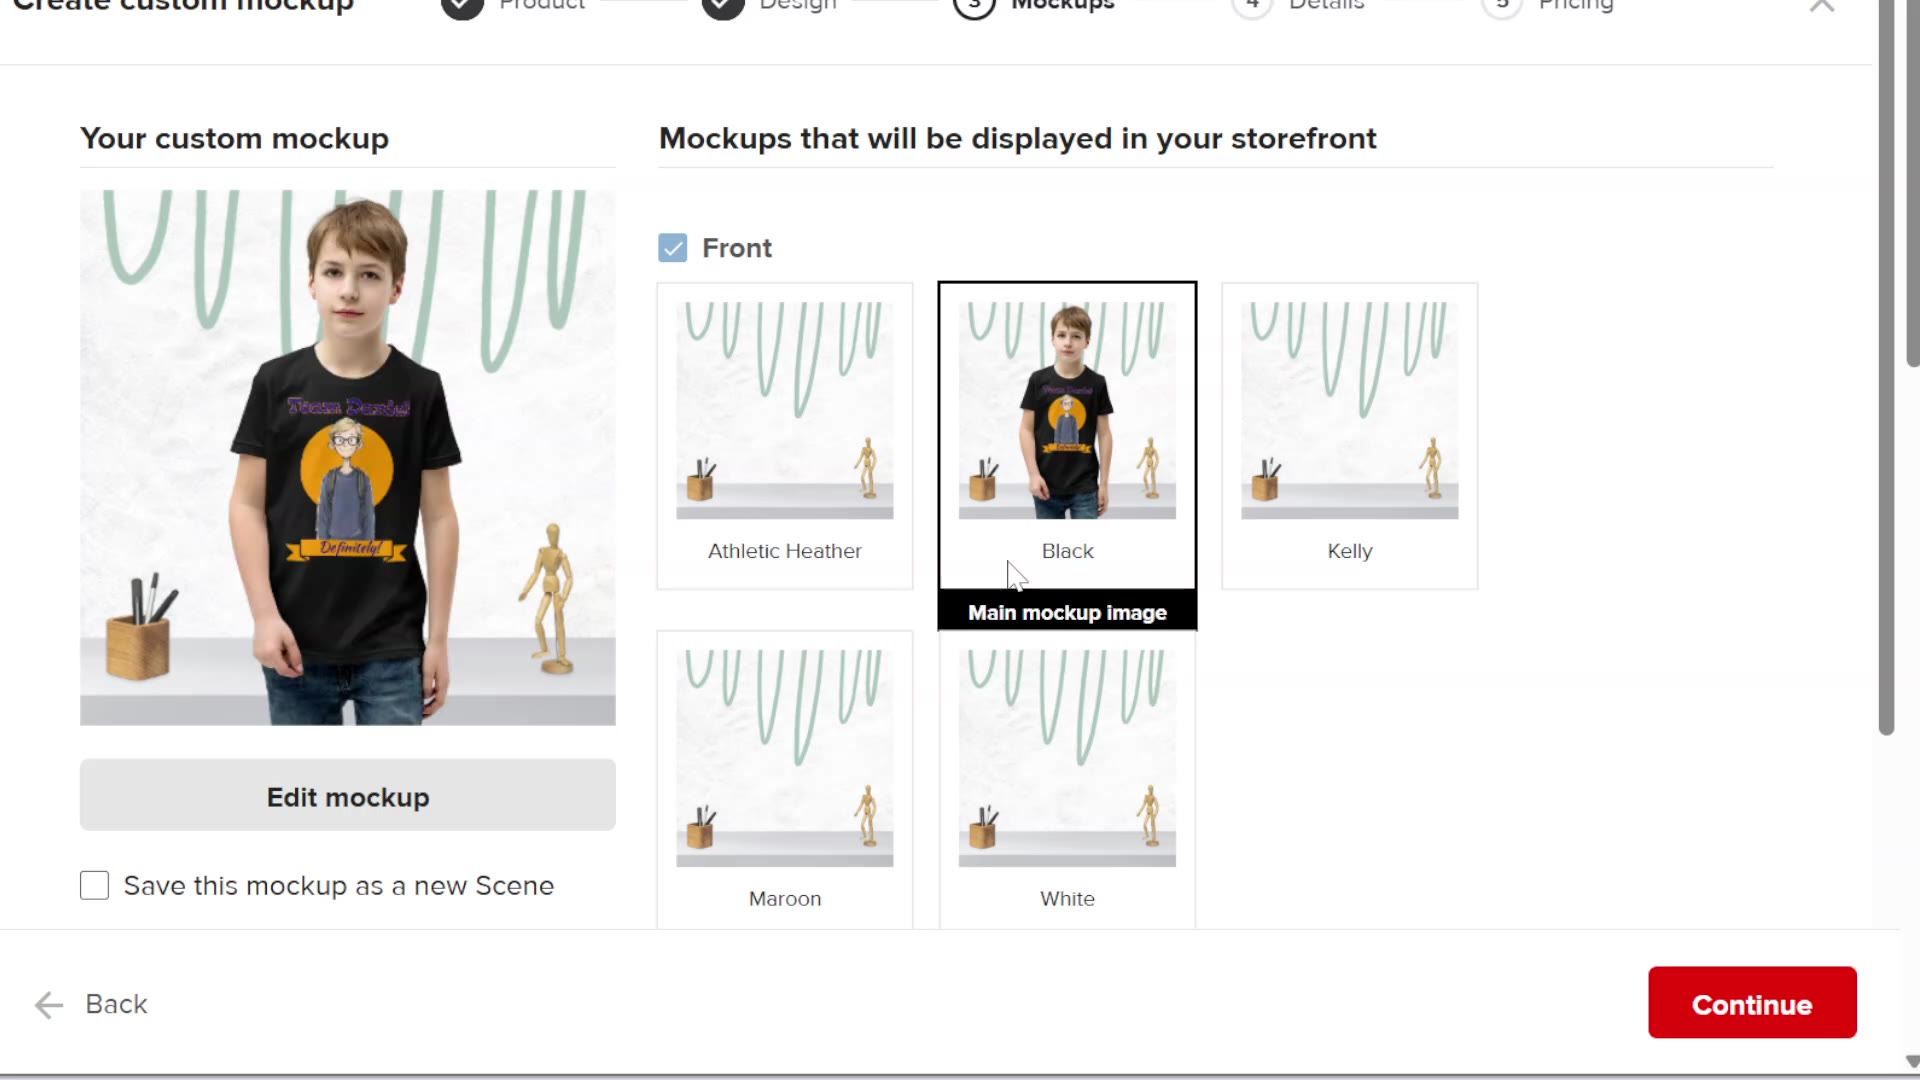
Here’s something that happened to me: I made the mockup on the black shirt, and on the storefront page all the other colors were empty. You need to set the mockup for the colors. When I set it on the gray shirt too, all the other colors filled in.
More about mockups in my post Printful mockups: basic, custom and Canva.
Details, categories and the price
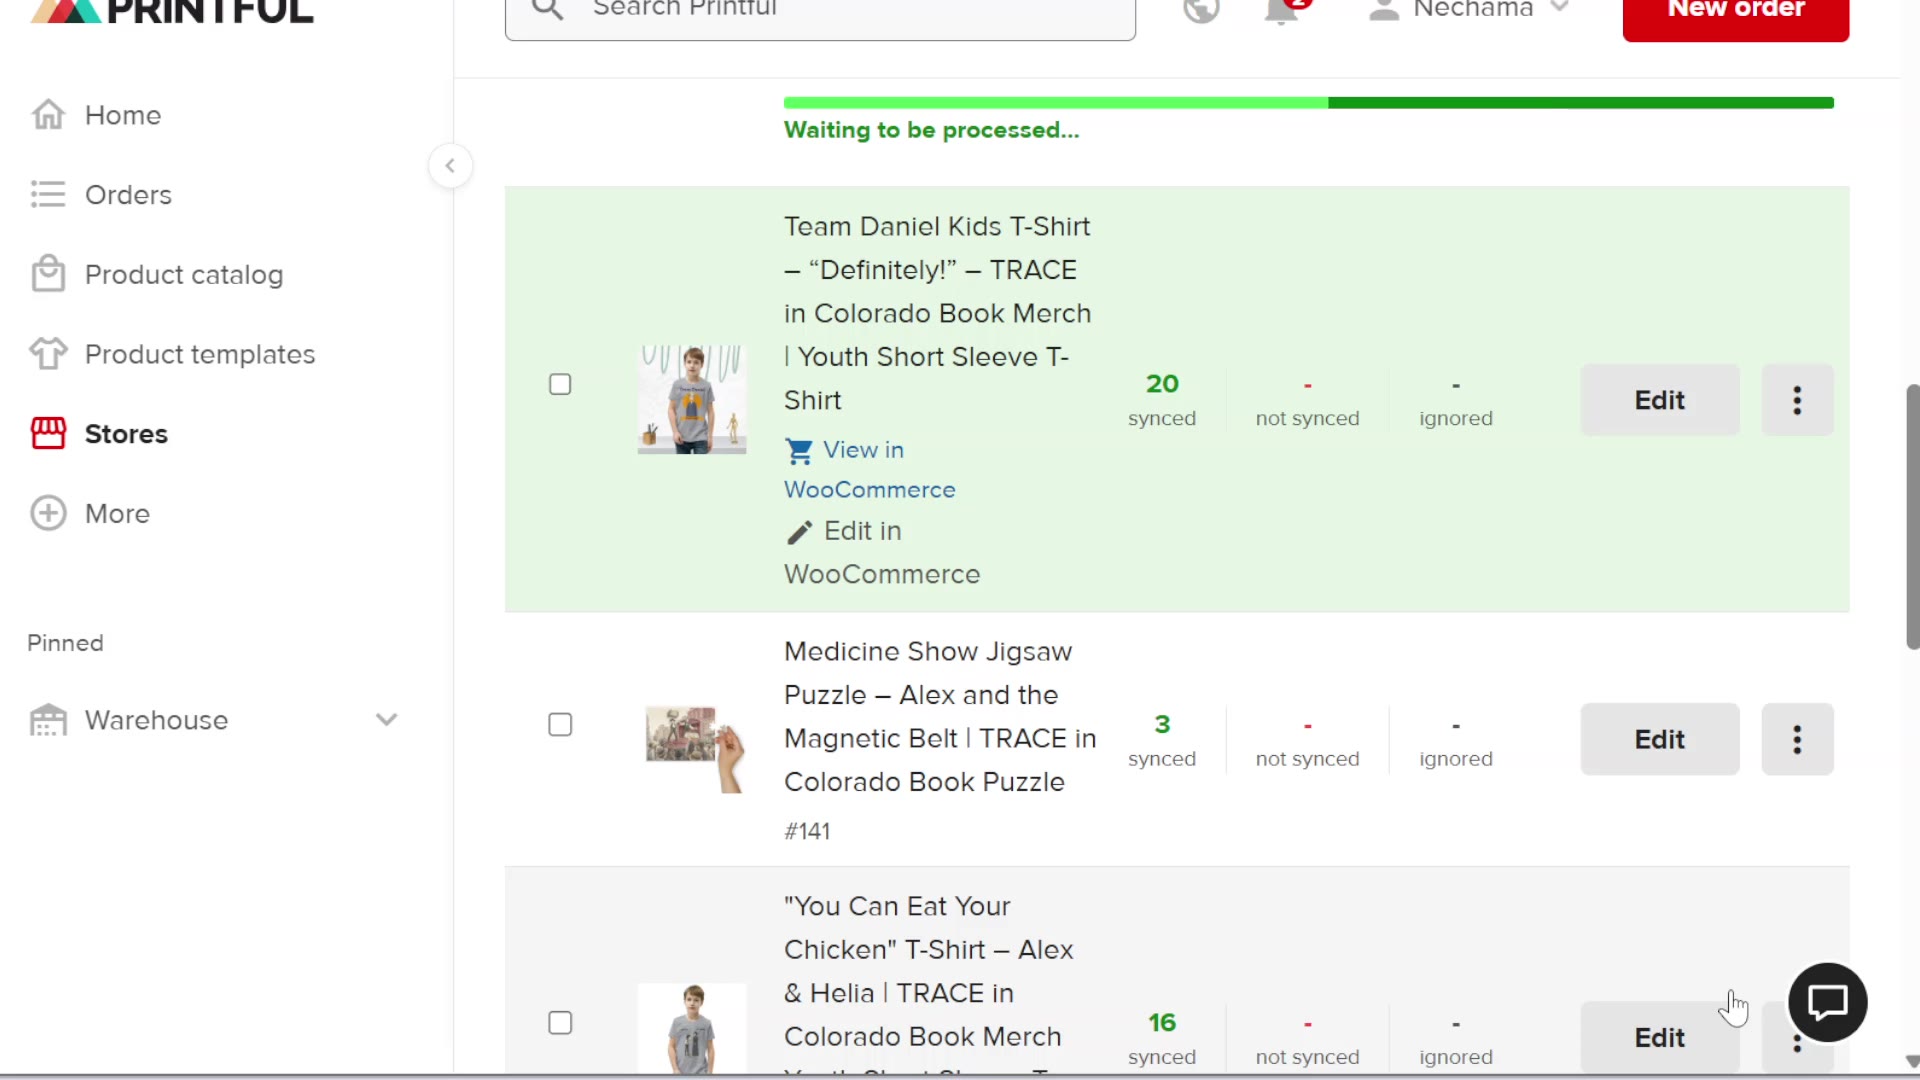
I wrote the title and the description with Claude, from the book, and pasted them in. And here’s something new: you can choose the WooCommerce categories right in Printful. I chose “The wrong choice merch” and “Trace in Colorado”. I also checked Attach size guide to the product description.
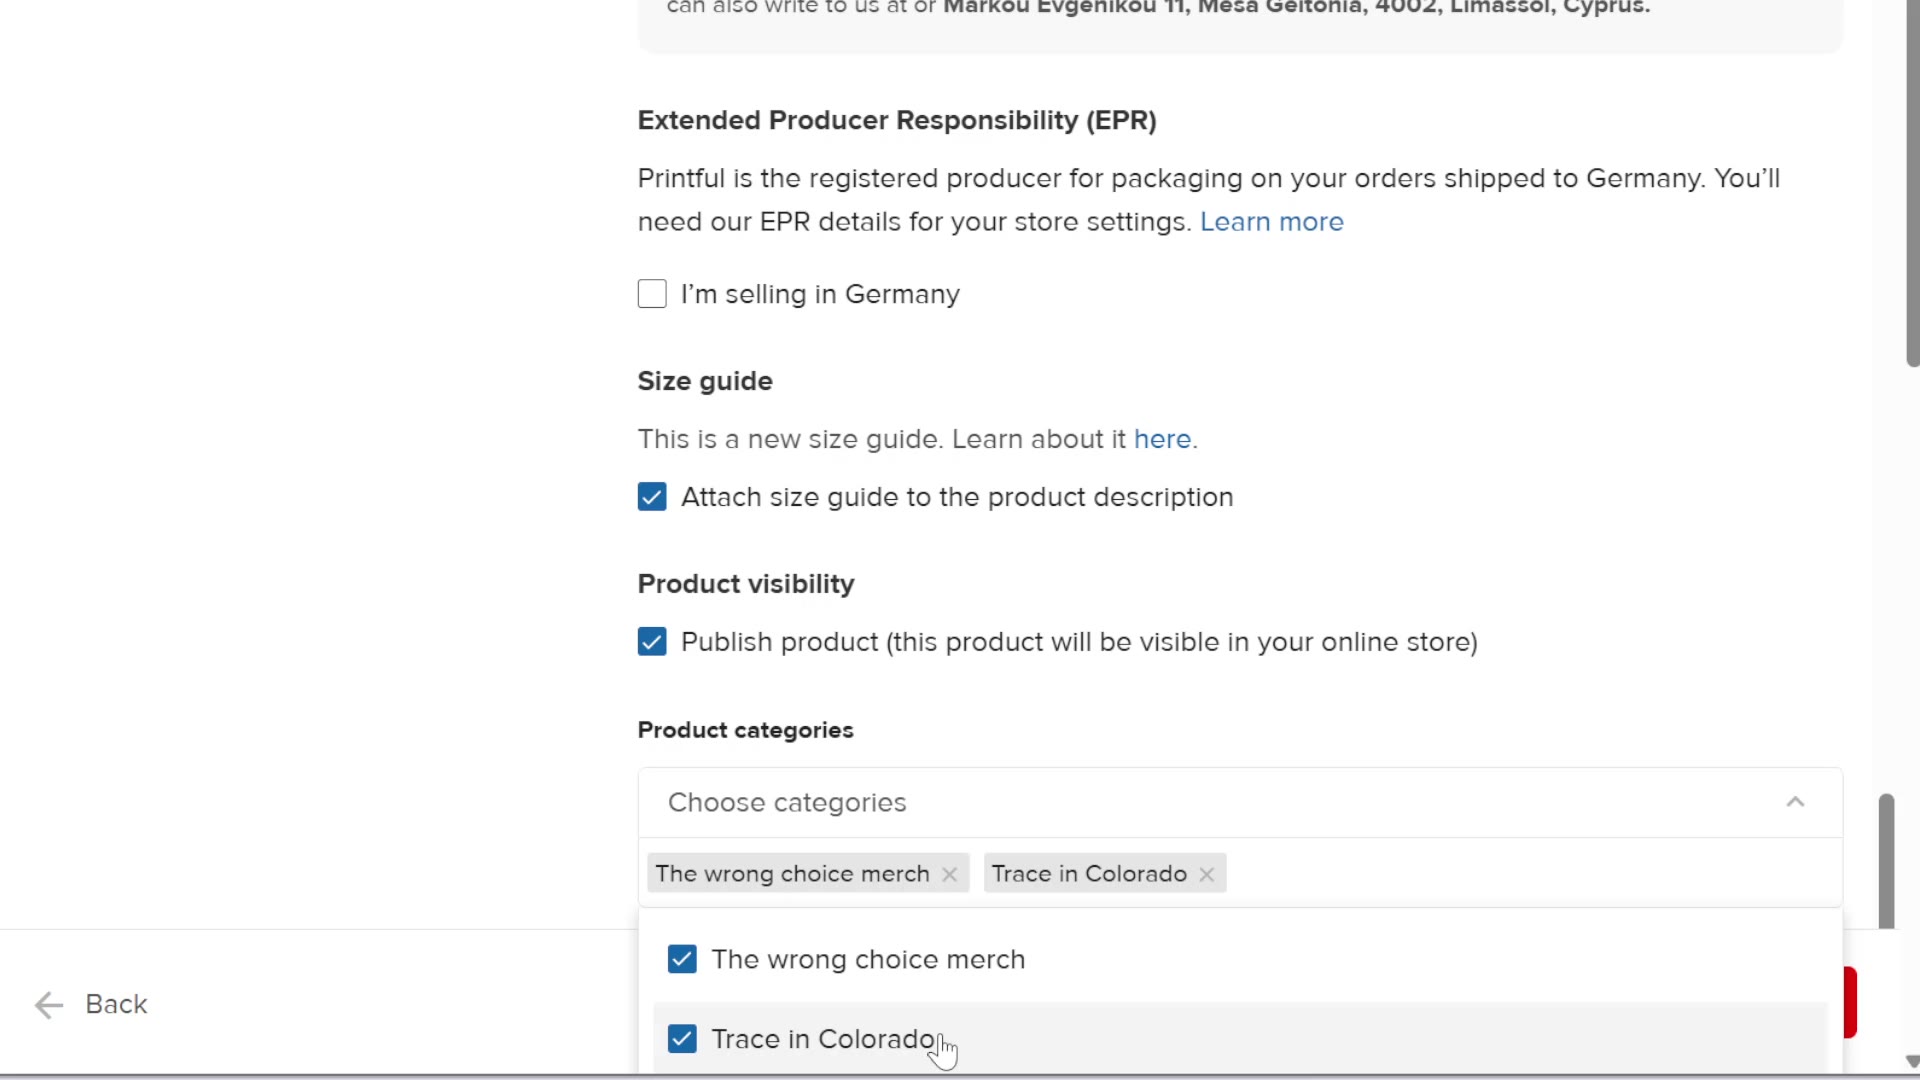
The Printful price is $15.04. I used Set retail price to → 49 → Set, so it’s $49 for all sizes, like my other T-shirt. The price includes shipping, so my customers get free shipping. Printful shows about $34 per shirt, but the shipping comes out of that, and there can be taxes too. It’s also a shirt with premium printing, so I felt a higher price is fair. Do the math before you choose your price: you can check your own numbers in my free Printful profit calculator. Then click Submit to store.
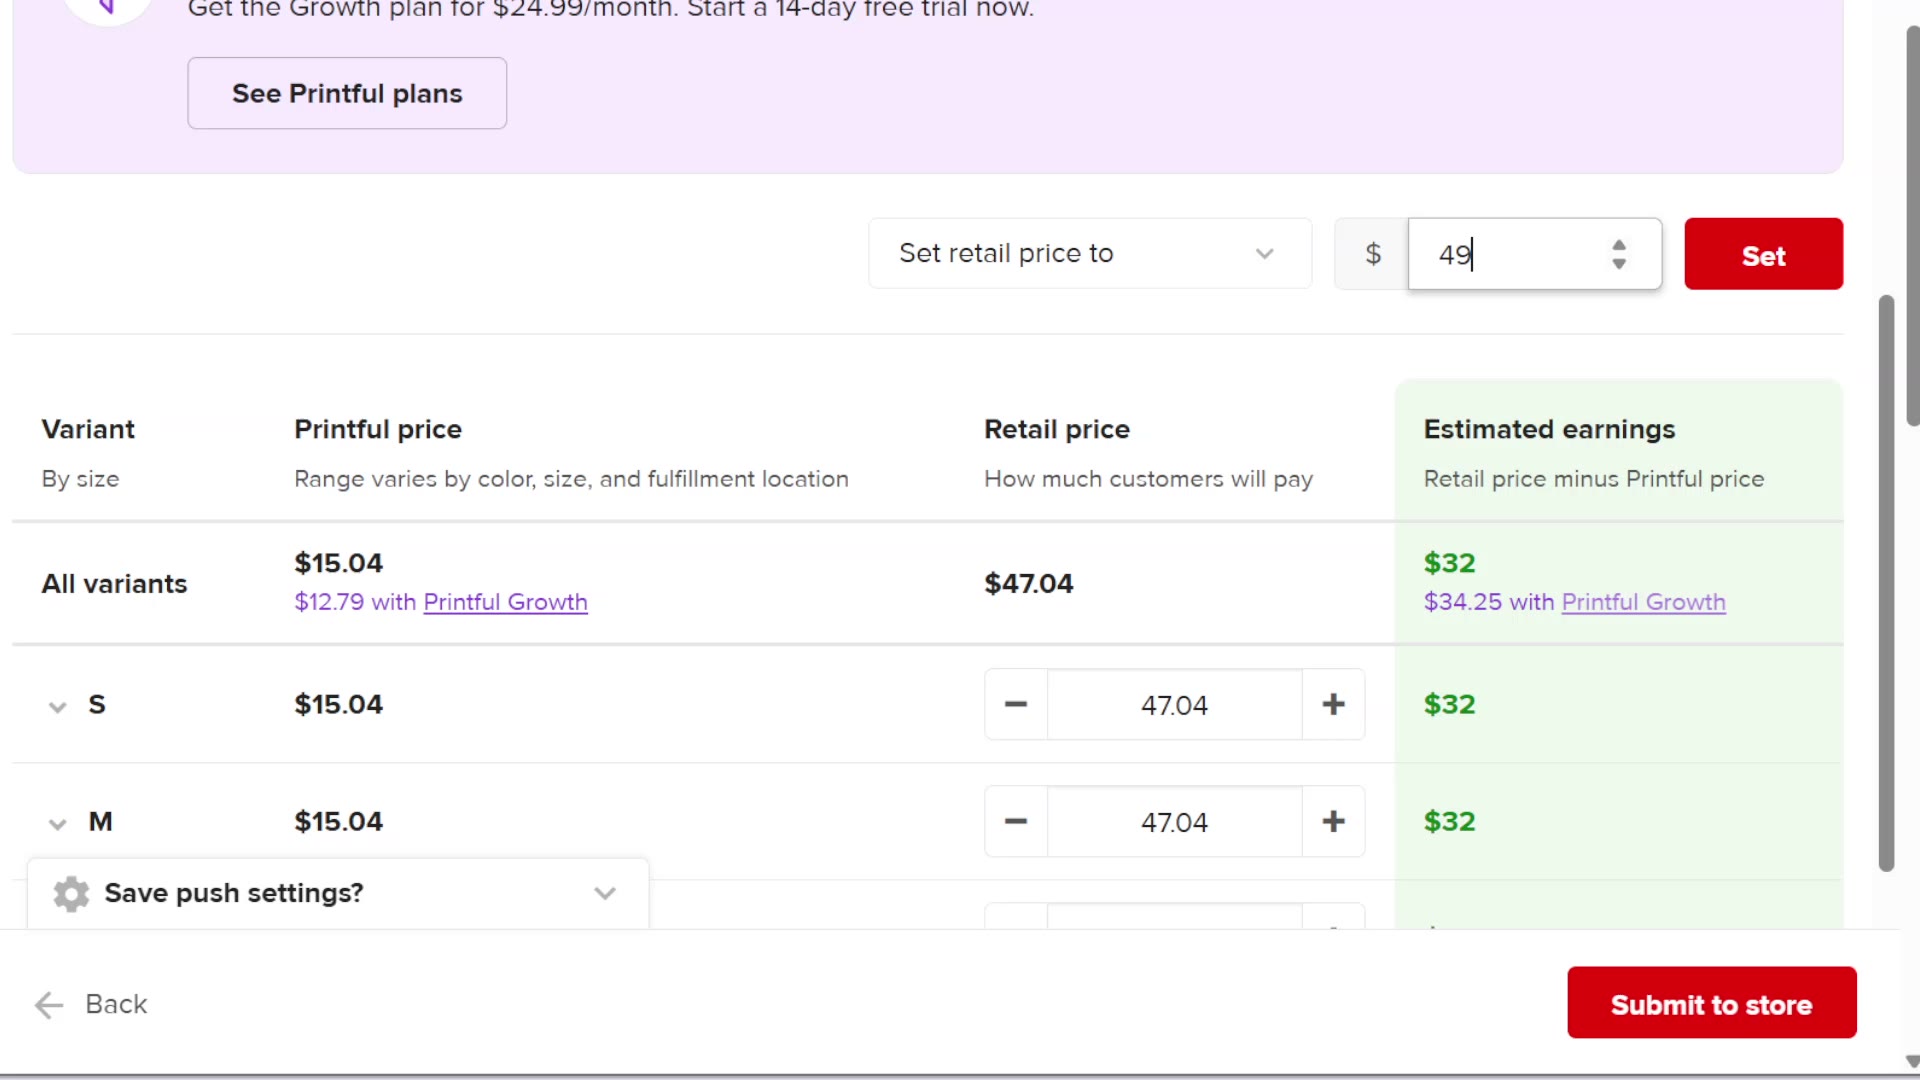
In the store: what “20 synced” means
Printful sends the products to WooCommerce, and you see “20 synced” next to each shirt. That doesn’t mean 20 products. These are variants: 5 colors × 4 sizes = 20. In WooCommerce it’s one product for each shirt.
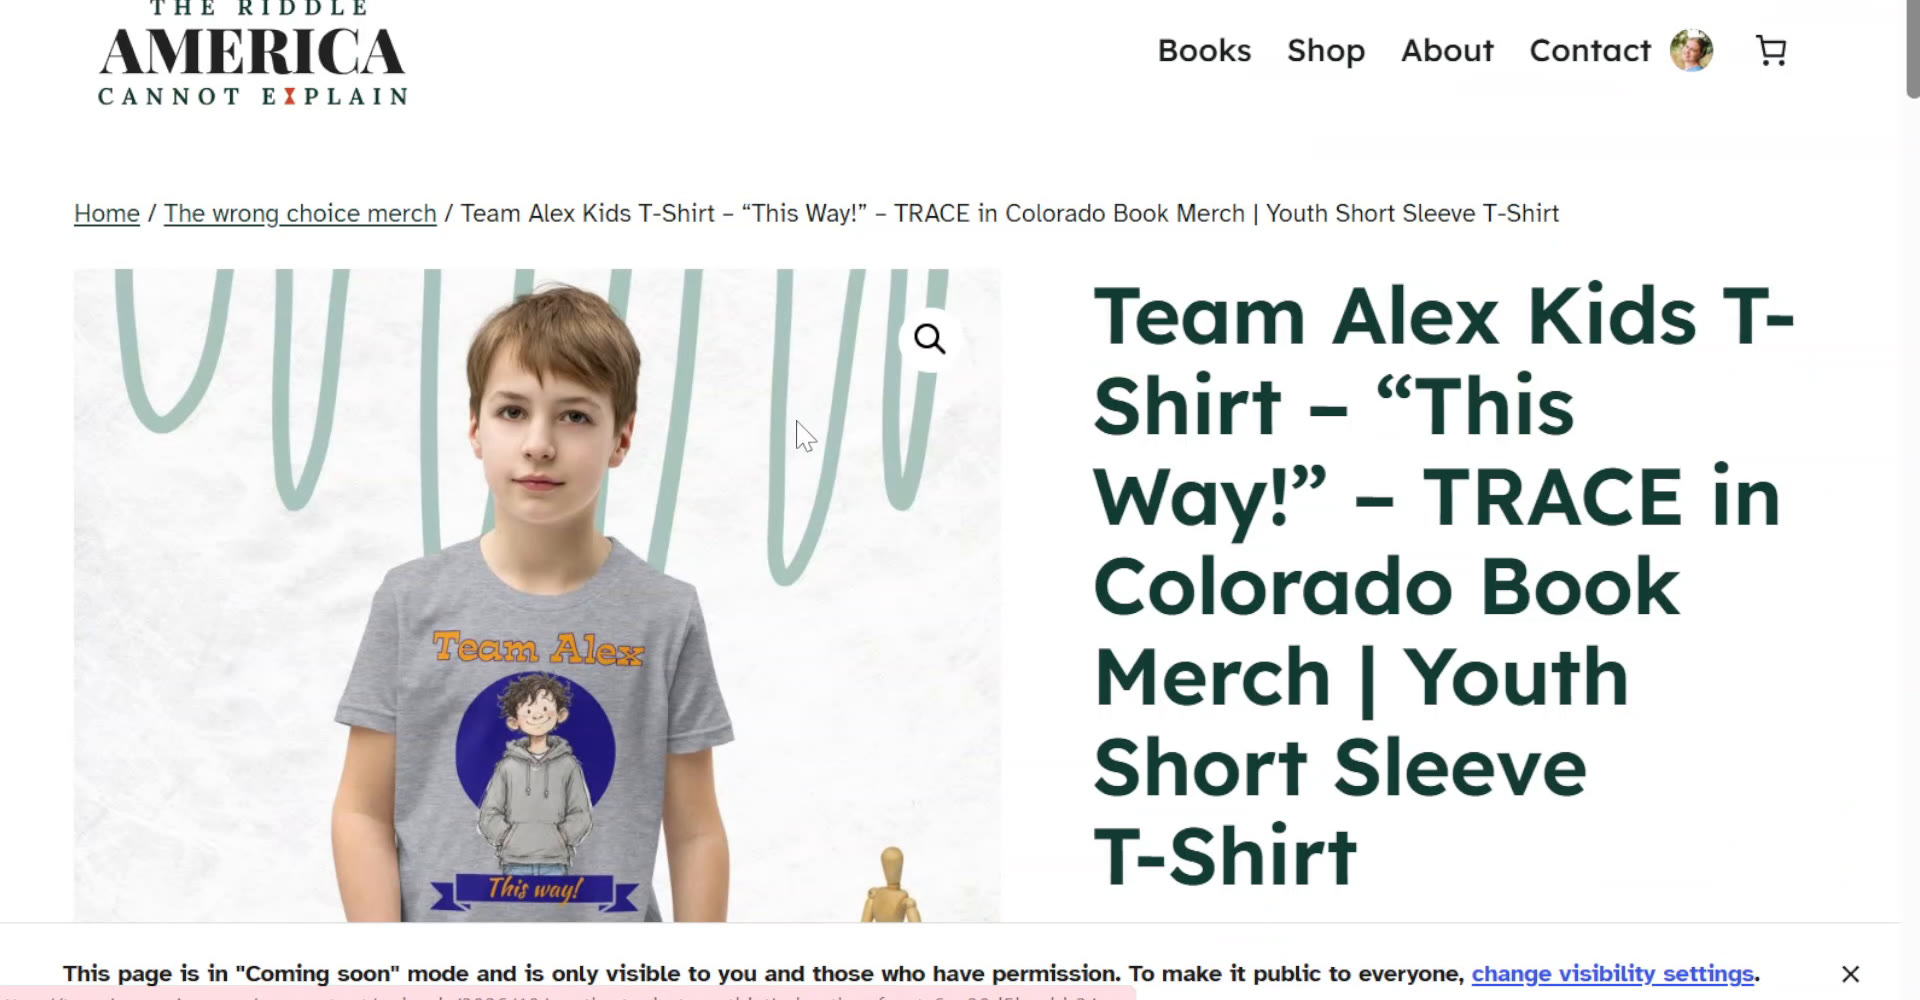
And here’s the product page on my books website: one page, and the customer chooses the color and the size.
Why book merch like this can work
Today most sites can’t count on Google for visitors. My books site counts on the people who bought my books. At the end of every book there are bonuses and a link to the site to download more for free. That’s how kids get to know the site, and that’s how they’ll find the shirts, because they already feel connected to the characters. And every kid who wears the shirt is more advertising: other kids ask what it is, and the kid tells them about the books. I did the same with team hats.
Quick tips as short videos
- How to remove a background in Adobe Express
- Add a shape and change its color
- Put an image in front of a shape and center it
- Add text: font, color and outline
- Curved text in Adobe Express? Why I gave up
- Find ribbons you can recolor
- How to duplicate a design
- Swap colors with one click
- How to download a transparent PNG
- Color a pencil drawing with AI without changing it
- How to add a Printful product to the right store
- DTFlex or DTG in Printful: which one to choose?
- Printful mockups: why are my other colors empty?
- “20 synced” in Printful doesn’t mean 20 products
- Book merch idea: let kids choose a team
Try Printful here if you want to make your own book merch.
Making more Printful products? Keep the print size, costs, real profit and links of every product in one place with my free Printful product checklist and notes. And this tutorial is part 2 of my full Printful tutorial.
Some of the links in this post are affiliate links. If you sign up through them I may earn a small commission at no extra cost to you. I only recommend tools I use myself.