Canva T-Shirt Design and Connecting Printful to WooCommerce
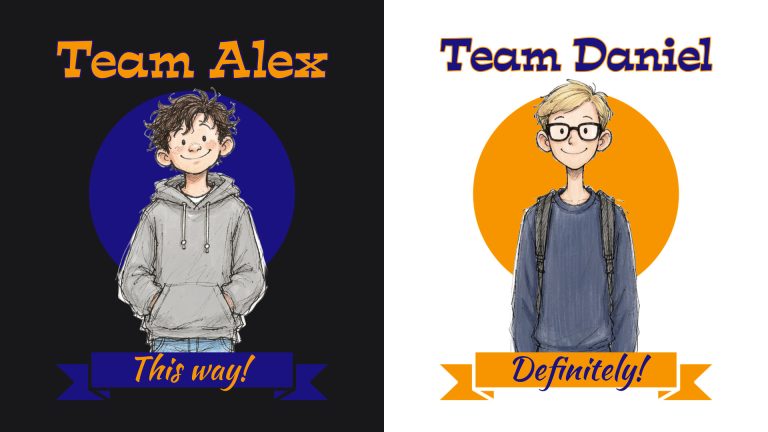
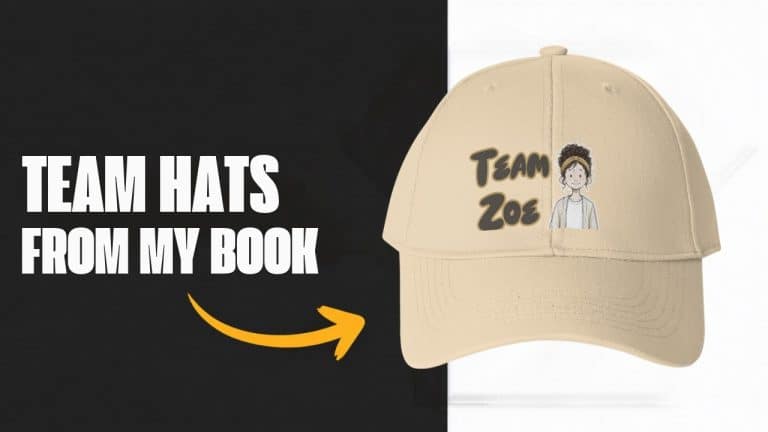
In this video I make a T-shirt design in Canva, connect Printful to my WooCommerce store, and add the shirt to my site. The design is from my own book, The Wrong Choice, the first book in my series TRACE in Colorado: two of the characters, Alex and Helia, with a line from the book. It’s made for light shirts only, and I’ll explain why below.
Designing the shirt in Canva
- Click Create → Custom size and type 4500 × 5400 pixels. That’s a good size for a T-shirt print file.
- Upload the illustration. I made mine from my book’s illustrations and removed the background, so only the characters are left.
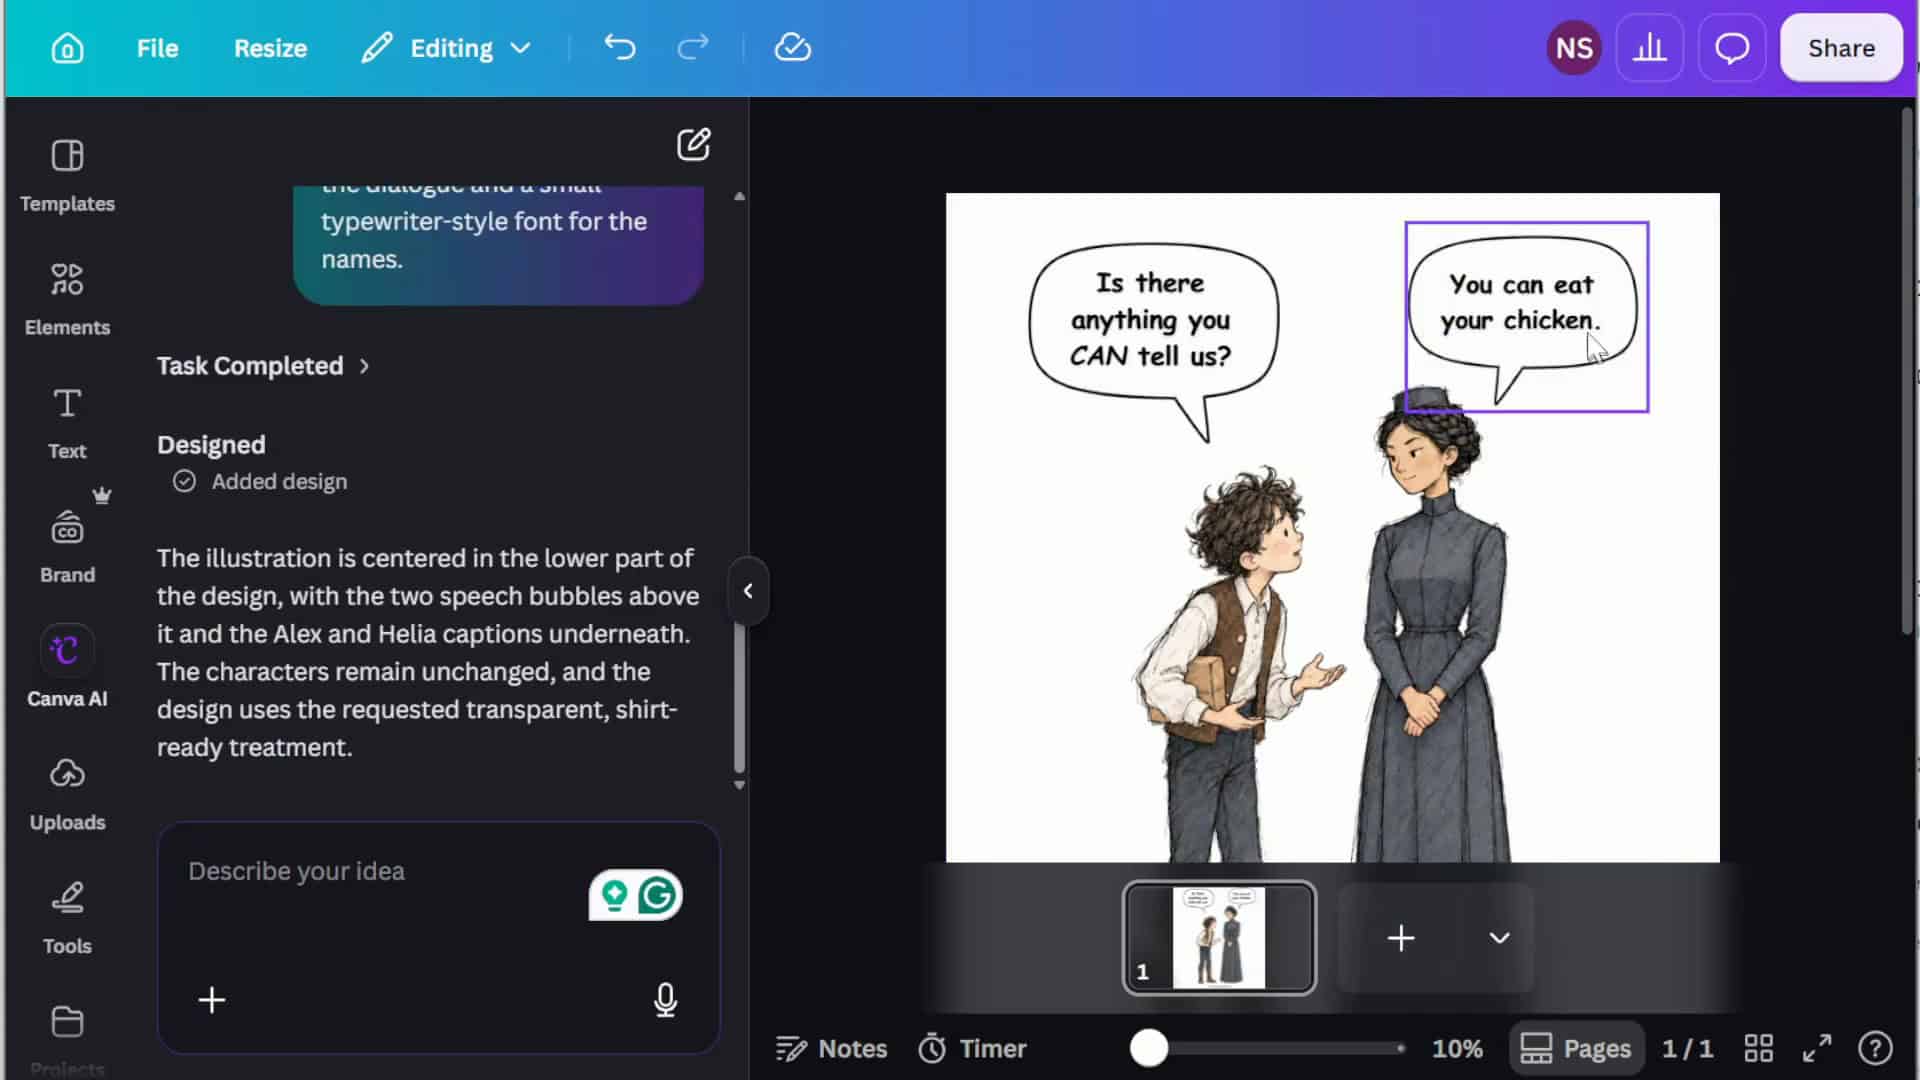
- Open Canva AI and ask it to add what you need. I asked for two speech bubbles above the characters with the line from the book, and the names under them. I also asked it to keep the illustration exactly as it is.
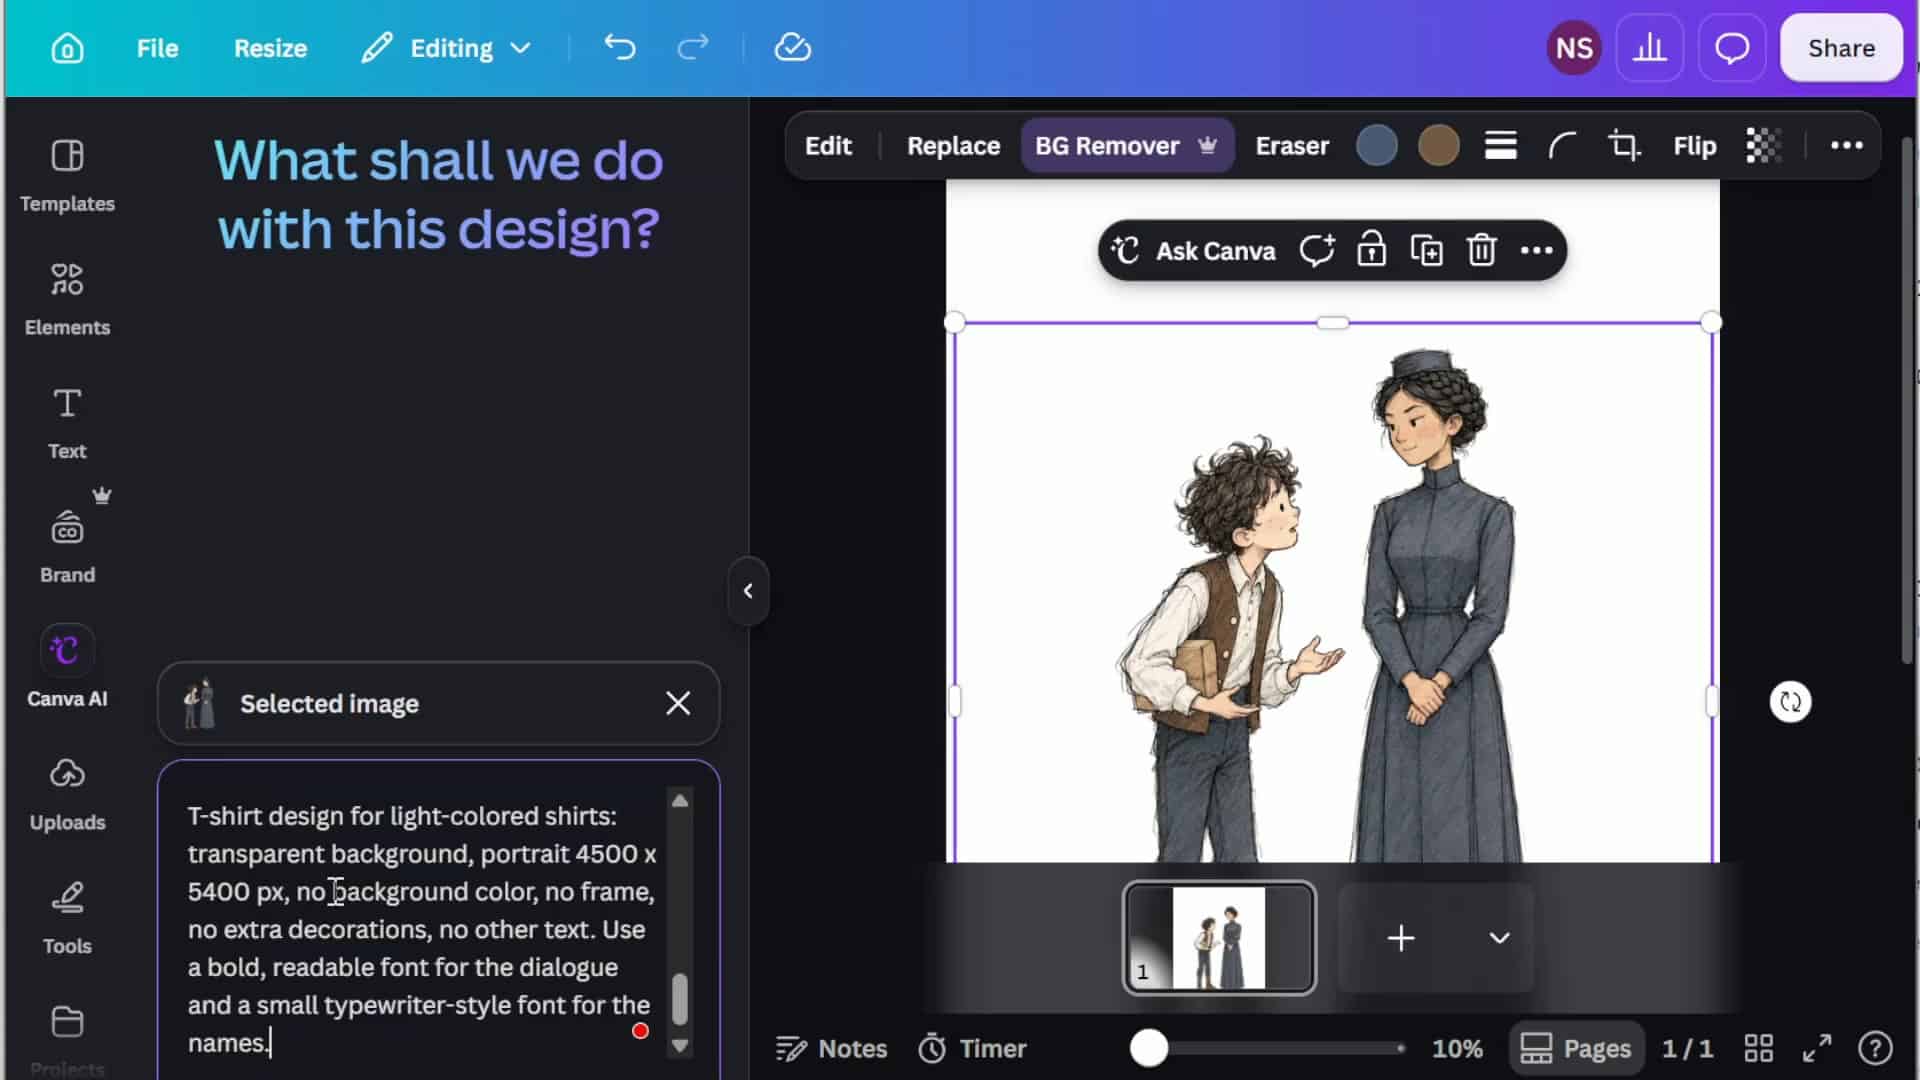
Canva AI added the bubbles and the text. I didn’t like all the fonts, so I changed them myself: Comic Sans for the dialogue, Special Elite for the names, and I made “TRACE in Colorado” orange.
Downloading with a transparent background
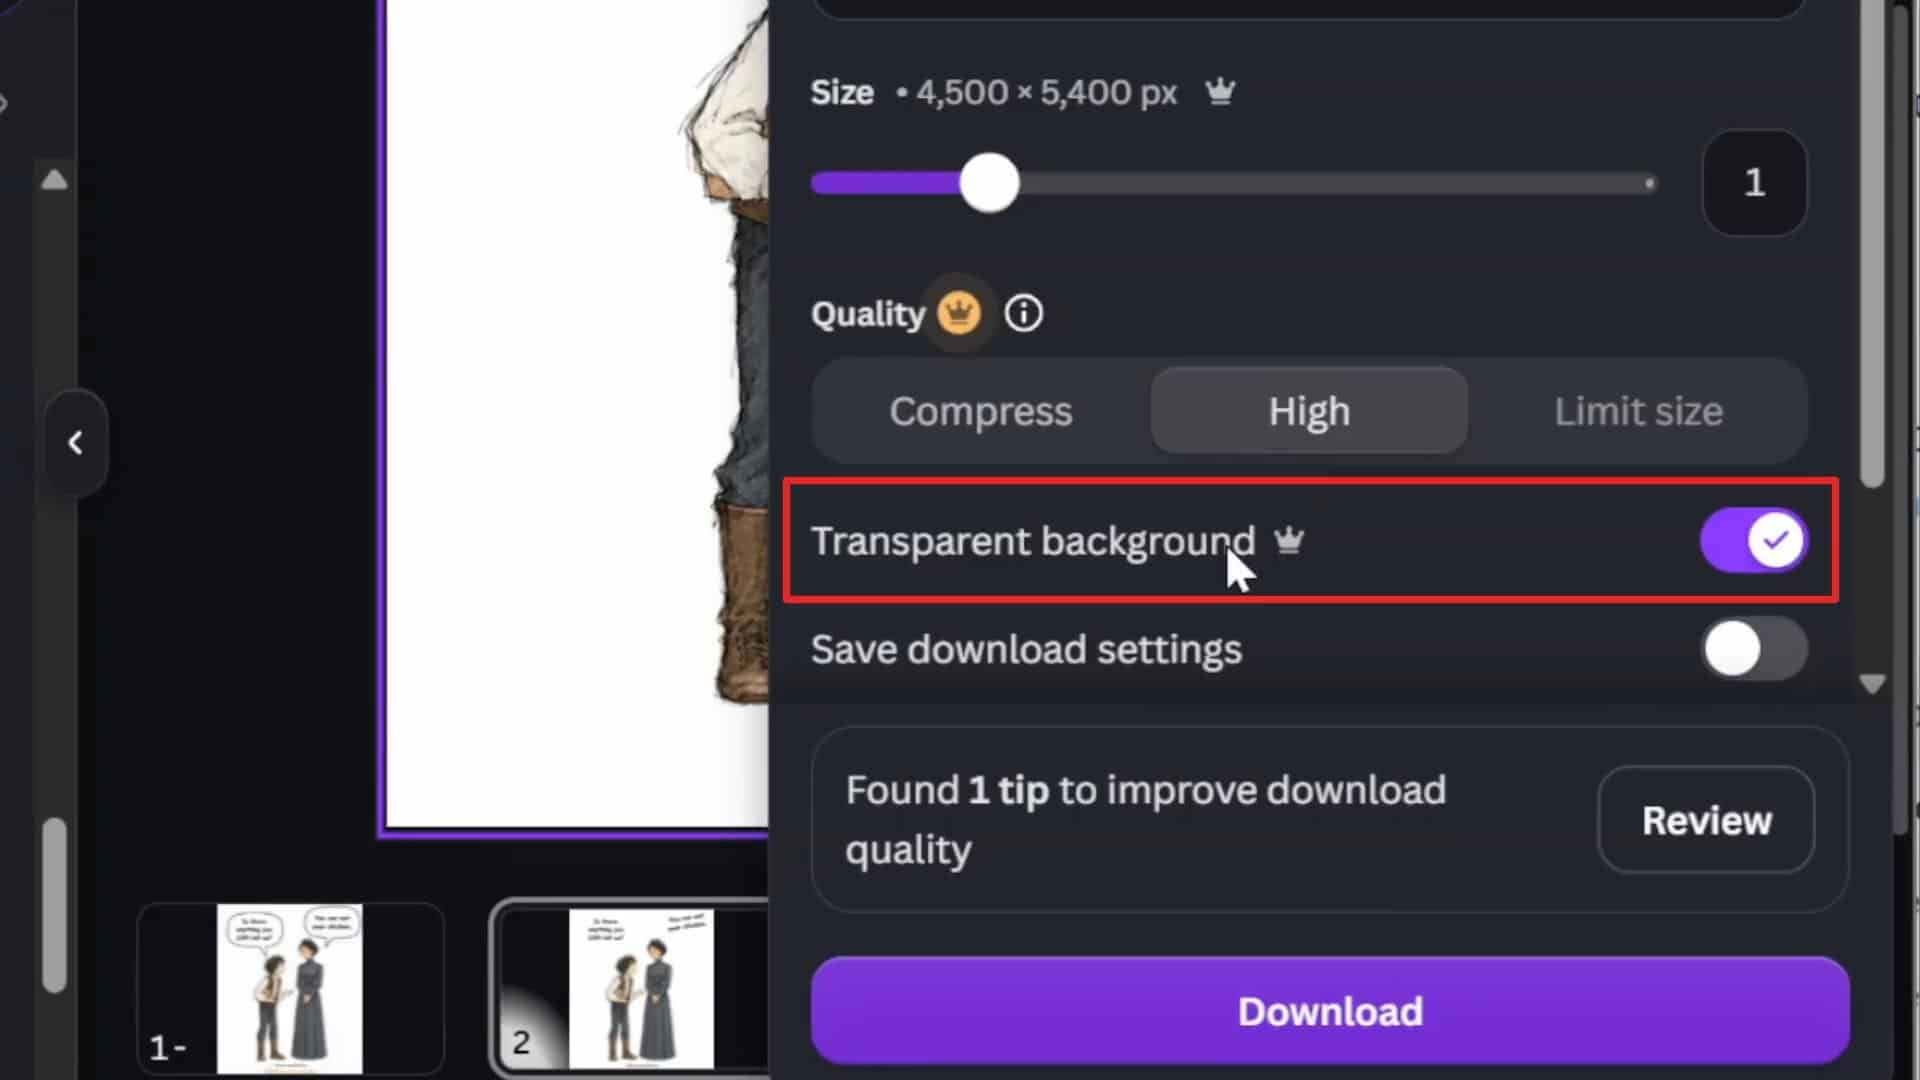
Click Share → Download. Choose PNG, keep the full size, and turn on Transparent background. That’s important: without it you’ll get a white square on the shirt.
Check the file before you upload it. Even after I removed the background from the illustration, my downloaded file still had a background. I went over the elements one by one and removed the background from each of them again, and then the file was clean. So open the PNG and make sure the background is really transparent.
Connecting Printful to WooCommerce
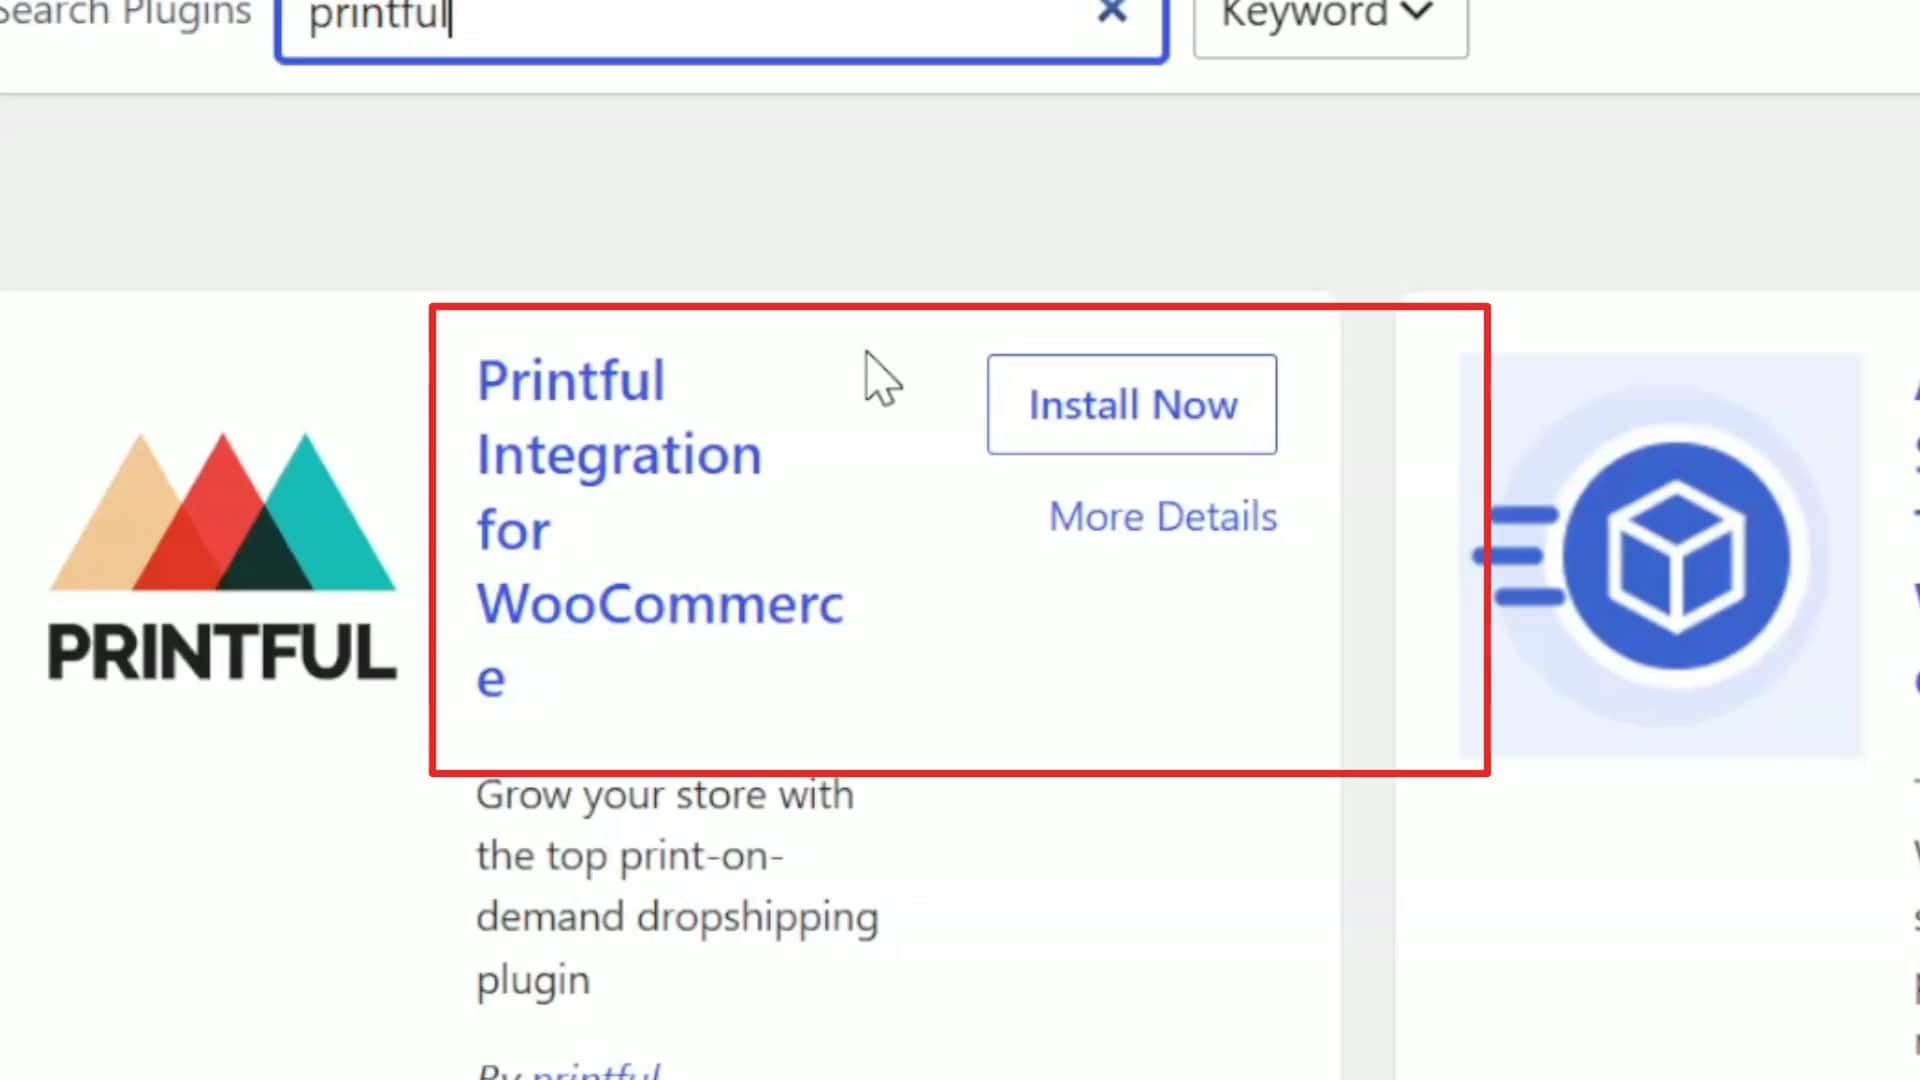
- In WordPress, go to Plugins → Add Plugin and search for Printful. Install Printful Integration for WooCommerce and activate it.
- Now you have Printful in the WordPress menu. Click Connect.
- Printful asks for permission to connect to your store. Click Approve.
Here I got an error: “Dang it, invalid website address.” I thought it didn’t work.
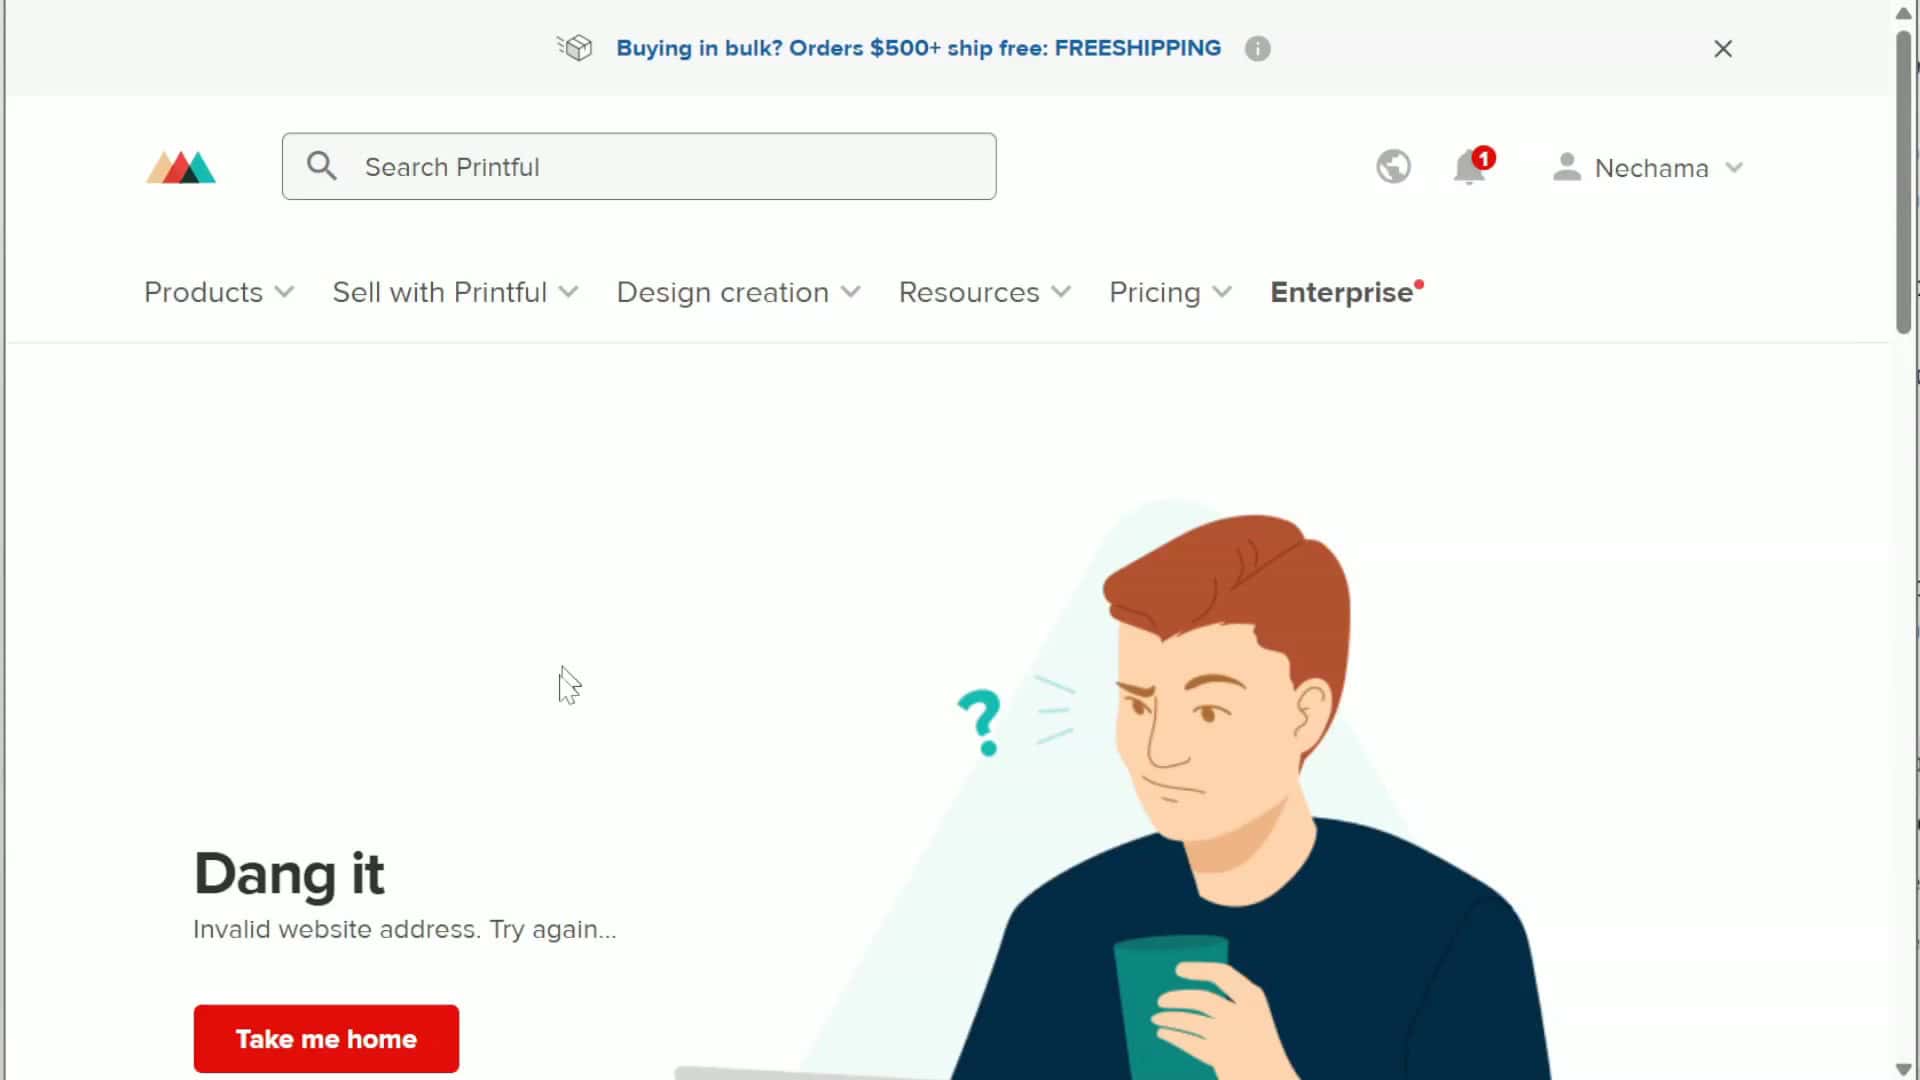
But when I went back to WordPress, the plugin showed it was connected. And in Printful, under Stores, my site was there and active. So if you get this error, check before you try again. It might already be connected.
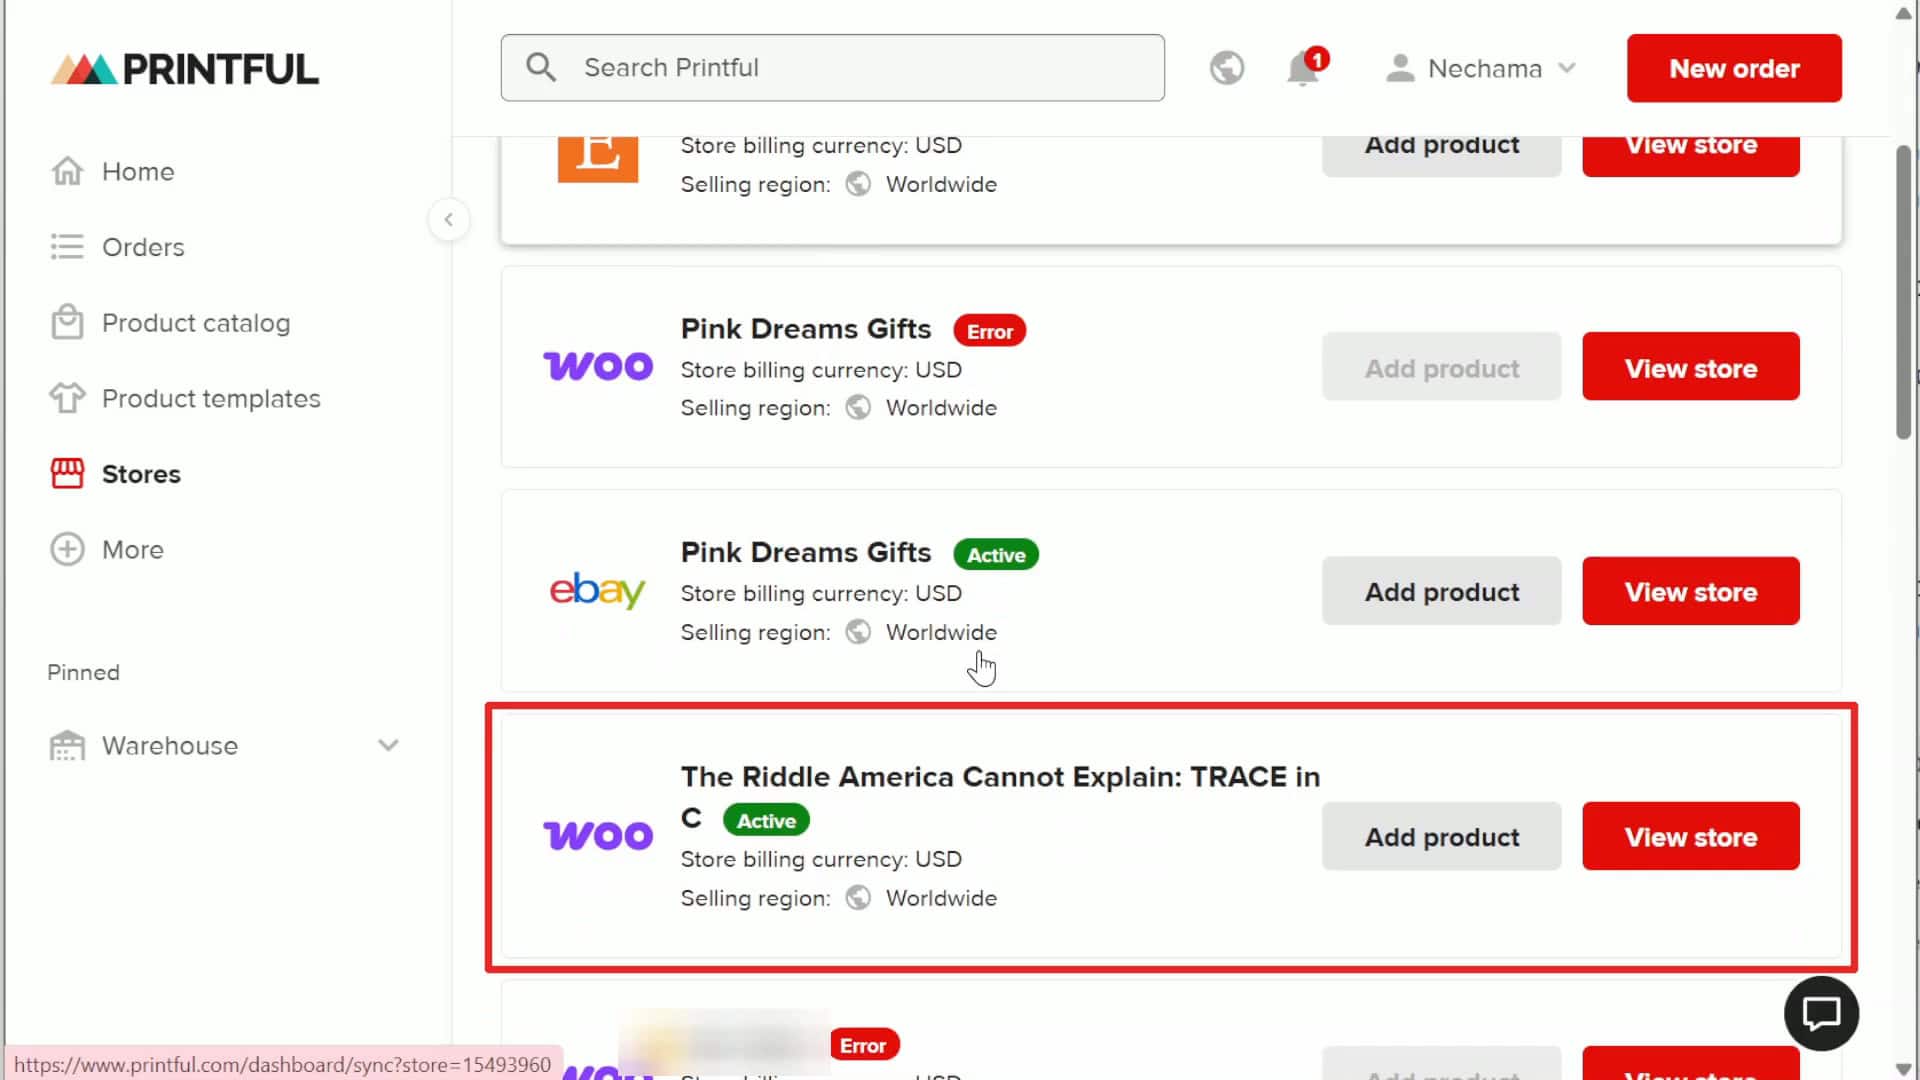
Choosing the shirt and adding the design
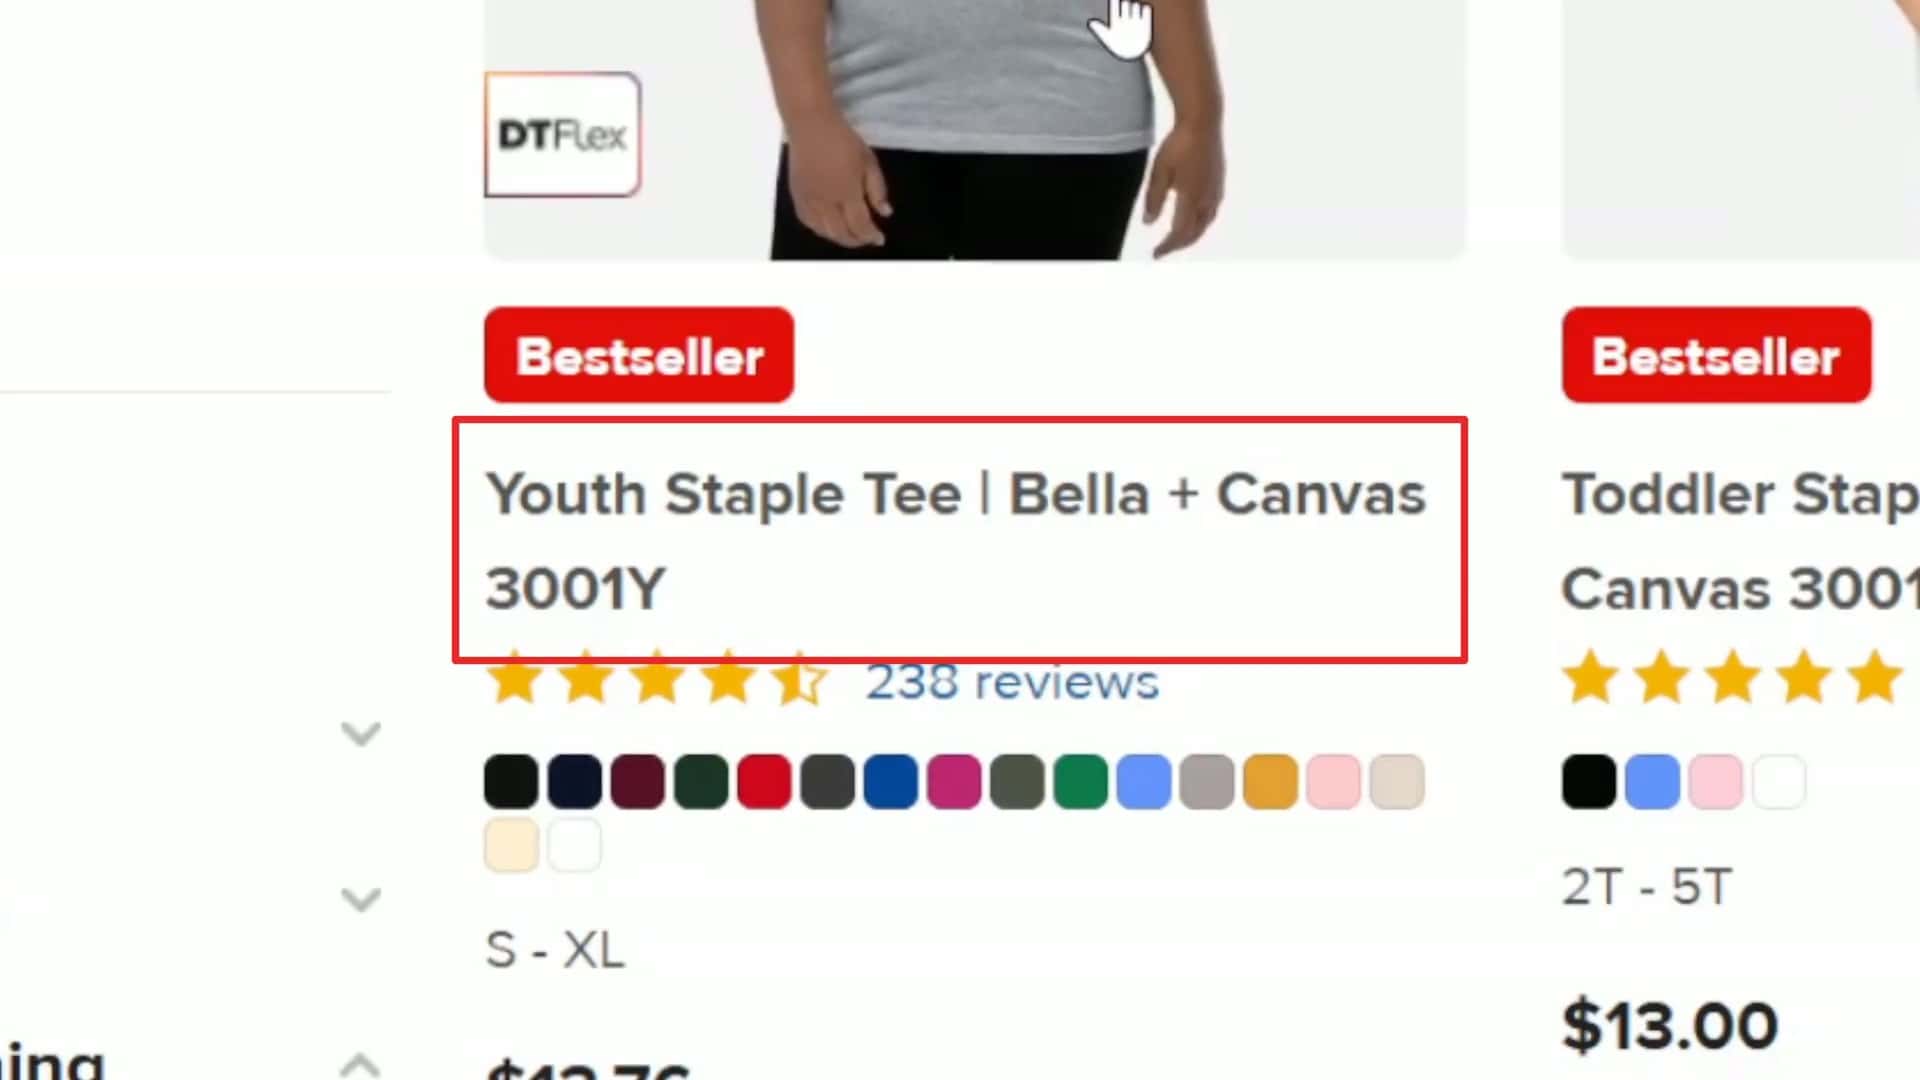
In Printful, go to your store and click Add product. This shirt is for young readers, so I went to Kids’ & youth clothing → T-shirts and chose the Youth Staple Tee by Bella + Canvas.
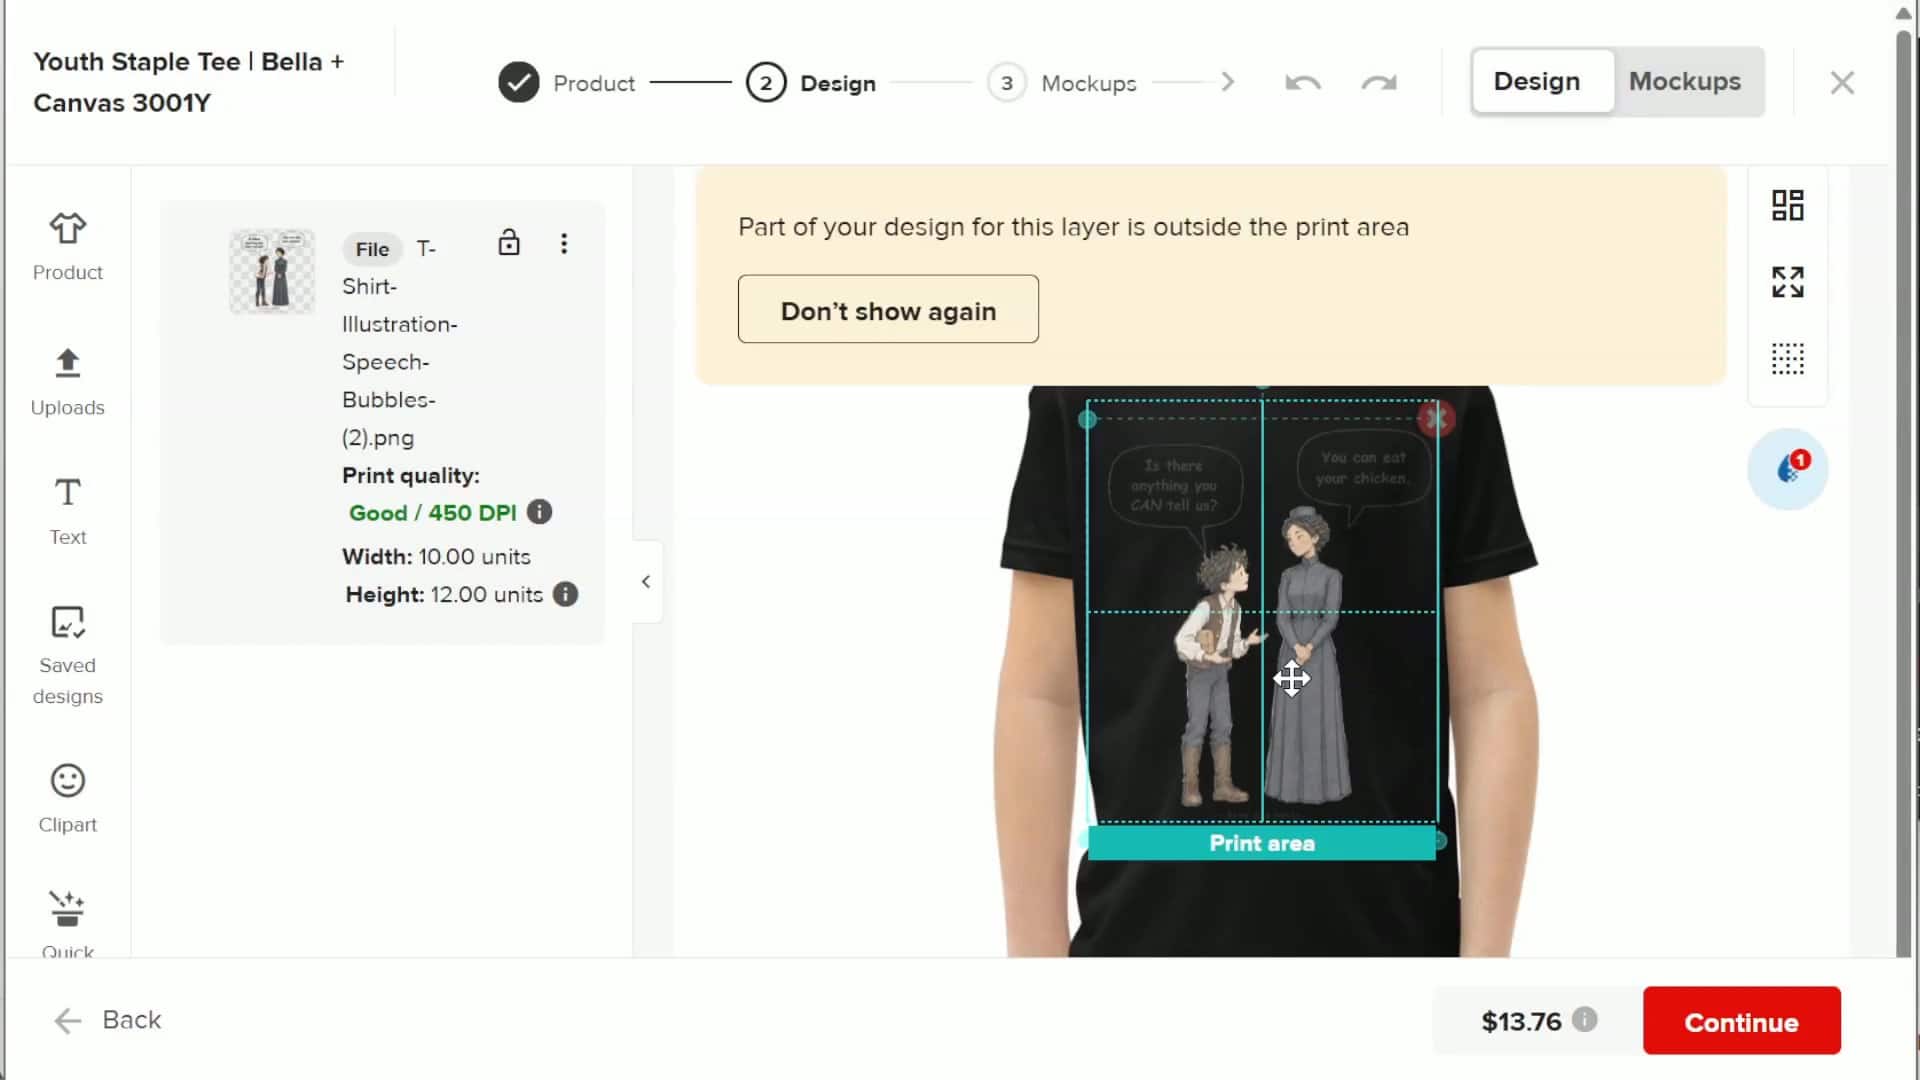
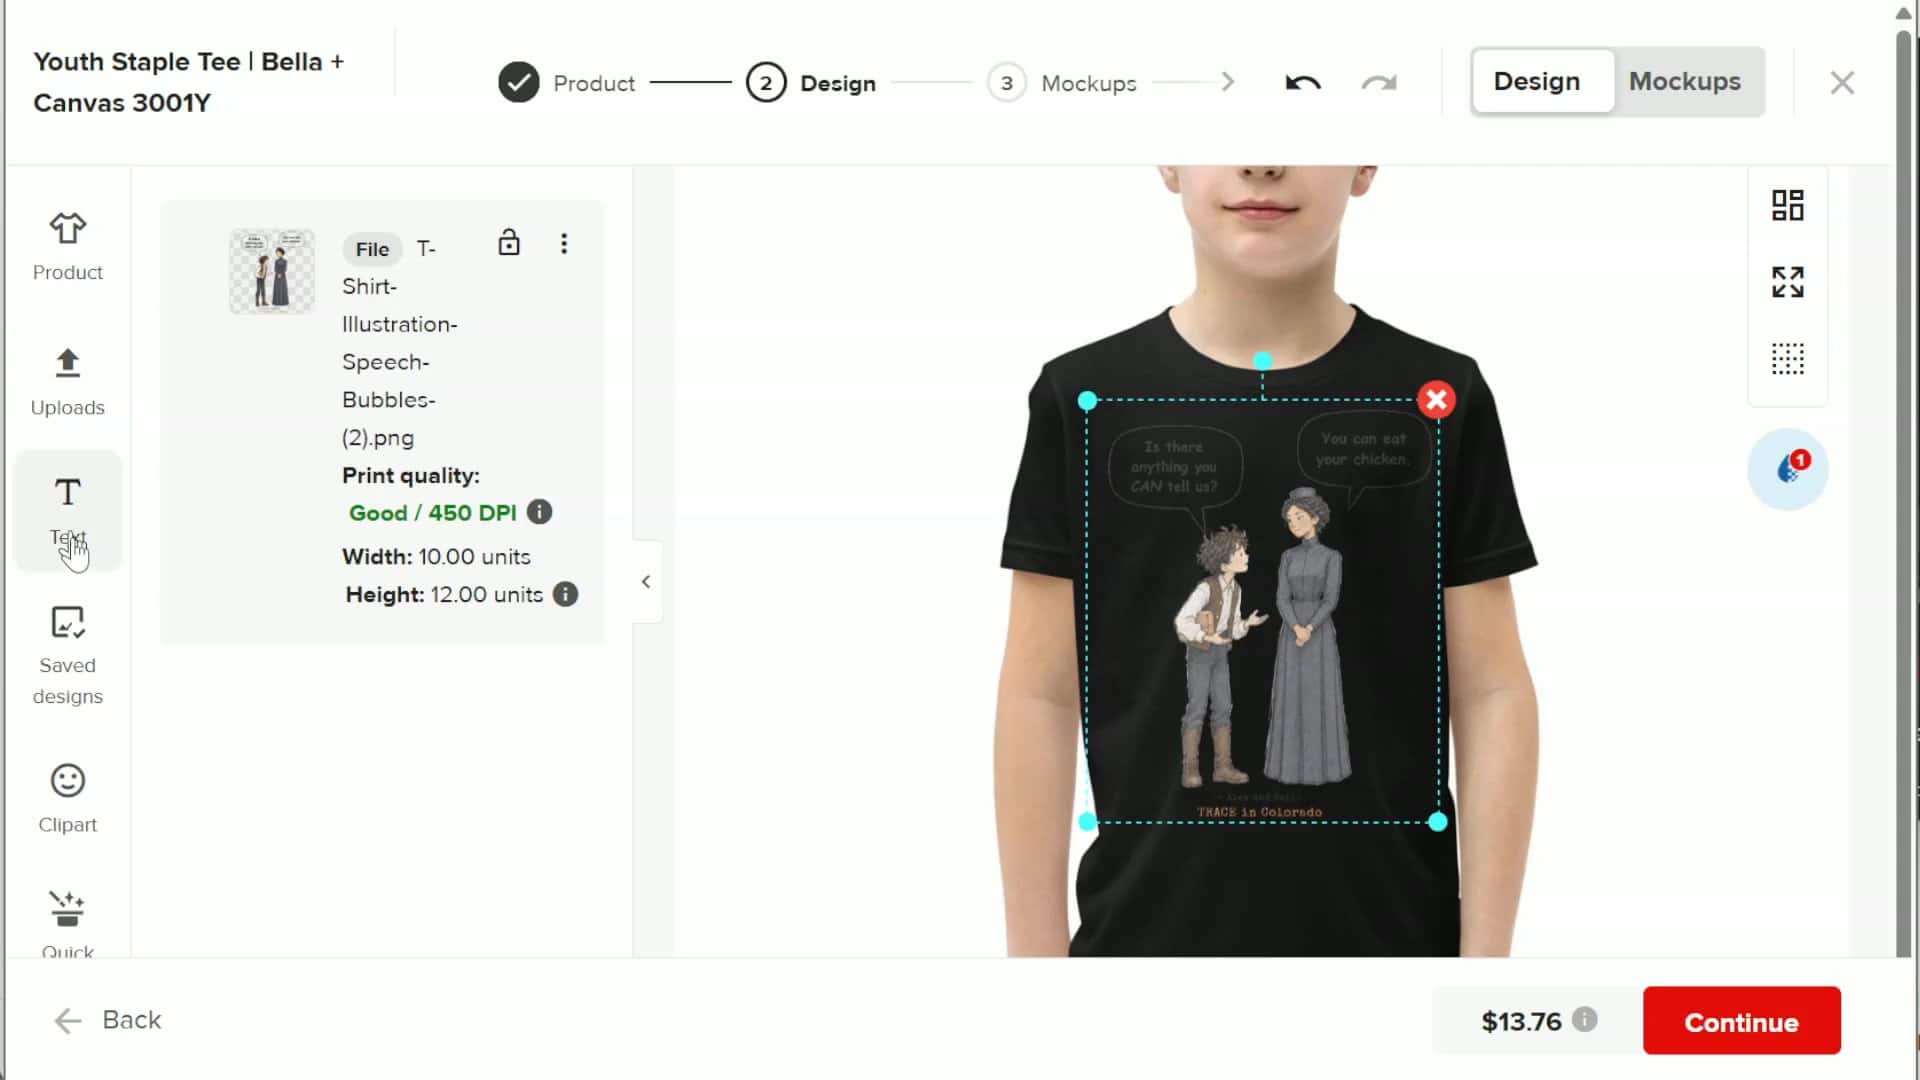
In the design step, click Uploads, upload your PNG and place it on the front. Printful shows the print quality. Mine said Good, 450 DPI, so the file is big enough.
Why this design is for light shirts only
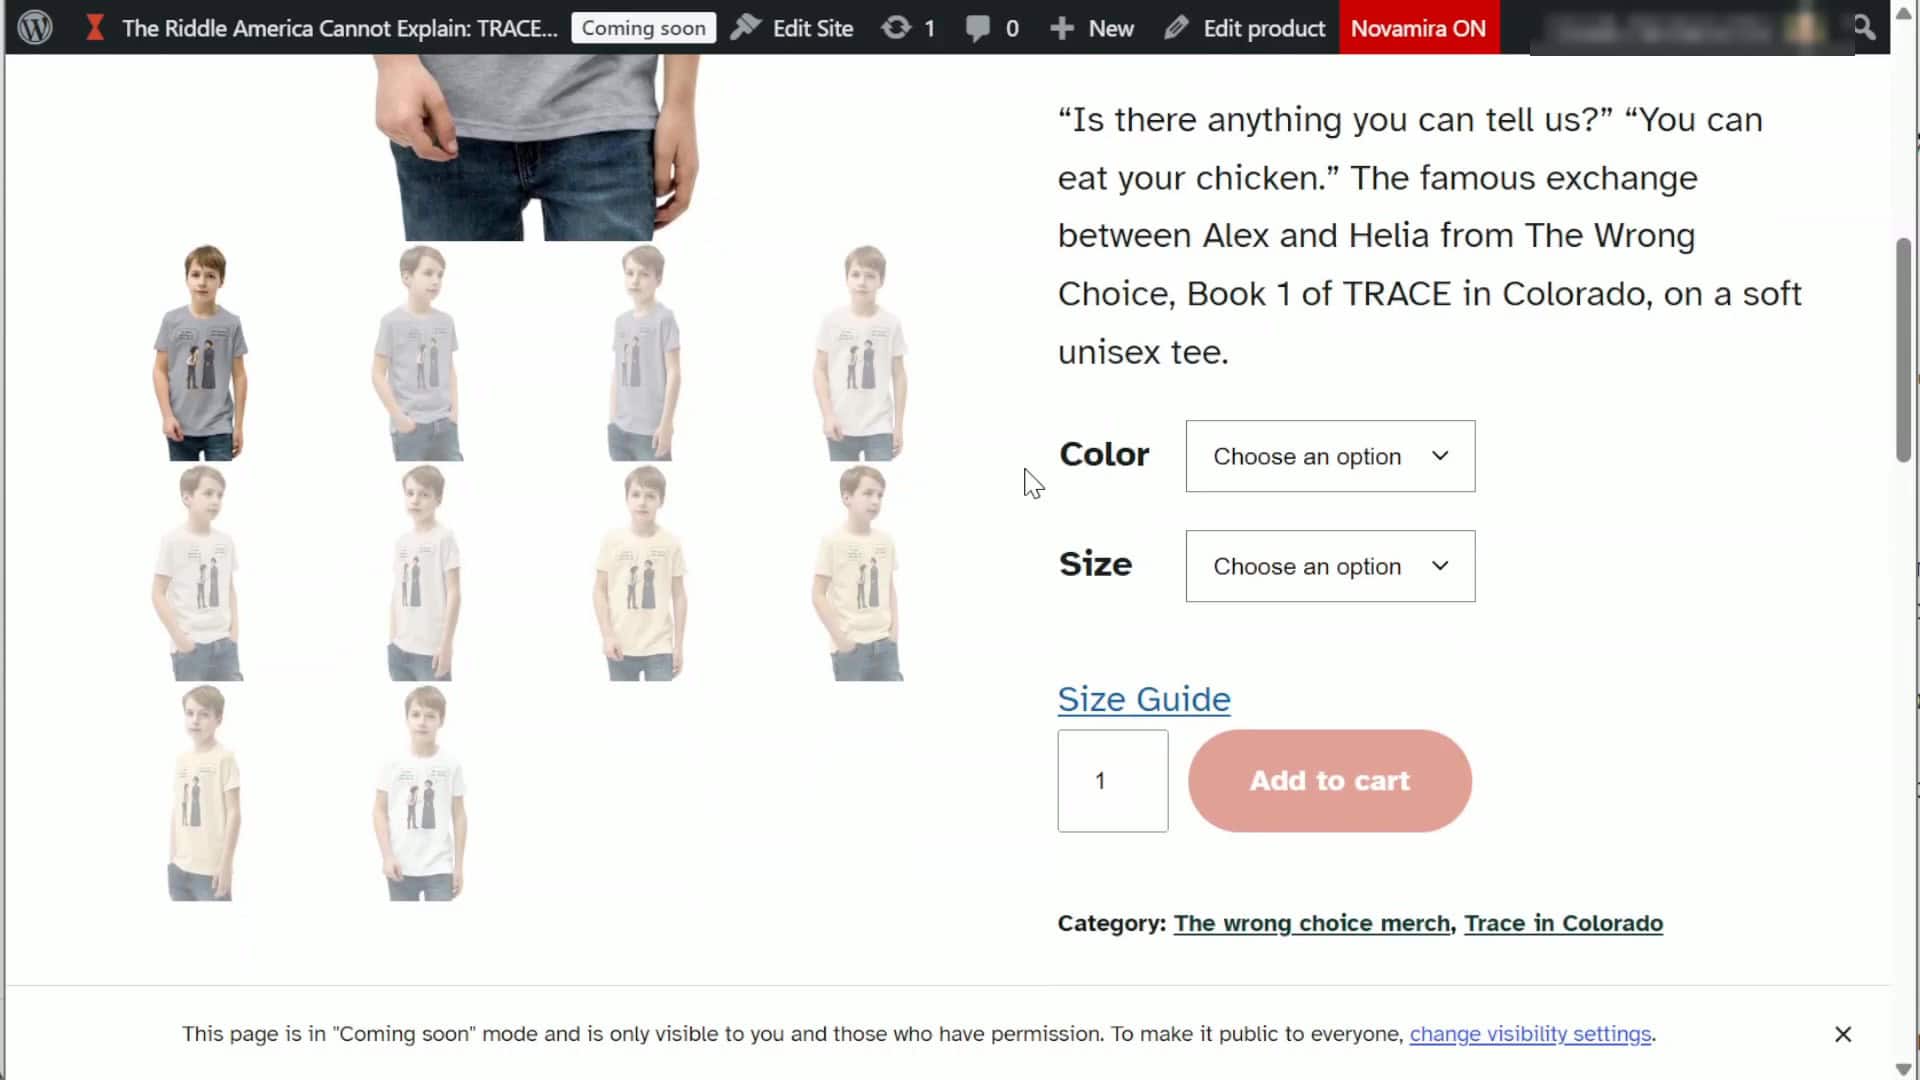
Look what happens on a black shirt: the black outlines and the black text almost disappear, and the characters themselves are dark too. This design just doesn’t work on dark shirts, and I’m not making a dark version of it. So I chose four light colors only.
A tip: don’t add more than four colors to one product. Too many choices only confuse people.
Mockups and details
- Mockups: I chose Basic mockups. These are the pictures customers see in the store. Choose which ones to use and which one is the main image. A few good ones are enough, don’t add too many pictures of the same shirt. (Want nicer mockups? See my post about Printful mockups: basic, custom and Canva.)
- Title and description: Printful gives you a default text about the shirt. I wrote my own title and description with Claude, pasted them in, and kept Printful’s lines about the fabric.
- EU and Germany: Printful fills in most of this information for you.
- Size guide: check Attach size guide to the product description, so customers can see the sizes.
The price
The Printful price for this shirt is $12.25 to $13.76, depending on the color and size. The retail price is what your customer pays, and the green column shows what you earn. You can raise the price for all sizes at once with Increase retail price by, or change each size by hand.
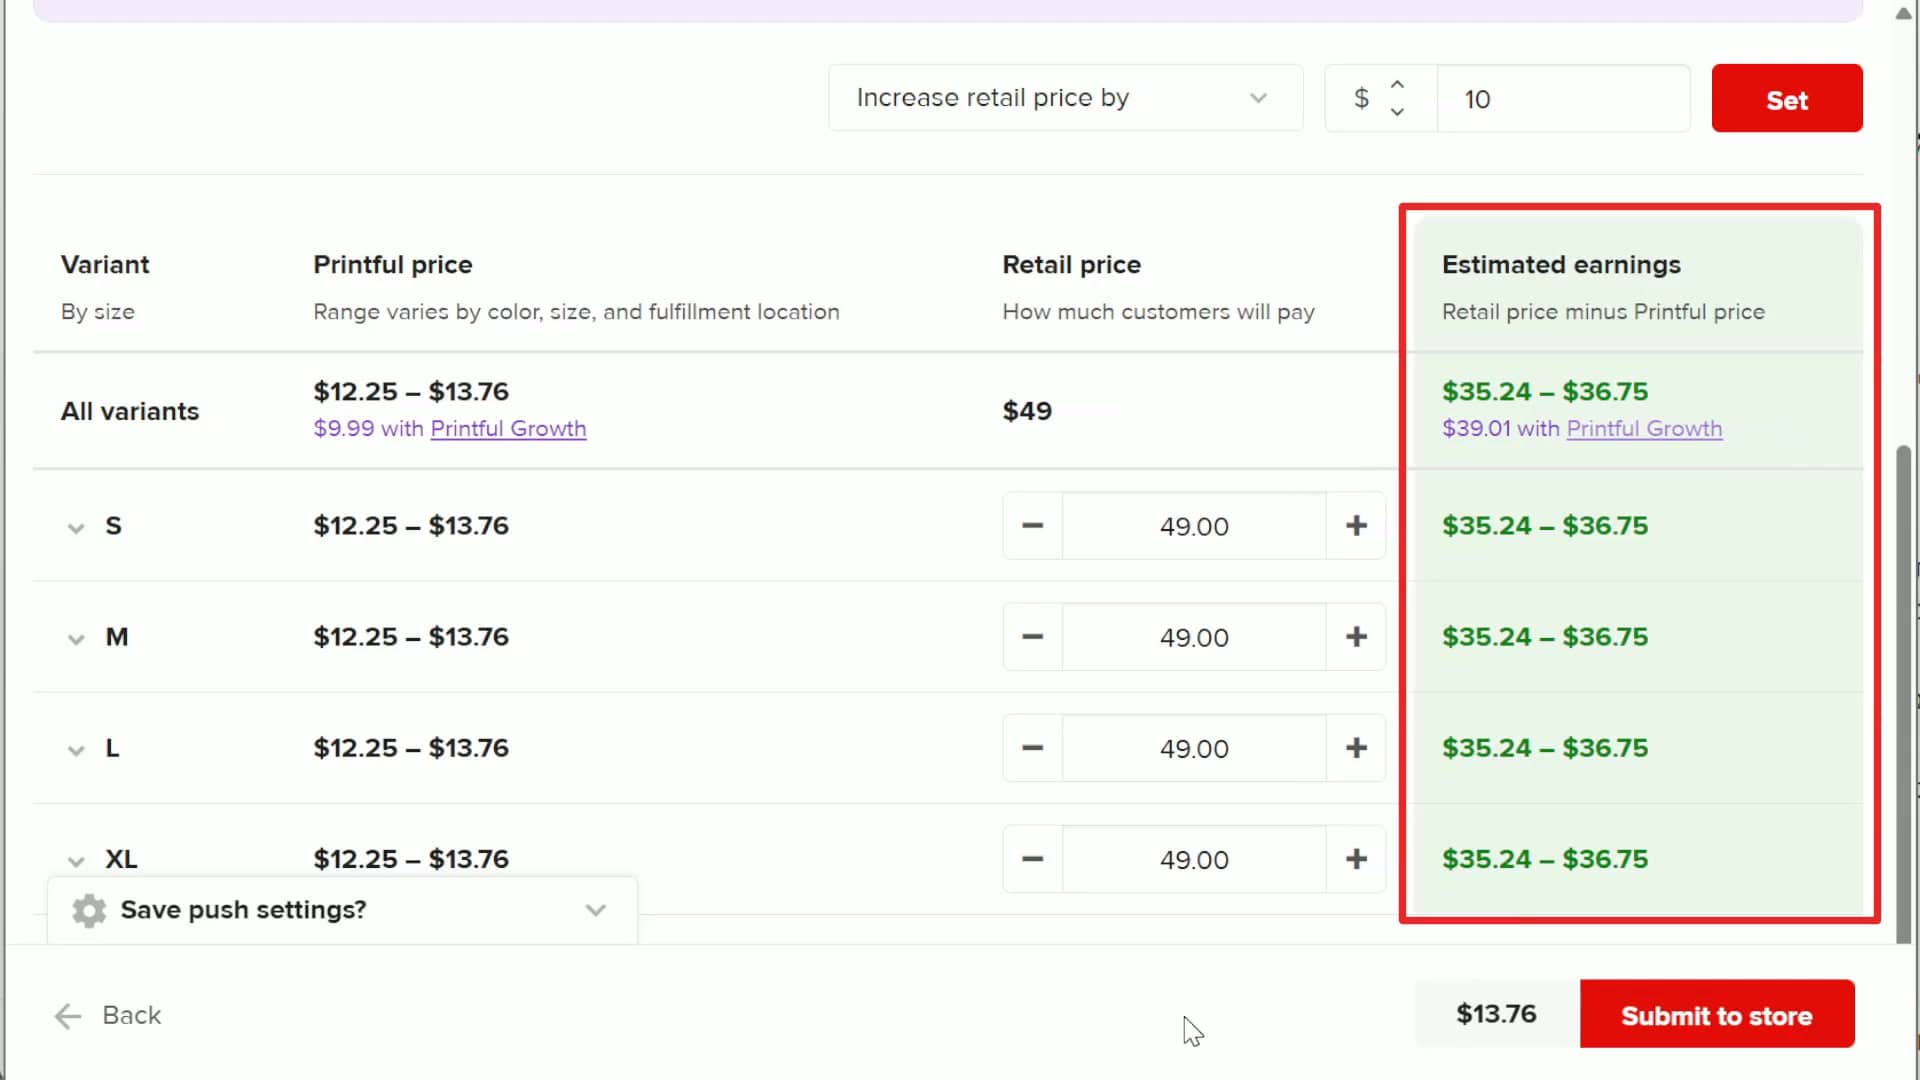
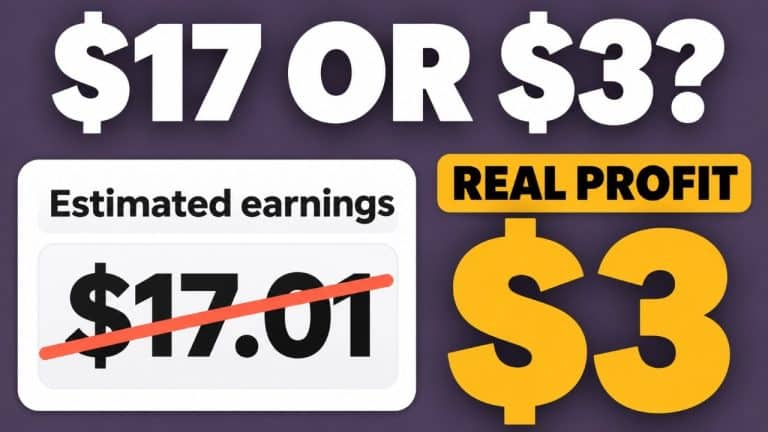
I set the price to $49 for all sizes, because I want to give free shipping. Shipping costs are different for every country, and one simple price is easier for my customers and for me. But it means I earn less on each shirt, and there are taxes too, which depend on where the shirt is shipped. So the green number isn’t what you really earn. Do the math before you choose your price. You can check your own numbers in my free Printful profit calculator.
Sending the shirt to WooCommerce
Click Submit to store. Printful sends the product to the store, and it takes a few seconds. Then open the product in WooCommerce to add categories (I made two: “The wrong choice merch” and “TRACE in Colorado”) and click Update. The product page has the mockups, the colors, the sizes and the size guide.
Try Printful here if you want to make your own book merch.
Making more Printful products? Keep the print size, costs, real profit and links of every product in one place with my free Printful product checklist and notes.
Some of the links in this post are affiliate links. If you sign up through them I may earn a small commission at no extra cost to you. I only recommend tools I use myself.