How to Test Your Book Cover with a $50 Facebook Ad
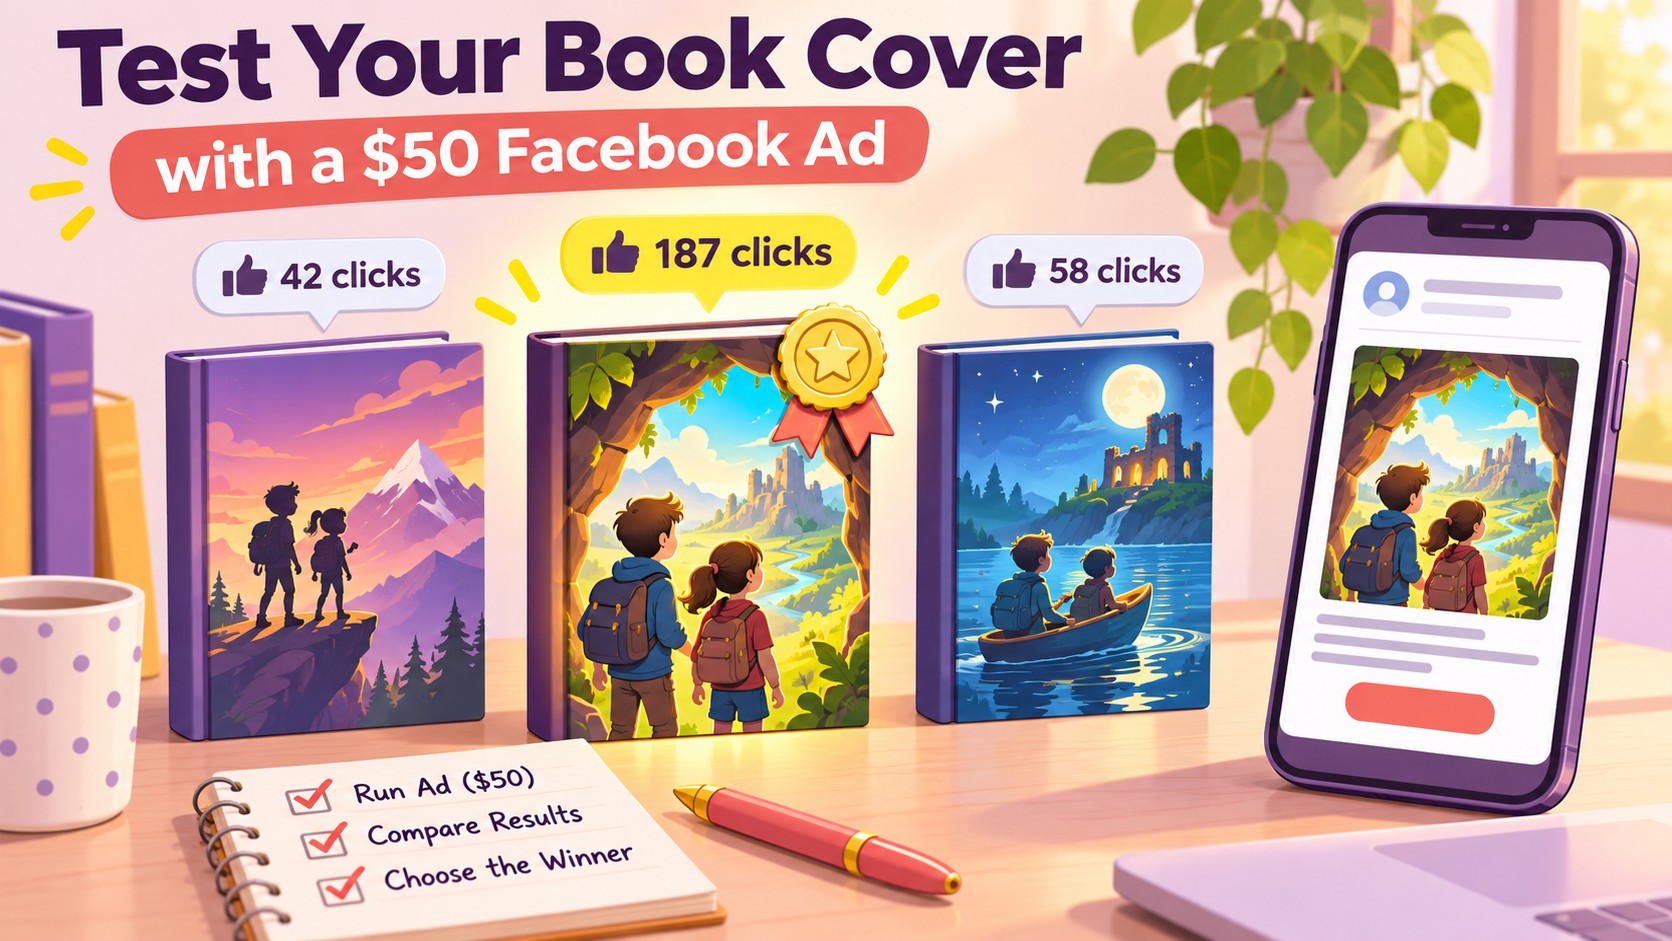
Can’t decide between two covers? Let real readers vote with their clicks. For about $50 and five days, a small Facebook ad shows each cover to the same kind of reader and tells you which one makes more people click.
This guide walks you through the whole test, step by step, even if you have never run an ad before.
What you’ll need: 2 to 5 cover designs, a budget (about $50 is a good start), a Facebook account, and a simple page on your website for each cover.
What you’ll get: a clear answer to “which cover makes more readers click?”, plus the start of a mailing list from the people who signed up.
Time: about an hour to set up, then 5 days of the ad running on its own.
When is it worth it? Most of all for the first book in a series. Once readers pick a cover style, the next books follow it, so you test once and every later cover benefits.
Throughout the guide you’ll see a running example: a middle-grade adventure series for readers aged 9 to 14, testing two covers on parents in Colorado. Swap in your own book, readers and location.
Your cover test checklist
Answer a few questions, then go page by page and tick each step as you go. The full explanation of every step is in the guide below.
Book Cover Test Checklist
Start with your decisions, and the steps below adjust to them. The boxes are optional: tick a step without filling anything, or fill in your details and download them as an Excel file at the end. Everything is saved in this browser, so you can come back and continue.
Your answers, ticks and notes are saved only in this browser on this device. Nobody else can see them and nothing is sent anywhere. Download the Excel file to keep a copy on your computer.
Before you start
Prepare every image, text and link before you open Ads Manager, and keep them in one folder or document. Then building the ad is just upload and paste, and takes about 20 minutes.
- A personal Facebook profile. You need one to log in, but ads never run under your personal name.
- A Facebook business page for you as an author or for the series. Ads always run under a page. Step 1 shows how to open one.
- A payment method: a credit card or PayPal. You add it while creating your first ad.
- One ad image per cover. Use 1080×1350 (portrait, recommended) or 1080×1080 (square). Make them identical except for the cover: same background, same text, same layout. Keep text on the image short.
- Ad text: 2 to 3 sentences about the book, plus a short headline (about 40 characters).
- A landing page on your website for each cover. Each shows its cover, a short blurb and a signup form (a waitlist, newsletter or free sample chapter).
- A budget: any amount you’re comfortable with. $50 in total is a good start, for example $10 a day for 5 days.
Why two separate landing pages? Facebook counts the clicks. Your website counts the signups. With a page per cover, you can see which cover brought readers who actually wanted more.
How many covers, and how much money? Your budget is split between the covers. $50 on two covers gives each about $25. $50 on five covers gives each about $10: a cover that is much stronger will still stand out, but a small difference may be luck. If two covers come out close, you can run a second short round with just those two. Facebook’s A/B test tool compares up to five versions.
Boost or Ads Manager?
| “Boost post” button | Ads Manager | |
|---|---|---|
| Where | Blue button under a post on your page | adsmanager.facebook.com |
| Setup | 3 screens, about 5 minutes | 3 levels (campaign, ad set, ad), about 20 minutes |
| Control | Basic: audience, budget, length | Full: goal, audience, placements, A/B tests |
| Good for | Getting more eyes on a post that already did well | Sending readers to your website and comparing covers |
For a cover test you need Ads Manager, because only it can split the audience fairly between two covers. This guide uses Ads Manager.
Facebook changes its screens often. Button names may be a little different from what you read here, but the order of the steps stays the same.
Step 1: Open a Facebook business page
Skip this step if you already have an author or series page.
- In Facebook’s menu, go to Pages → Create new Page.
- Page name: your author name or the series name. Your author name is better if you plan to write more series.
- Category: type Author, or Book Series.
- Add a profile picture (your photo or the series logo), a cover photo (your book covers together work well), a short description and a link to your website.
- Publish 2 or 3 posts before the ad starts: one about the series, one about a character, one about you. An empty page looks less trustworthy to readers who tap through from your ad.
- If you have an Instagram account for your books, connect it to the page.
Step 2: Set up Ads Manager
Every ad in Ads Manager has three levels, each on its own screen: the campaign (your goal), the ad set (who sees it and how much you spend), and the ad (what people see).
- Go to adsmanager.facebook.com, or open it from your page’s menu.
- The first time, Facebook asks you to create an ad account. Choose your currency and the time zone of the readers you want to reach (example: USD and Mountain Time for Colorado). If you already run ads for another business, open a separate ad account for your books. You can’t change the currency later.
- Check that the right account is selected at the top, then click the green + Create button.
Step 3: The campaign
- Under campaign objective, choose Traffic. This tells Facebook to find people who click links.
- If Facebook offers a recommended setup or a manual one, keep the recommended one. Click Continue.
- Name the campaign so you’ll recognize it later, for example “Book 1 – cover test – Nov 2026”.
- Special ad categories: leave all unchecked. They are for housing, jobs and politics.
- Leave the campaign budget setting at its default and click Next.
Step 4: The ad set (audience and budget)
- Conversion location: choose Website.
- Budget: a daily budget of $10, or a lifetime budget of $50.
- Schedule: start today and set an end date 5 days from now. An end date means the ad can’t keep spending if you forget about it.
- Audience. Think about who buys your book, which is not always who reads it. For children’s and middle-grade books, that’s usually parents.
- Location: the country, state or city of your readers. Choose “People living in this location”. Example: United States → Colorado.
- Age: the age of the buyer. Example: 30–55, the usual age of parents of 9–14 year olds.
- Language: the language your book is written in.
- Detailed targeting: add interests or groups that fit your book: your genre, similar authors, or a parent group by child’s age. Example: Parents with preteens (08–12) and Parents with teenagers (13–17). Facebook has removed some of these options over the years. If one isn’t there, pick the closest one or add an interest like Children’s literature.
- Facebook may open with Advantage+ audience, where your settings are only suggestions. For a fair test you want a fixed audience: click Use original audience options so you know exactly who saw your ad.
- Placements: keep Advantage+ placements (Facebook and Instagram together). Click Next.
Step 5: The ad
Build the ad with your first cover. You’ll copy it for the second cover in Step 6.
- Identity: choose your business page (and your Instagram account, if connected).
- Ad setup: create a new ad, format Single image or video.
- Media: upload the image for cover 1. Facebook suggests a crop for each placement. Check that the cover isn’t cut off anywhere.
- Primary text: 2 to 3 sentences. Make the first line count, because people only see it until they tap “See more”.
- Headline: the book title or one short line.
- Call to action: Learn more, or Sign up if your page has a signup form.
- Website URL: paste the link to the landing page for cover 1, with a tag at the end (see below). Click preview to check it opens.
- Advantage+ creative enhancements let Facebook change colors, add music and more. Turn off anything that could change how your cover looks.
- Look at the preview on the side for Feed, Stories and Reels.
- Click Publish. If you haven’t added a payment method yet, Facebook asks for it now. Facebook reviews the ad, usually within a few hours and at most 24 hours, and the status changes from “In review” to “Active”.
Tag each link so you can count signups per cover. Add a short tag to the end of each landing page link:
- Cover 1:
yourwebsite.com/cover-1?utm_source=facebook&utm_campaign=cover-1 - Cover 2:
yourwebsite.com/cover-2?utm_source=facebook&utm_campaign=cover-2
Facebook shows you the clicks. The tags let your website stats (or your signup form) show which cover each new subscriber came from.
Step 6: Split-test your covers (A/B test)
The one rule: everything is identical except the cover. Same text, same headline, same button, same audience, same budget. Otherwise you can’t tell what made the difference. The only other thing that changes is the link, so each cover sends readers to its own landing page.
Recommended: Facebook’s A/B test tool. It splits your audience into two halves that don’t overlap and gives each cover an equal budget.
- In Ads Manager, select the ad you built in Step 5 and click A/B Test in the top toolbar.
- Choose to duplicate the ad, and choose Creative as the variable to test.
- In the copy, replace the image with cover 2 and the link with the cover 2 landing page link. Leave the text, headline and button as they are. Testing more covers? Add a version for each one, up to five.
- Choose the metric to compare: Cost per result or Link click-through rate (CTR). Set the test to run 5 days.
Simpler, but less fair: one ad set with two ads, one per cover. It’s quicker to set up, but Facebook soon moves most of the budget to the ad it likes, so one cover may barely get shown.
Step 7: Read the results
The number that matters is link CTR: out of everyone who saw the ad, how many clicked the link. Likes and comments don’t tell you much here.
| When | What to check |
|---|---|
| A few hours after publishing | The status changed from “In review” to “Active”. If the ad was rejected, Facebook says why, and you can fix it or appeal. |
| Day 1 | Links work and the ad is getting impressions. Don’t change anything yet: Facebook is still “learning”. |
| Day 3 | Peek at link CTR and cost per link click for each cover. Don’t decide yet. |
| Day 5 (end) | Compare link CTR, cost per click, and signups per landing page. Take a screenshot for your records. |
How to tell if the result is real. On a $50 budget, a small gap (say 1.1% vs 1.3%) can be chance. A gap of two times or more is a strong sign. Facebook’s A/B test tool also shows how confident it is in the winner.
When clicks and signups disagree. If cover A gets more clicks but cover B gets more signups, cover B probably attracts readers who are a better fit. Signups usually matter more.
Common mistakes
- Changing more than the cover. Different text or a different audience for each cover ruins the test.
- Editing the ad in the first days. Every edit resets Facebook’s learning. Wait.
- Leaving Advantage+ audience on. Facebook then shows the ad to whoever it likes, and you don’t know who voted.
- No end date. The ad keeps spending until you stop it.
- Linking both covers to the same page. You’ll see clicks but not which cover brought the signups.
- Trusting a small difference. With $10 to $20 per cover, only a big gap between covers (2u{00D7} or more) really means something.
Quick questions
Can I spend less than $50? You can, but with less money each cover is seen by fewer people, and the result is less reliable. Under $30 total, the difference is mostly luck.
My book isn’t out yet. Can I still test? Yes. That’s the best time. Use a waitlist or a free first chapter as the signup on your landing pages.
Do I need an Instagram account too? No. Your ad can still appear on Instagram without one: Facebook shows it there under your Facebook page’s name and picture. An Instagram account for your books is a nice extra, because readers can follow you there, but the test works fine without it.
Do I need a website? For this test, yes, because each cover needs its own landing page. A free landing page tool works too.
What if Facebook rejects my ad? Read the reason in Ads Manager. The usual causes are too much text on the image or a link that doesn’t open. Fix it and resubmit.